
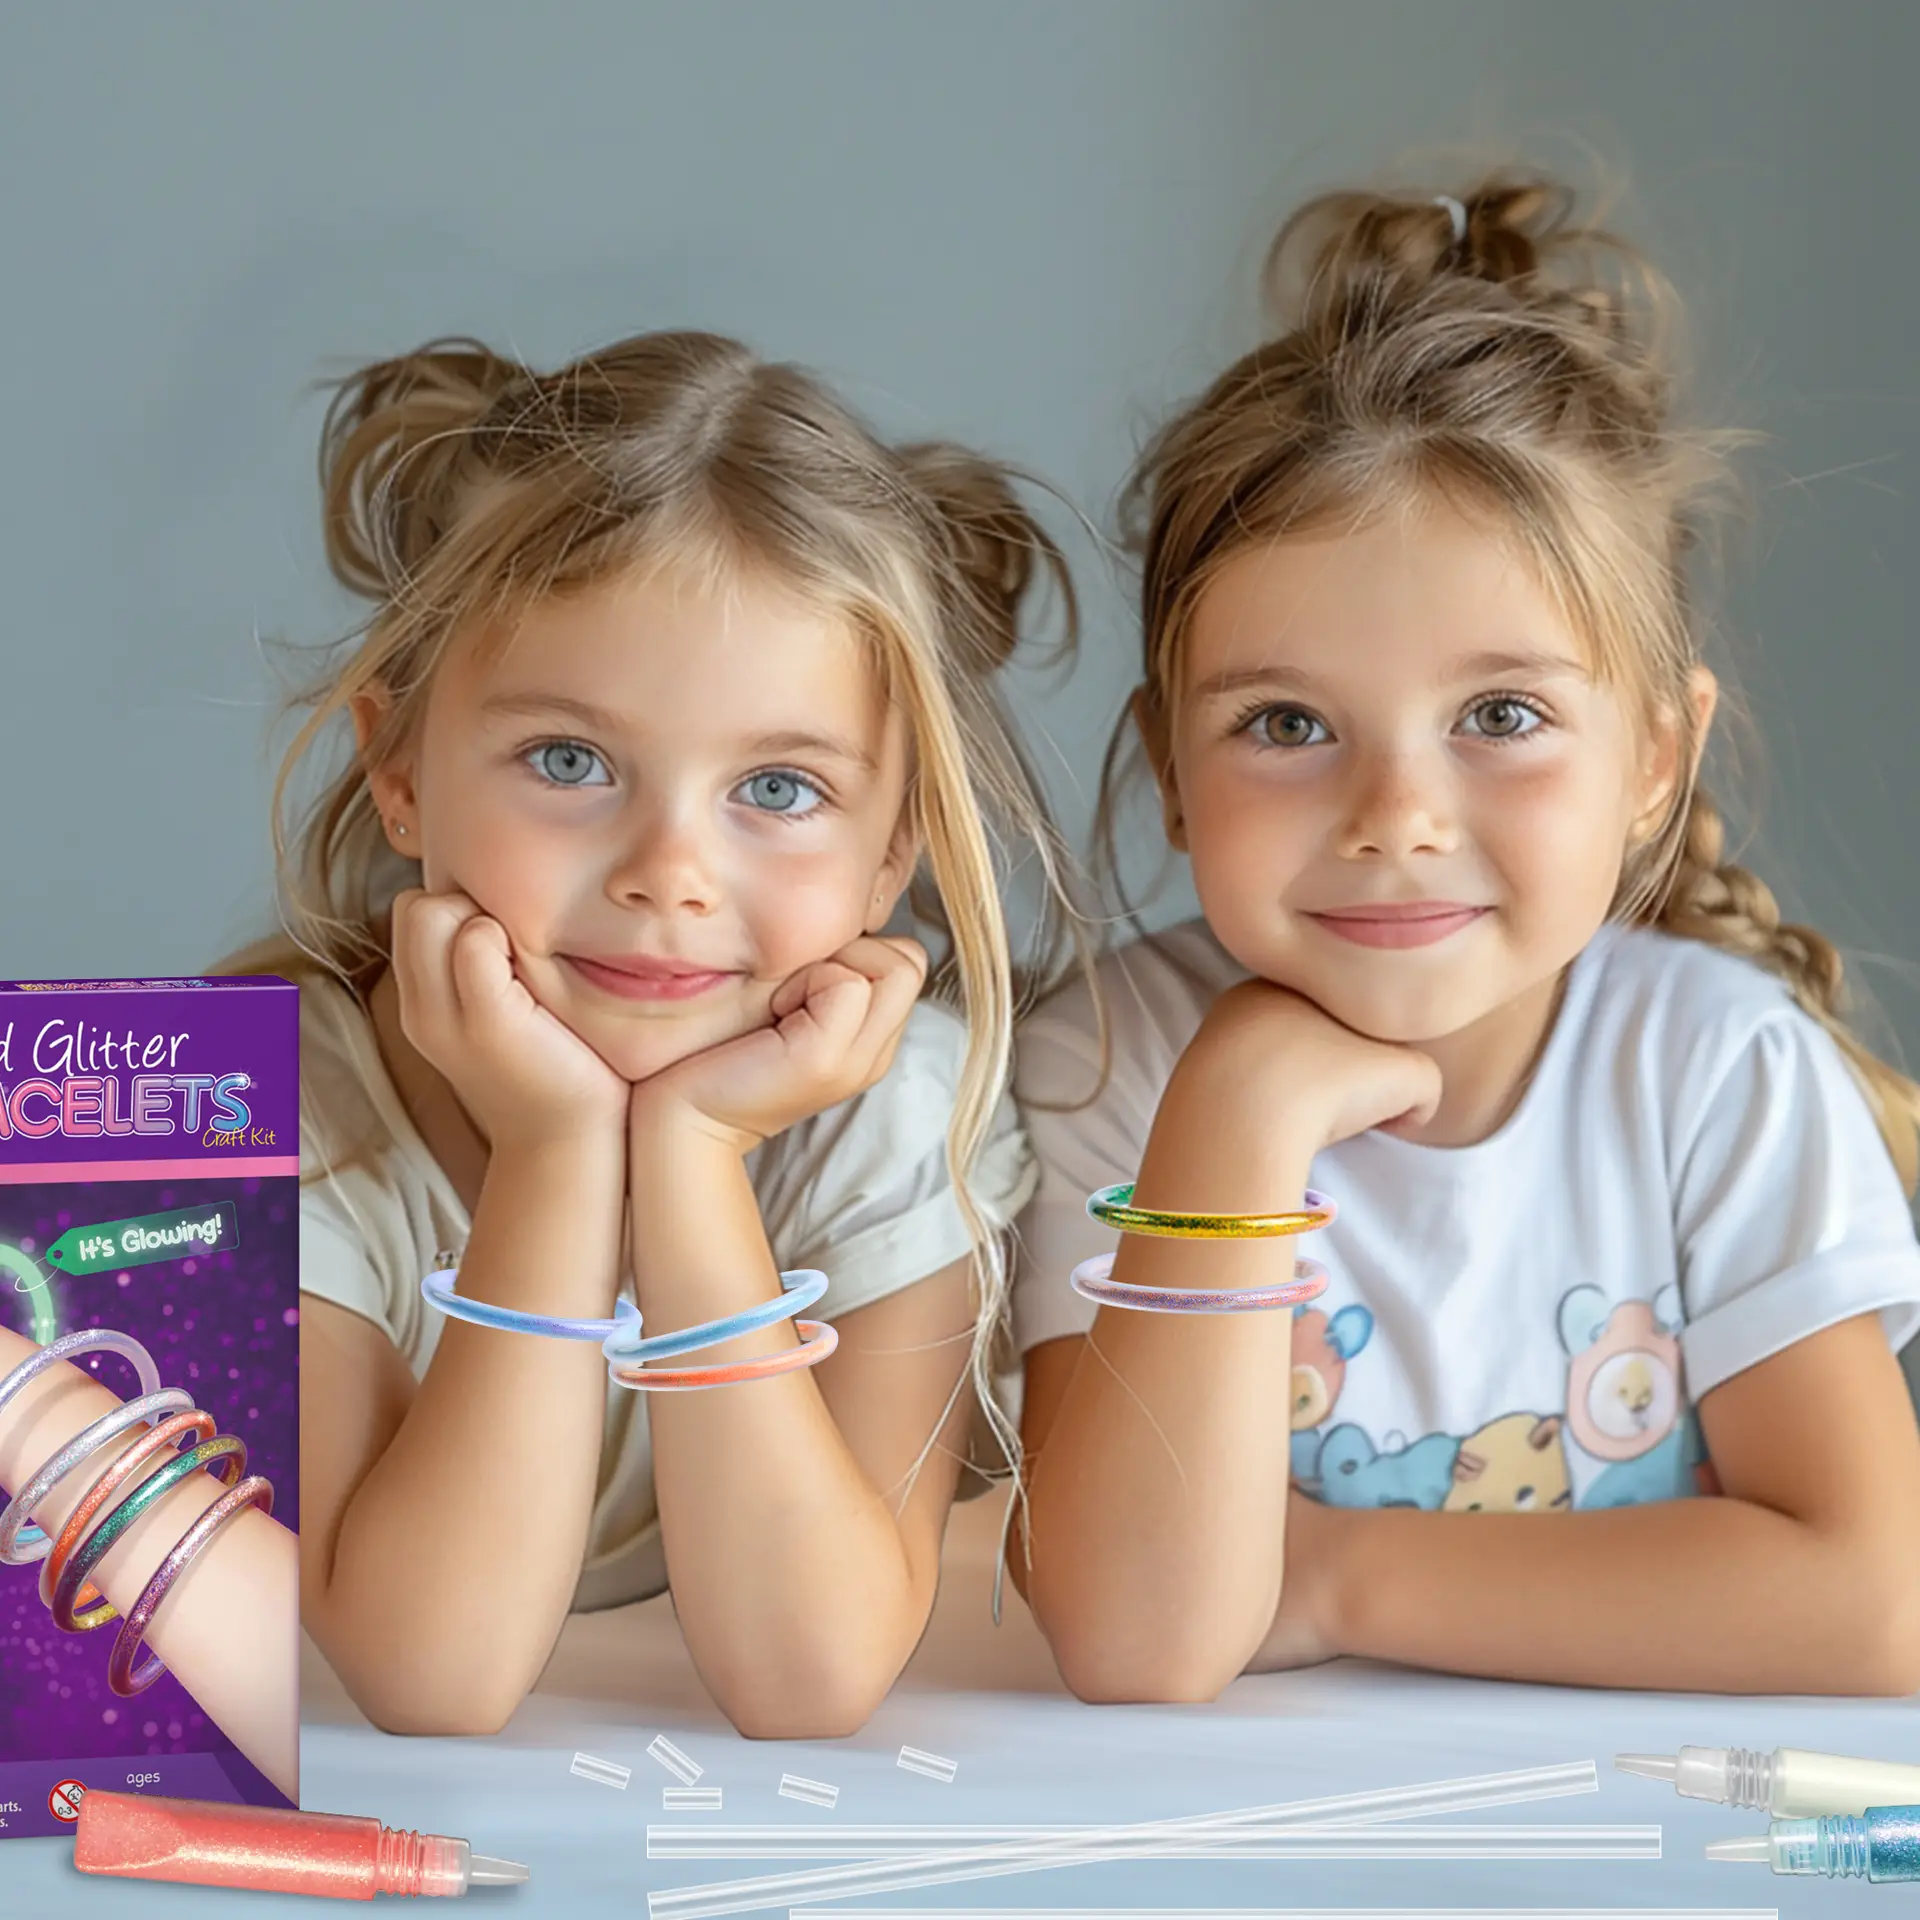

FILL · CONNECT · WEAR
DIY Glitter Bracelet Kit
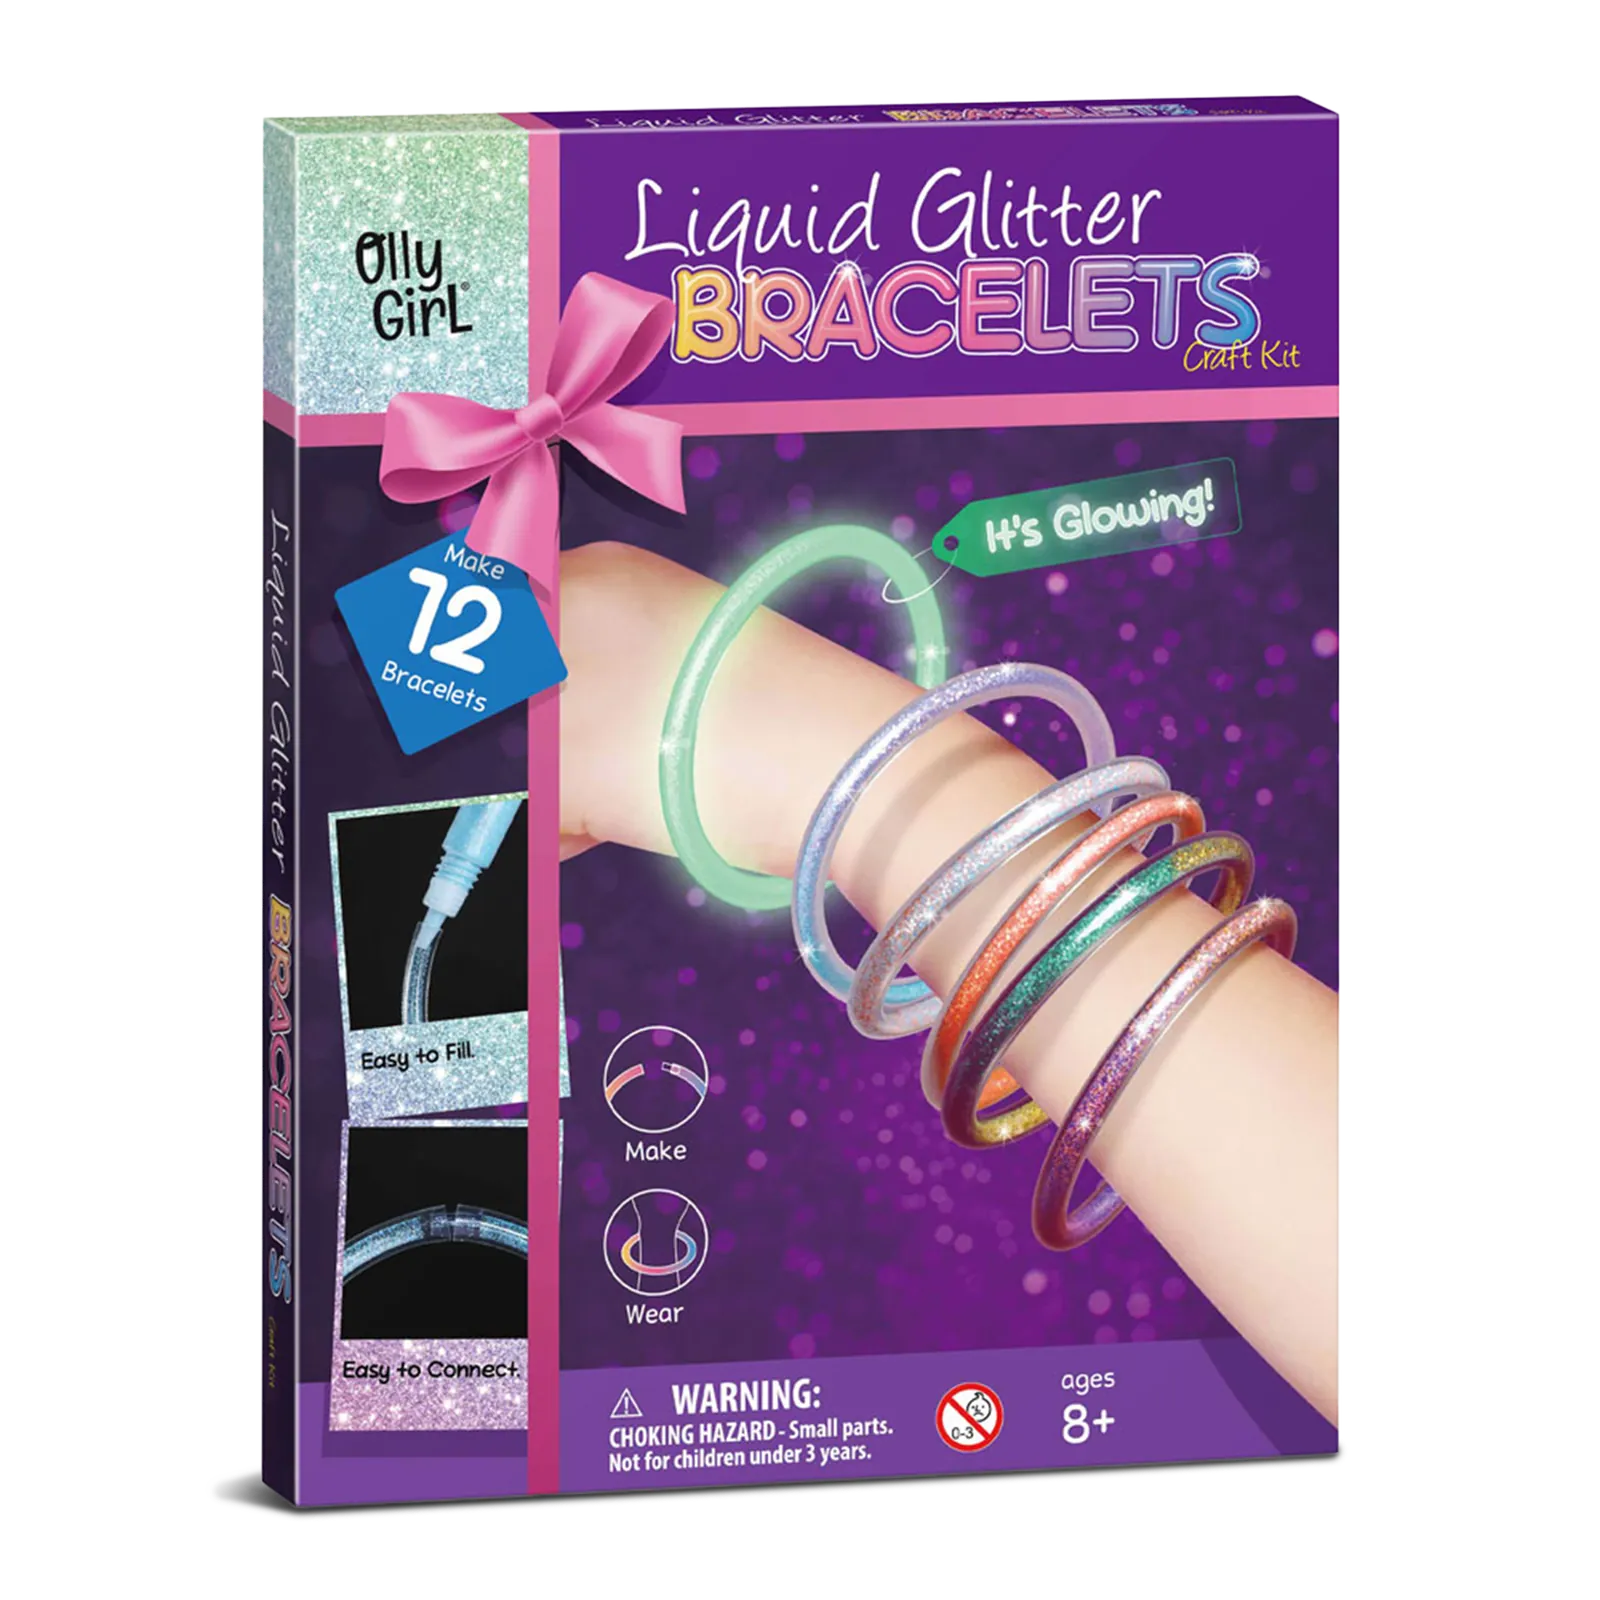
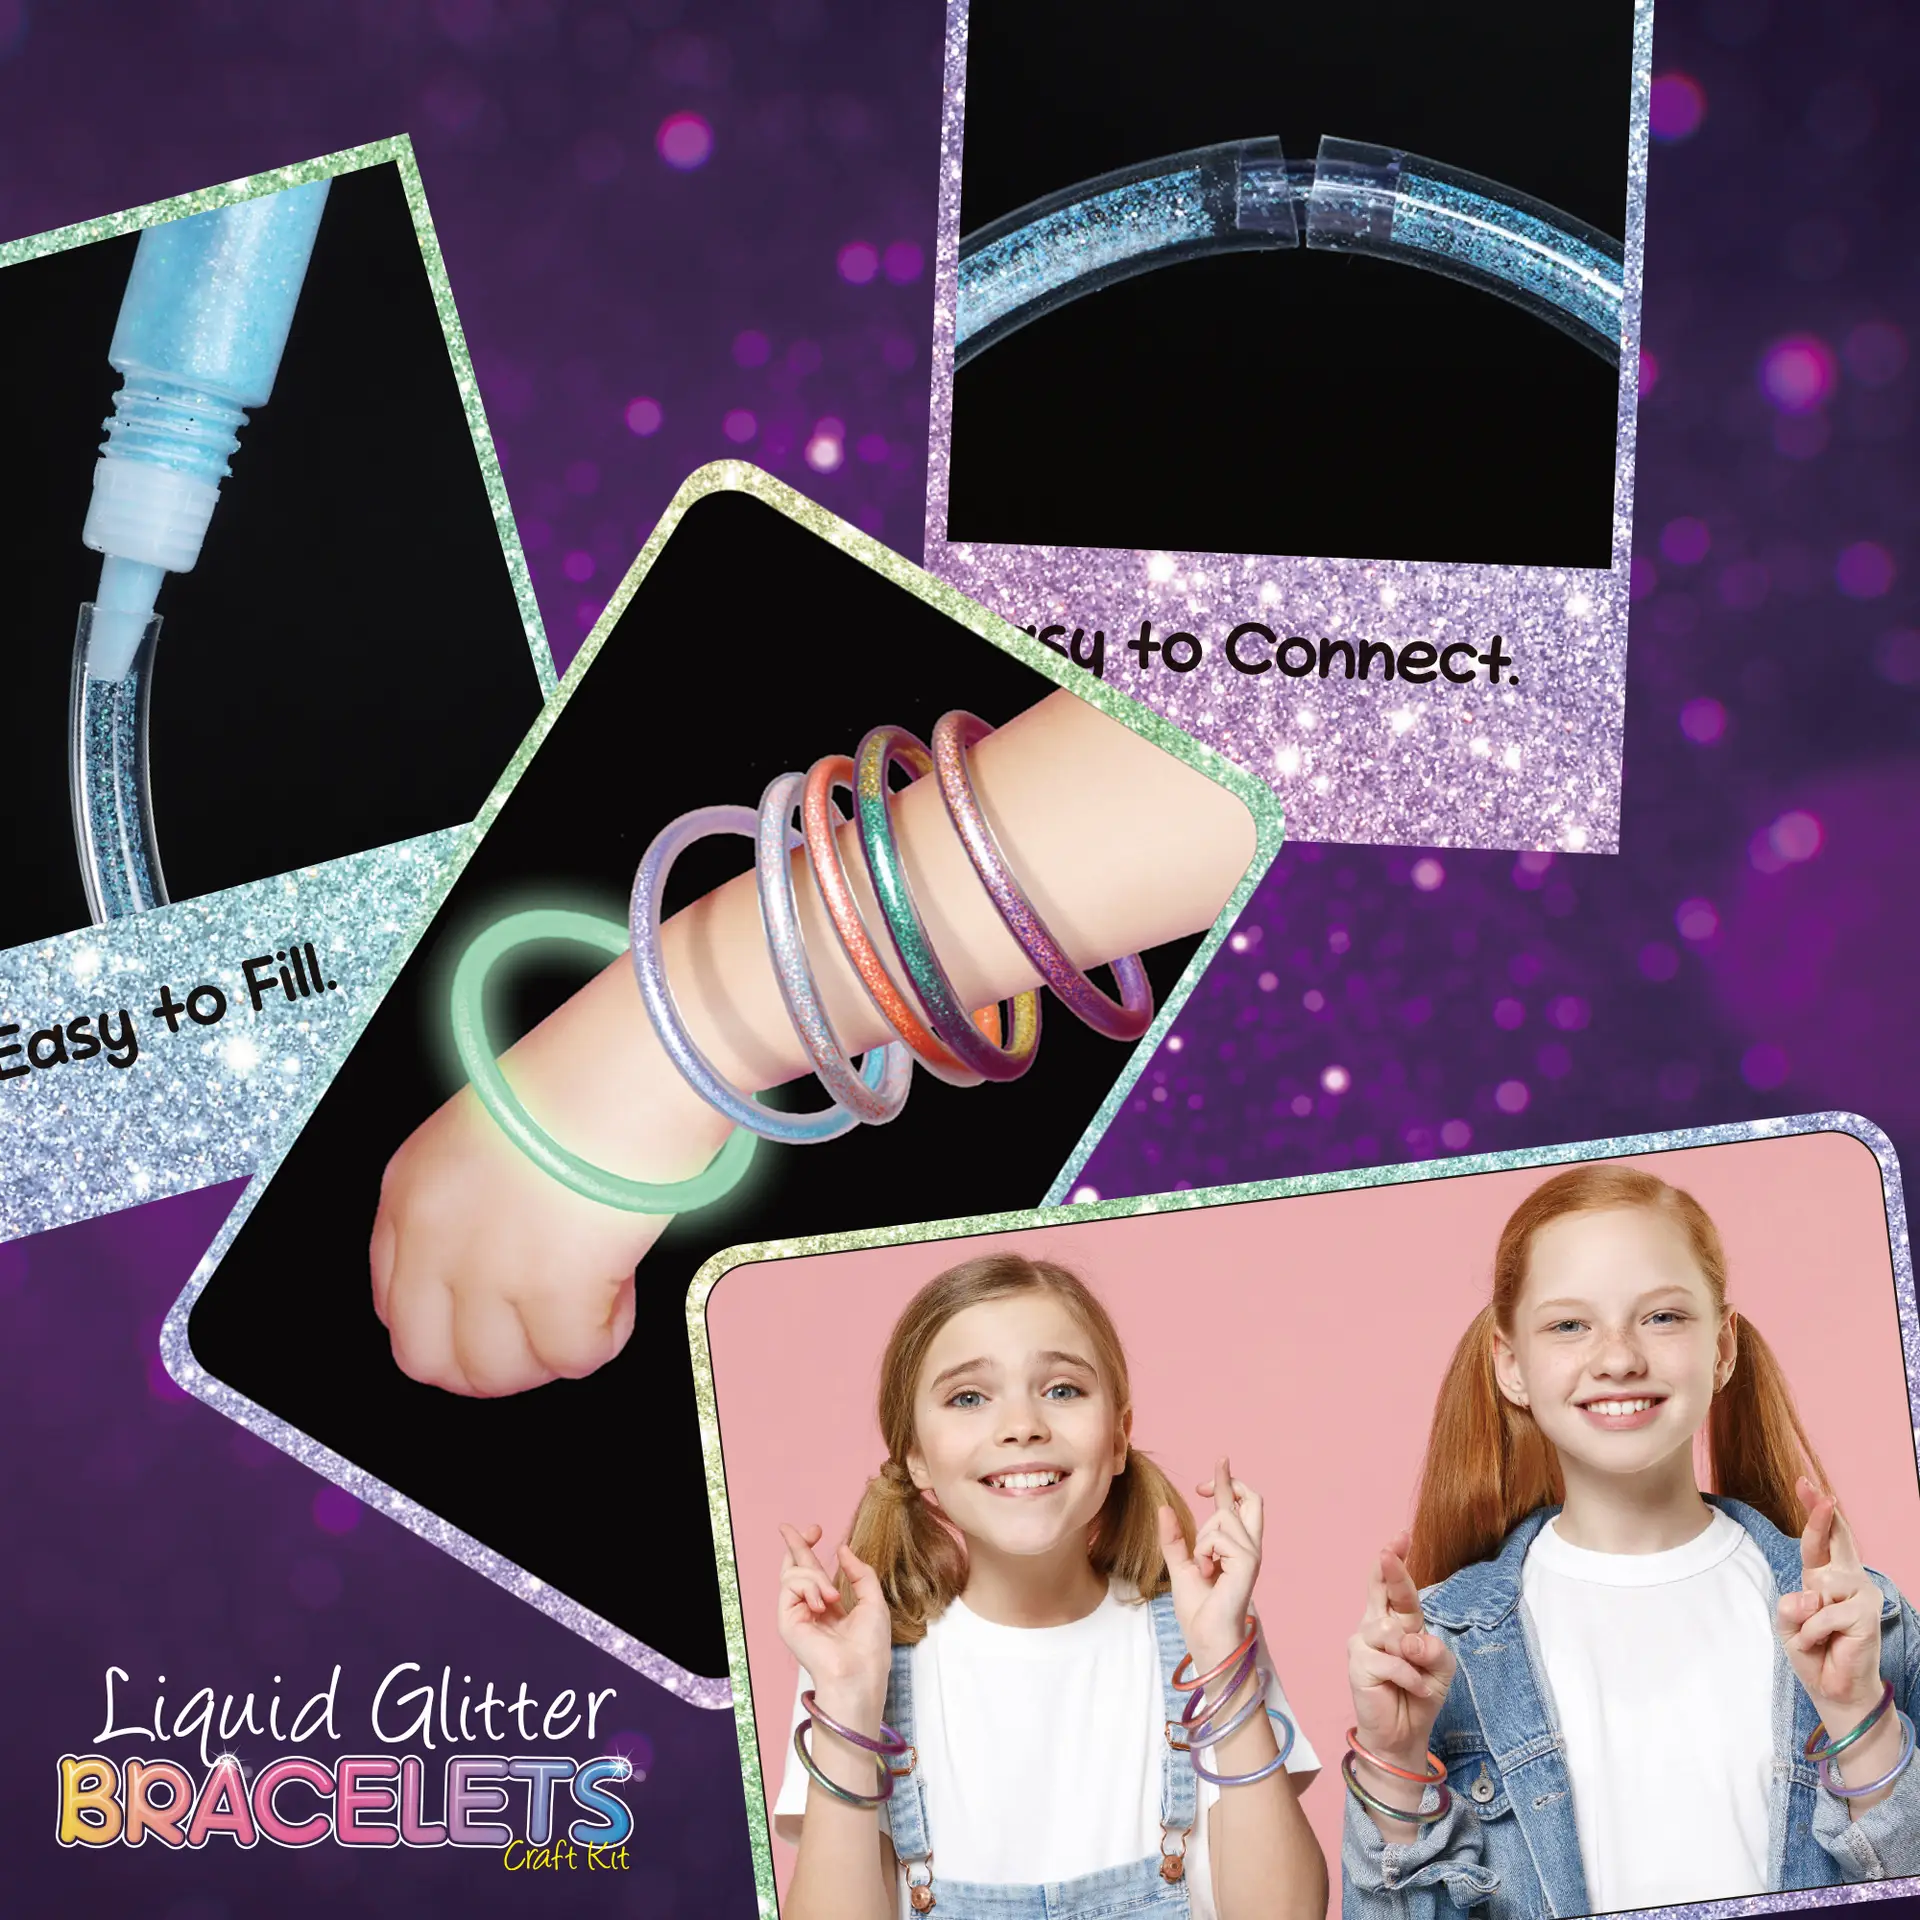
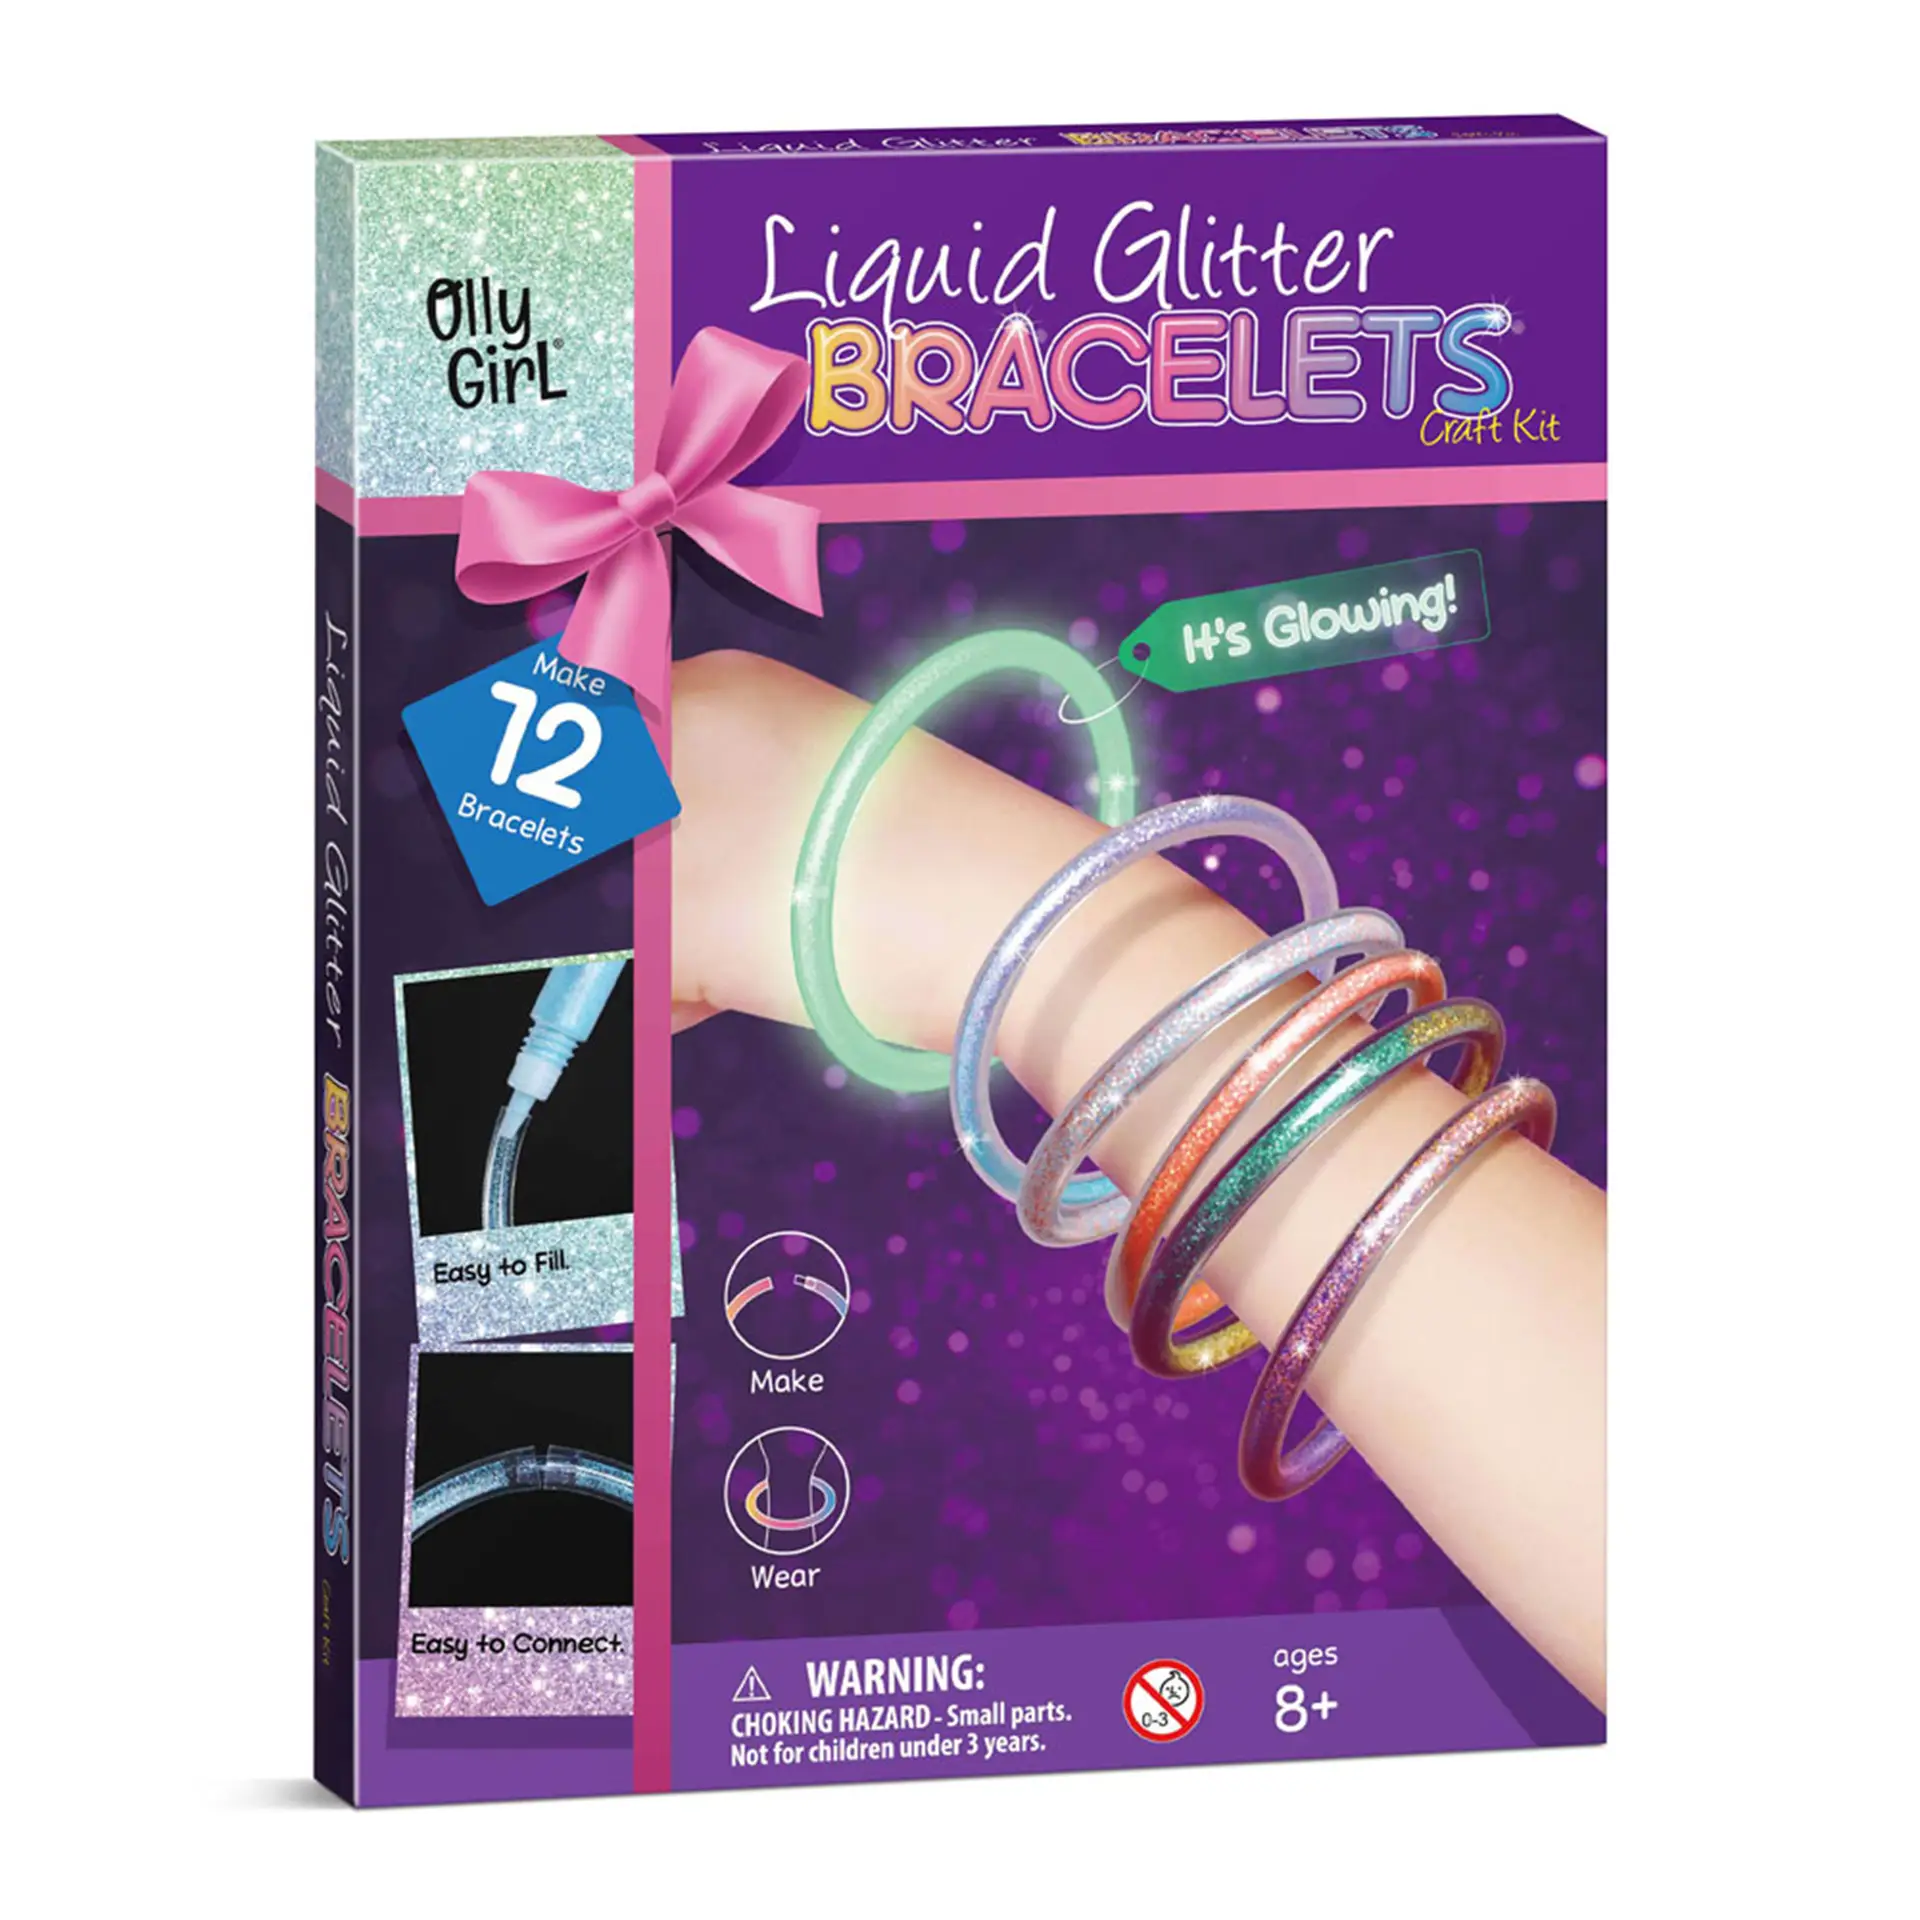
Pick a color, fill a clear tube, and close it into a bracelet. Add water to create the liquid-glitter effect, then make a stack to wear or a matching pair to share. The box includes tubes and connectors for 12 bracelets.
See the suppliesHow to fill a tube ↗
Age note: the package shown is marked 8+, while the current listing says 6+. Please check with us before choosing this kit for a child under 8.

START WITH THE JOIN
One small connector. A complete loop.
Each connector joins the two ends of a tube. Put it halfway into the first end before filling, then use the exposed half to close the bracelet. Leave this fitting step to an adult if small fingers need help.
Keep a towel under the finished bracelet for the first check. A dry, secure join matters more than rushing to try it on.

THE SUPPLIES
Five colors. One glow filling.
The six bottles shown in the contents photo have two jobs: colored glitter for sparkle and a separate glow-in-the-dark powder for the glow effect.
Bring cold water and paper towels or a table covering from home. Keep the connectors in a small dish so they do not roll away. Water, towels and the dish are not included.
AT THE CRAFT TABLE
Keep both ends up.
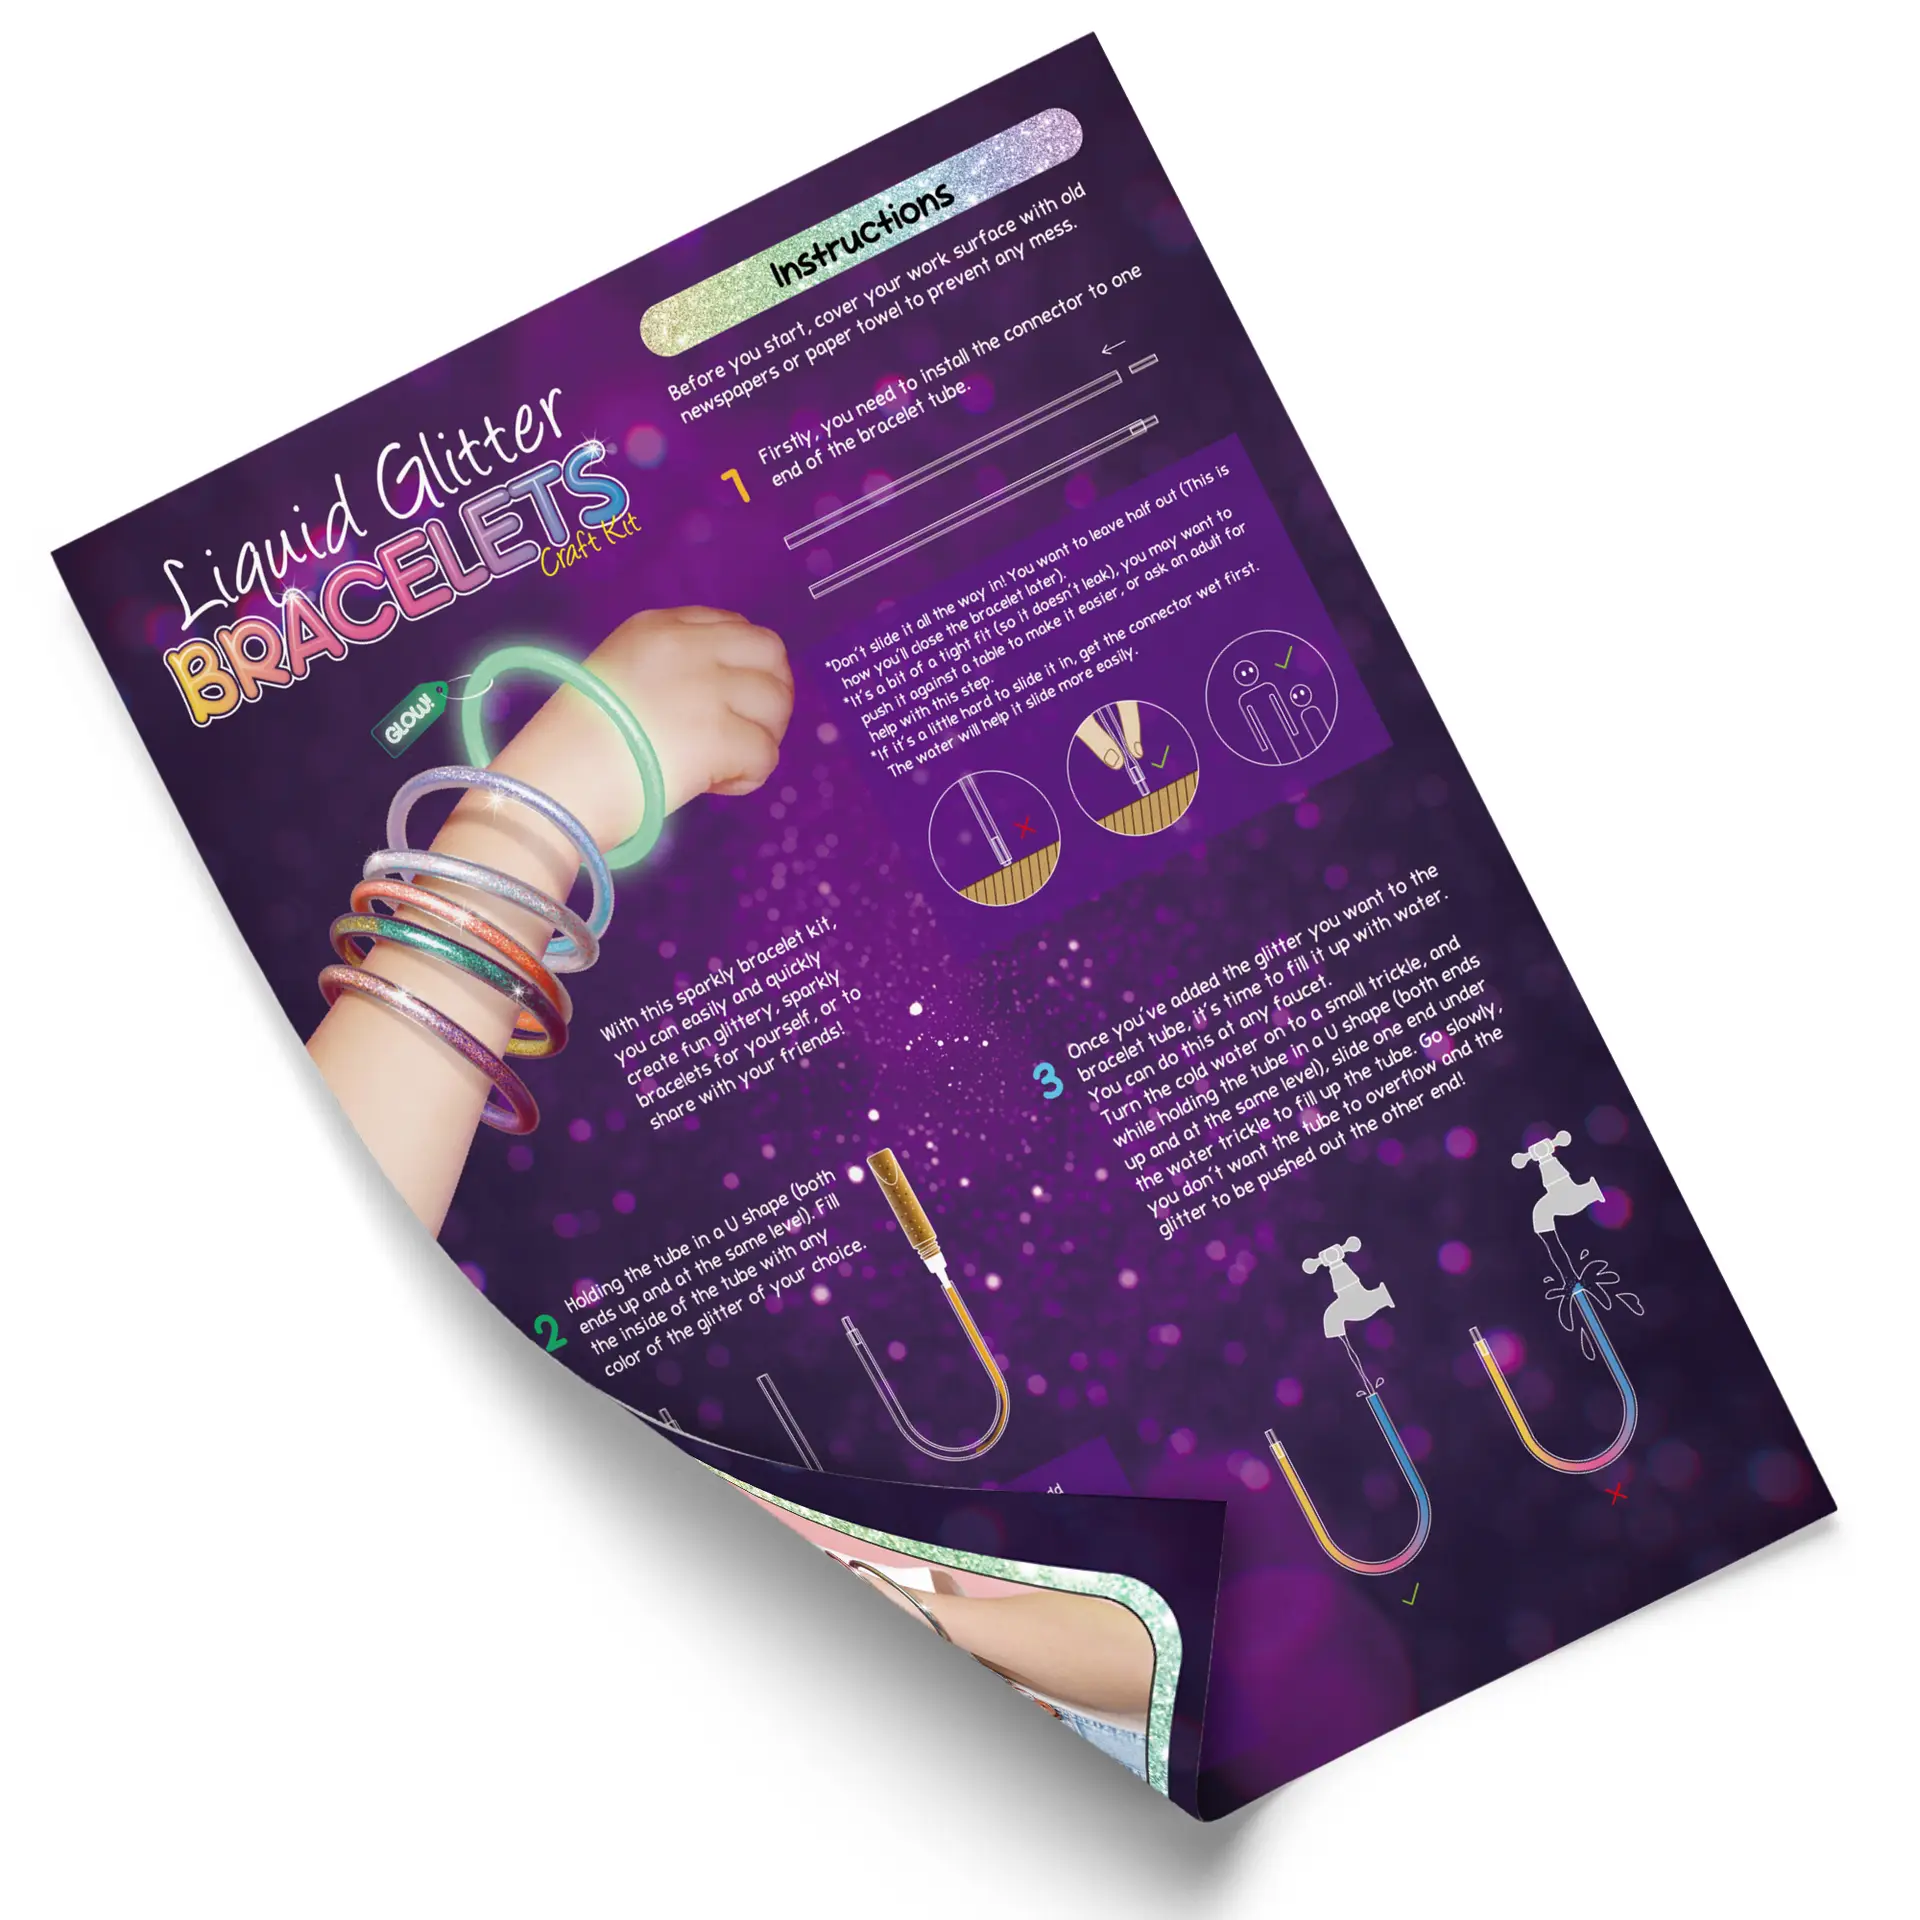
The U-shaped hold is the useful trick here: keep the ends at the same height while adding glitter and water. Read the included guide together before opening the bottles.
1Fit the connector
Push a connector into one end of a tube, leaving half of it exposed for the final join. The guide notes a tight fit; an adult can help.
2Choose the filling
Bend the tube into a U with both ends upright and level. Add your chosen glitter through the open end using the bottle tip.
3Add water slowly
Keep that U shape under a small trickle of cold water. Fill slowly so water does not overflow and push glitter out of the other end.
4Close and check
Join the free end to the exposed connector as directed in the included guide. Dry the outside, check the join over a towel, and check the fit before wearing.

BUILD A COLOR COLLECTION
Choose the stack before you fill.
Lay two or three empty tubes beside the bottles. Choose which color belongs in each tube, then make them one at a time. A single-color bracelet makes it easy to compare the finishes without using every bottle at once.
A pair to share
Ask a friend to choose one color for each of you. Make a matching pair, or swap color choices and make a bracelet for the other person.
Sparkle and glow
Make a colored-glitter bracelet and a separate glow-powder bracelet. Follow the guide for the glow filling, then compare their appearance in a lit space and a darker space. Colored glitter is not automatically glow-in-the-dark.
Try a different order
Arrange the closed bracelets on the table before wearing them. Switch which color sits in the middle and choose the combination you like.
SHARING ONE BOX
Give everyone a tube. Share the filling station.
For a small group, count out tubes and connectors before opening the bottles. Four makers could plan three bracelets each; six makers could plan two each. These are ways to divide the 12 projects, with the filling bottles shared across the table.
Choose first
Let each child pick a color before their turn. Keep unfilled tubes separate from finished bracelets so the small connectors stay with the right project.
Fill in turns
Set up one covered area near the water supply. One person steadies the tube while an adult helps control the water and checks the connection.
Check, then gift
Have an adult inspect each join and the fit. Write the maker’s name on a small paper tag from home before handing a bracelet to a friend.
The hands-on challenge is visible: hold a curve steady, aim a narrow bottle tip, slow the water flow, and match two ends. Parents can help with the fitting while children choose the colors and arrangement.
BEFORE YOU CHOOSE
Check the age label and the fit.
The listed product dimensions are not bracelet measurements. A finished wrist size is not specified; check that the bracelet fits comfortably without forcing it on.
Small parts and storage
The box warns of a choking hazard from small parts and says not for children under 3. Keep connectors and filling bottles away from younger children. Do not put glitter, powder or tube contents in the mouth. Cap the bottles after use and keep the guide with the remaining supplies.
OTHER WAYS TO MAKE SOMETHING TO KEEP
Jewelry, a keepsake dish, or a foil finish.

Mermaid Jewelry Dig Kit
Excavate shell and tail beads, then assemble a bracelet, necklace and ring.
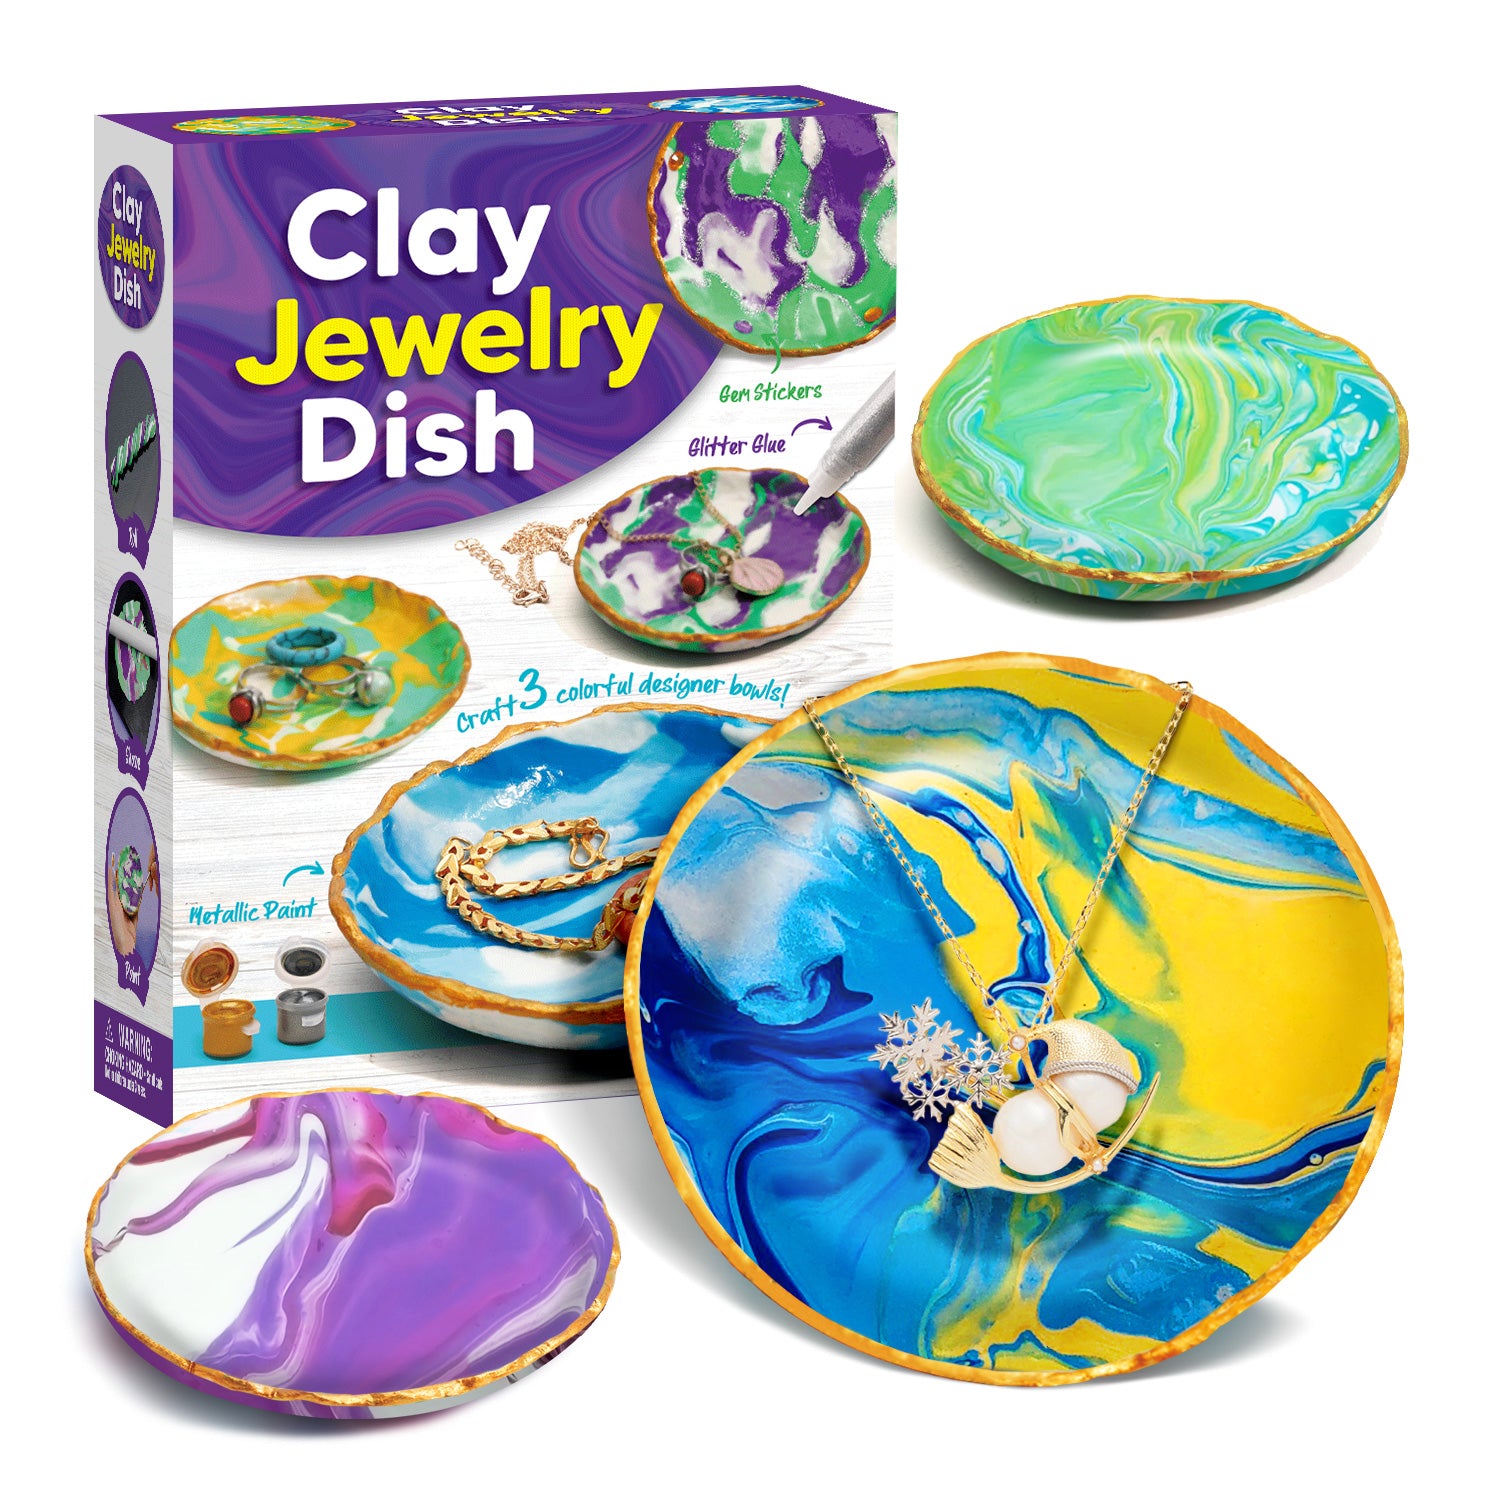
Clay Jewelry Dish Kit
Shape and decorate three small dishes for jewelry and keepsakes.

Foil Rock Painting Kit
Try a different kind of shine: paint a rock, press on foil and peel to reveal the finish.
A GUIDE FOR PARENTS
A clear process, with colors left to the maker.
This kit gives children a specific result to work toward: a closed, wearable bracelet. They can follow the filling steps while deciding how their color collection will look. Our guide explains what to check when choosing a project with instructions and room for personal choices.
BEFORE THE FIRST BRACELET
Filling, fit, and what comes in the box.
How many bracelets can we make?
The box is labeled to make 12 bracelets and includes 12 tubes plus 12 connectors. Each bracelet uses one of each. The glitter bottles are shared supplies, not 12 individually packed sets.
Are there six glitter colors plus a separate glow bottle?
The photographed contents show six bottles in total: five colored glitter bottles and one bottle of glow-in-the-dark powder. The glow bottle is included in that total.
Do the tubes come filled?
No. You add the glitter and cold water, then connect the tube ends. Have water and a table covering or paper towels ready at home. Follow the supplied guide for filling and closing.
What should I do if the connector is hard to fit?
The guide describes a tight fit and suggests adult help. It also notes that wetting the connector can help it slide in. Leave half exposed at the first step; it is needed to close the bracelet. Check for a secure join and any leaks before wearing.
Is this set suitable for a six-year-old?
Please check with us before buying for a child under 8. The current listing says 6 years and up, while the package shown in the photos is marked 8+. Follow the age label and warnings on the supplied box; an adult should help with the small connectors and water filling.
PICK YOUR FIRST COLOR
Make a bracelet you chose, down to the glitter.
Set out the tubes, keep a towel nearby, and start with one color. Check the age note above before ordering for a younger child.