




PIANO POTATO · BUILD & OBSERVE
Glow Volcano Science Kit
Make the mountain before the eruption. Assemble a mold, cast a plaster volcano, and paint its slopes. Then investigate two separate effects: glow-painted details after exposure to light, and a bubbling mixture that spills over the crater.
ONE VOLCANO. THREE CHANGES TO NOTICE.
It sets. It glows. It bubbles.
The wet plaster becomes the mountain you can paint. The glow coating responds to light. The eruption ingredients produce bubbles. Keep these stages distinct when you explain the project: each gives children a different change to observe.
SORT THE SUPPLIES BY STAGE
Mold parts first. Eruption packets later.
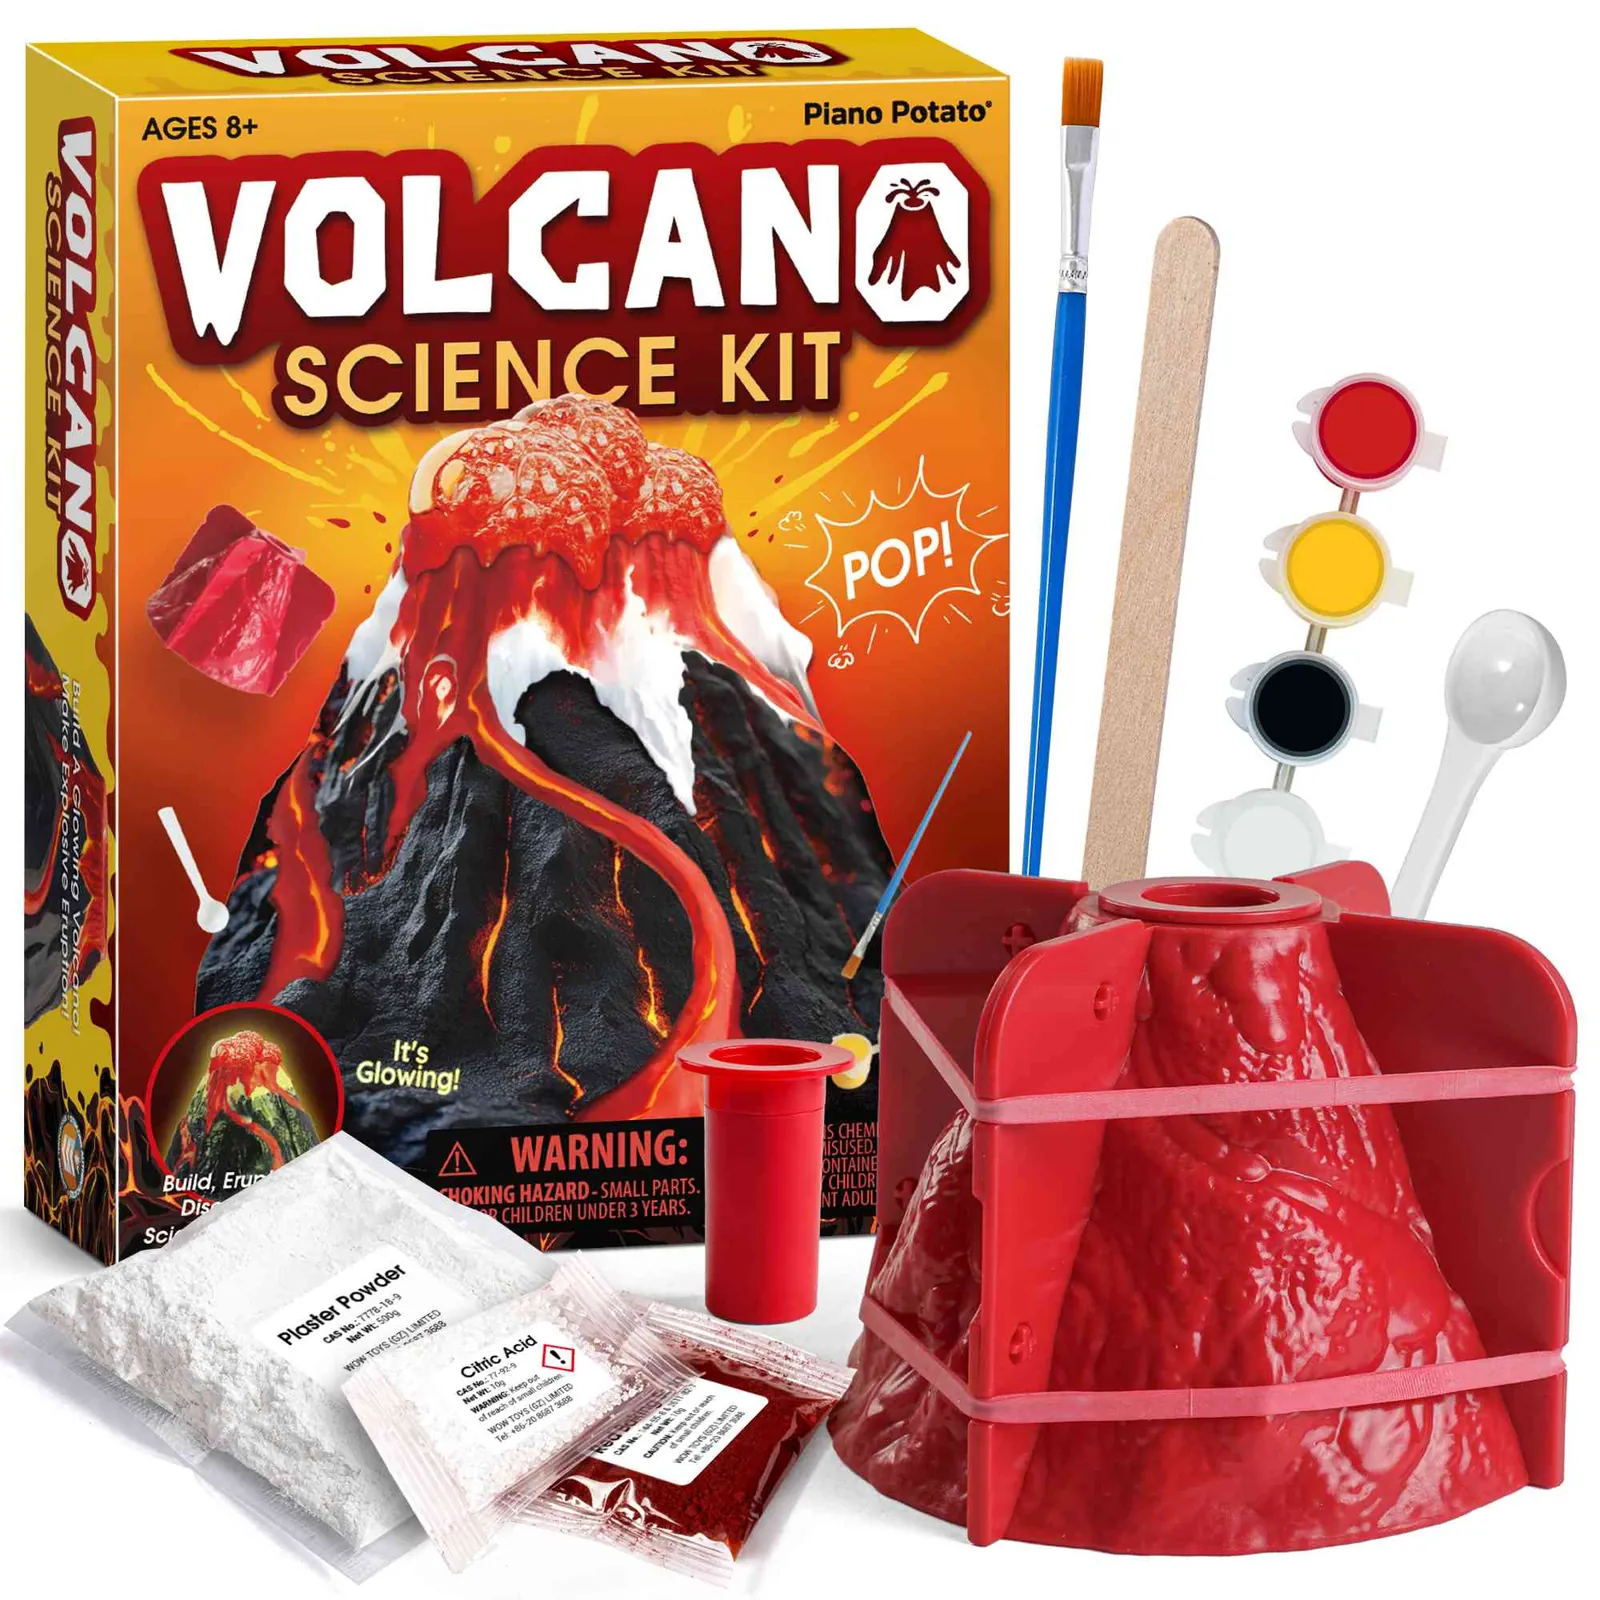
Keep the plaster and eruption packets separate while setting up. You will also need water and a suitable mixing container; put a tray or protective covering under the model before the wet stages.
LEAVE TIME FOR THE CAST TO SET
Build it in stages.
01Assemble
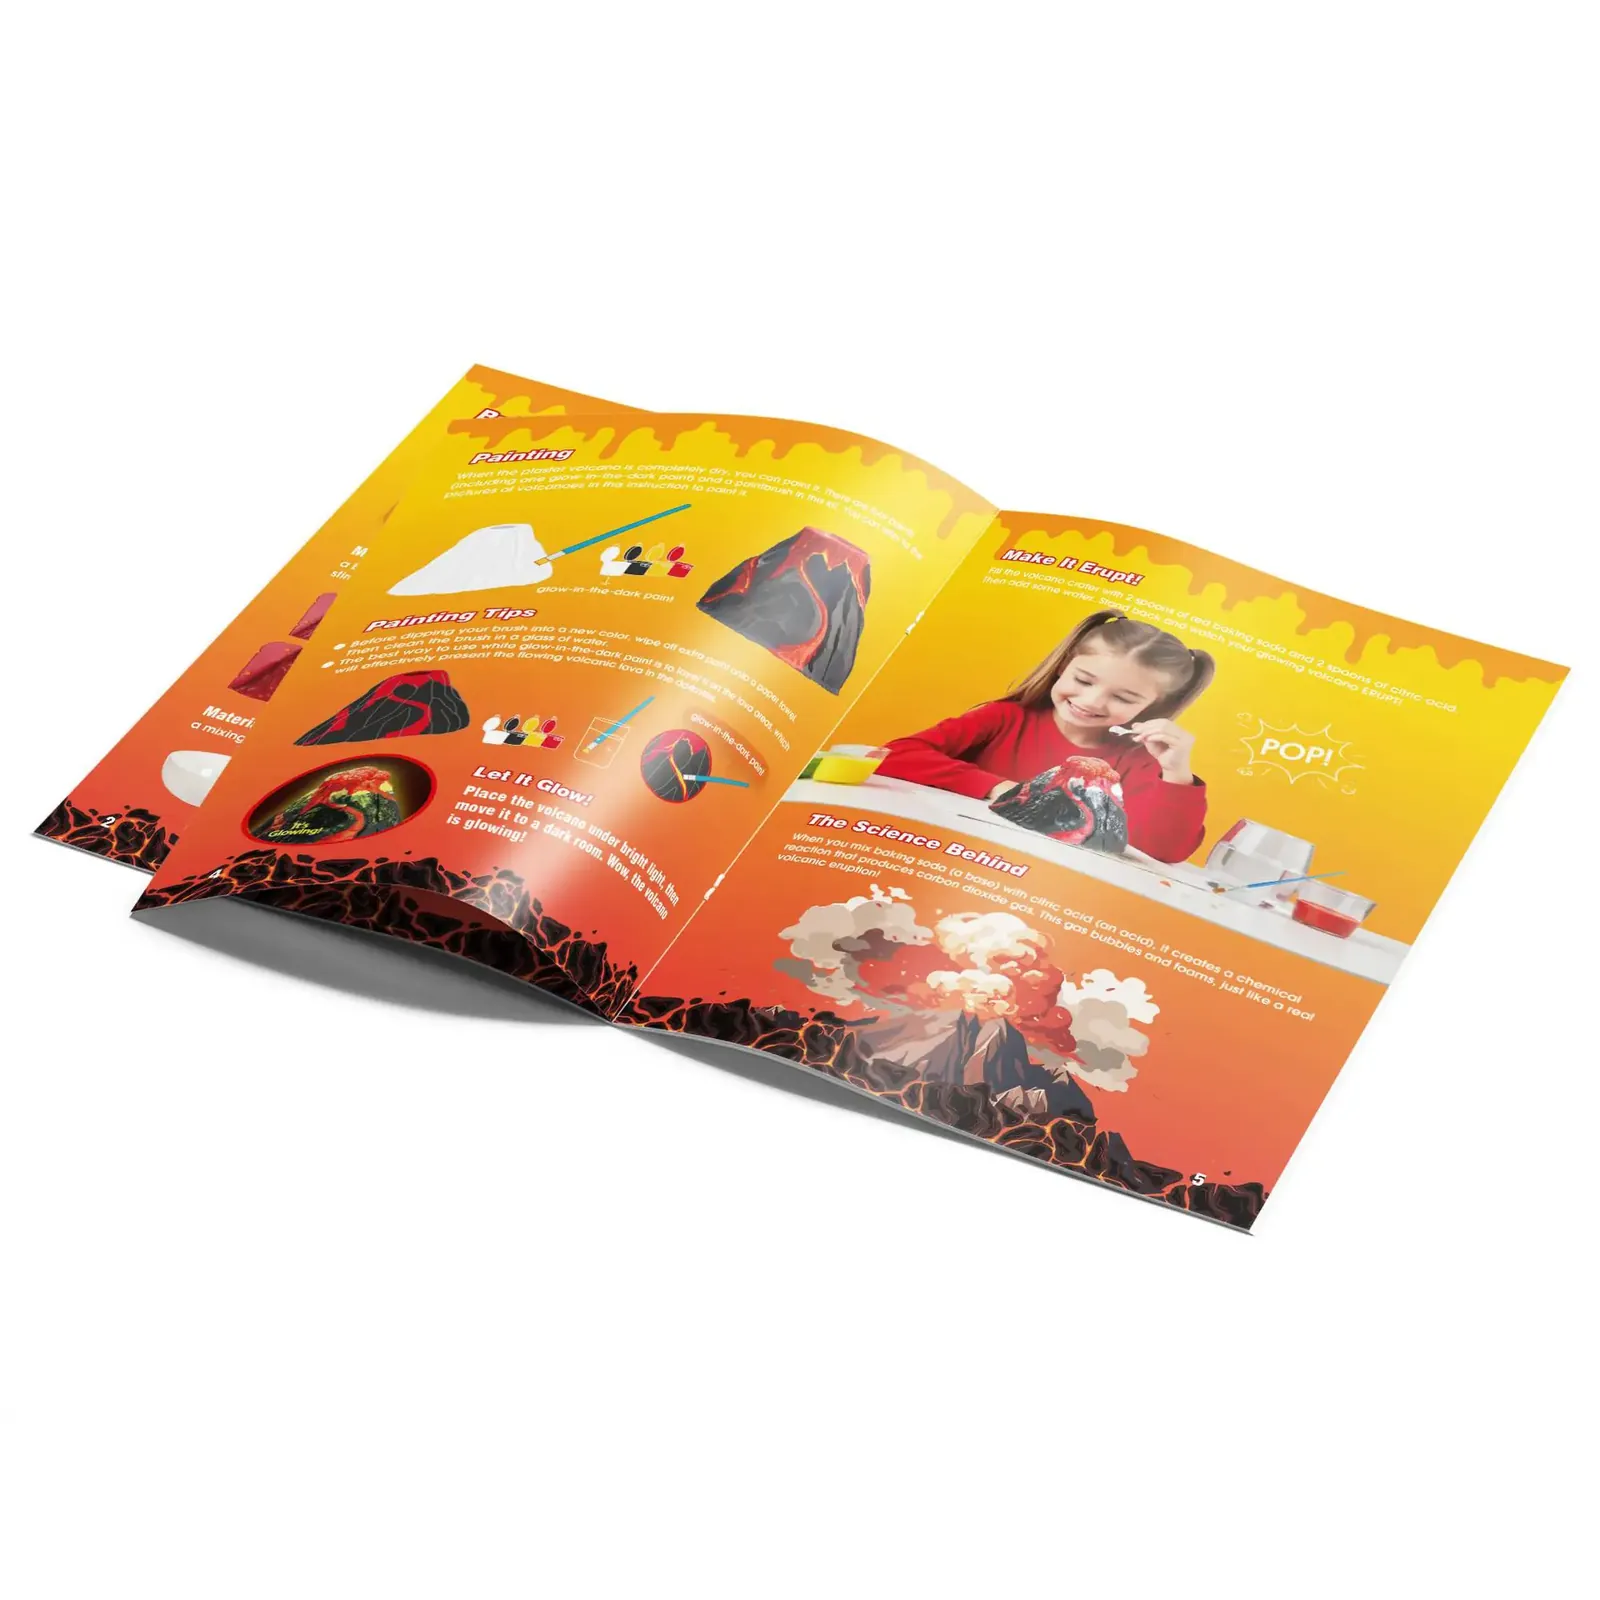
Fit the mold sections and the red insert pieces together as shown in the guide. Secure the mold with the bands and stand it on a protected, level surface.
02Cast and wait
An adult should help measure and mix the plaster with water using the quantities in the guide. Pour it into the mold and leave it to set before opening the sections.
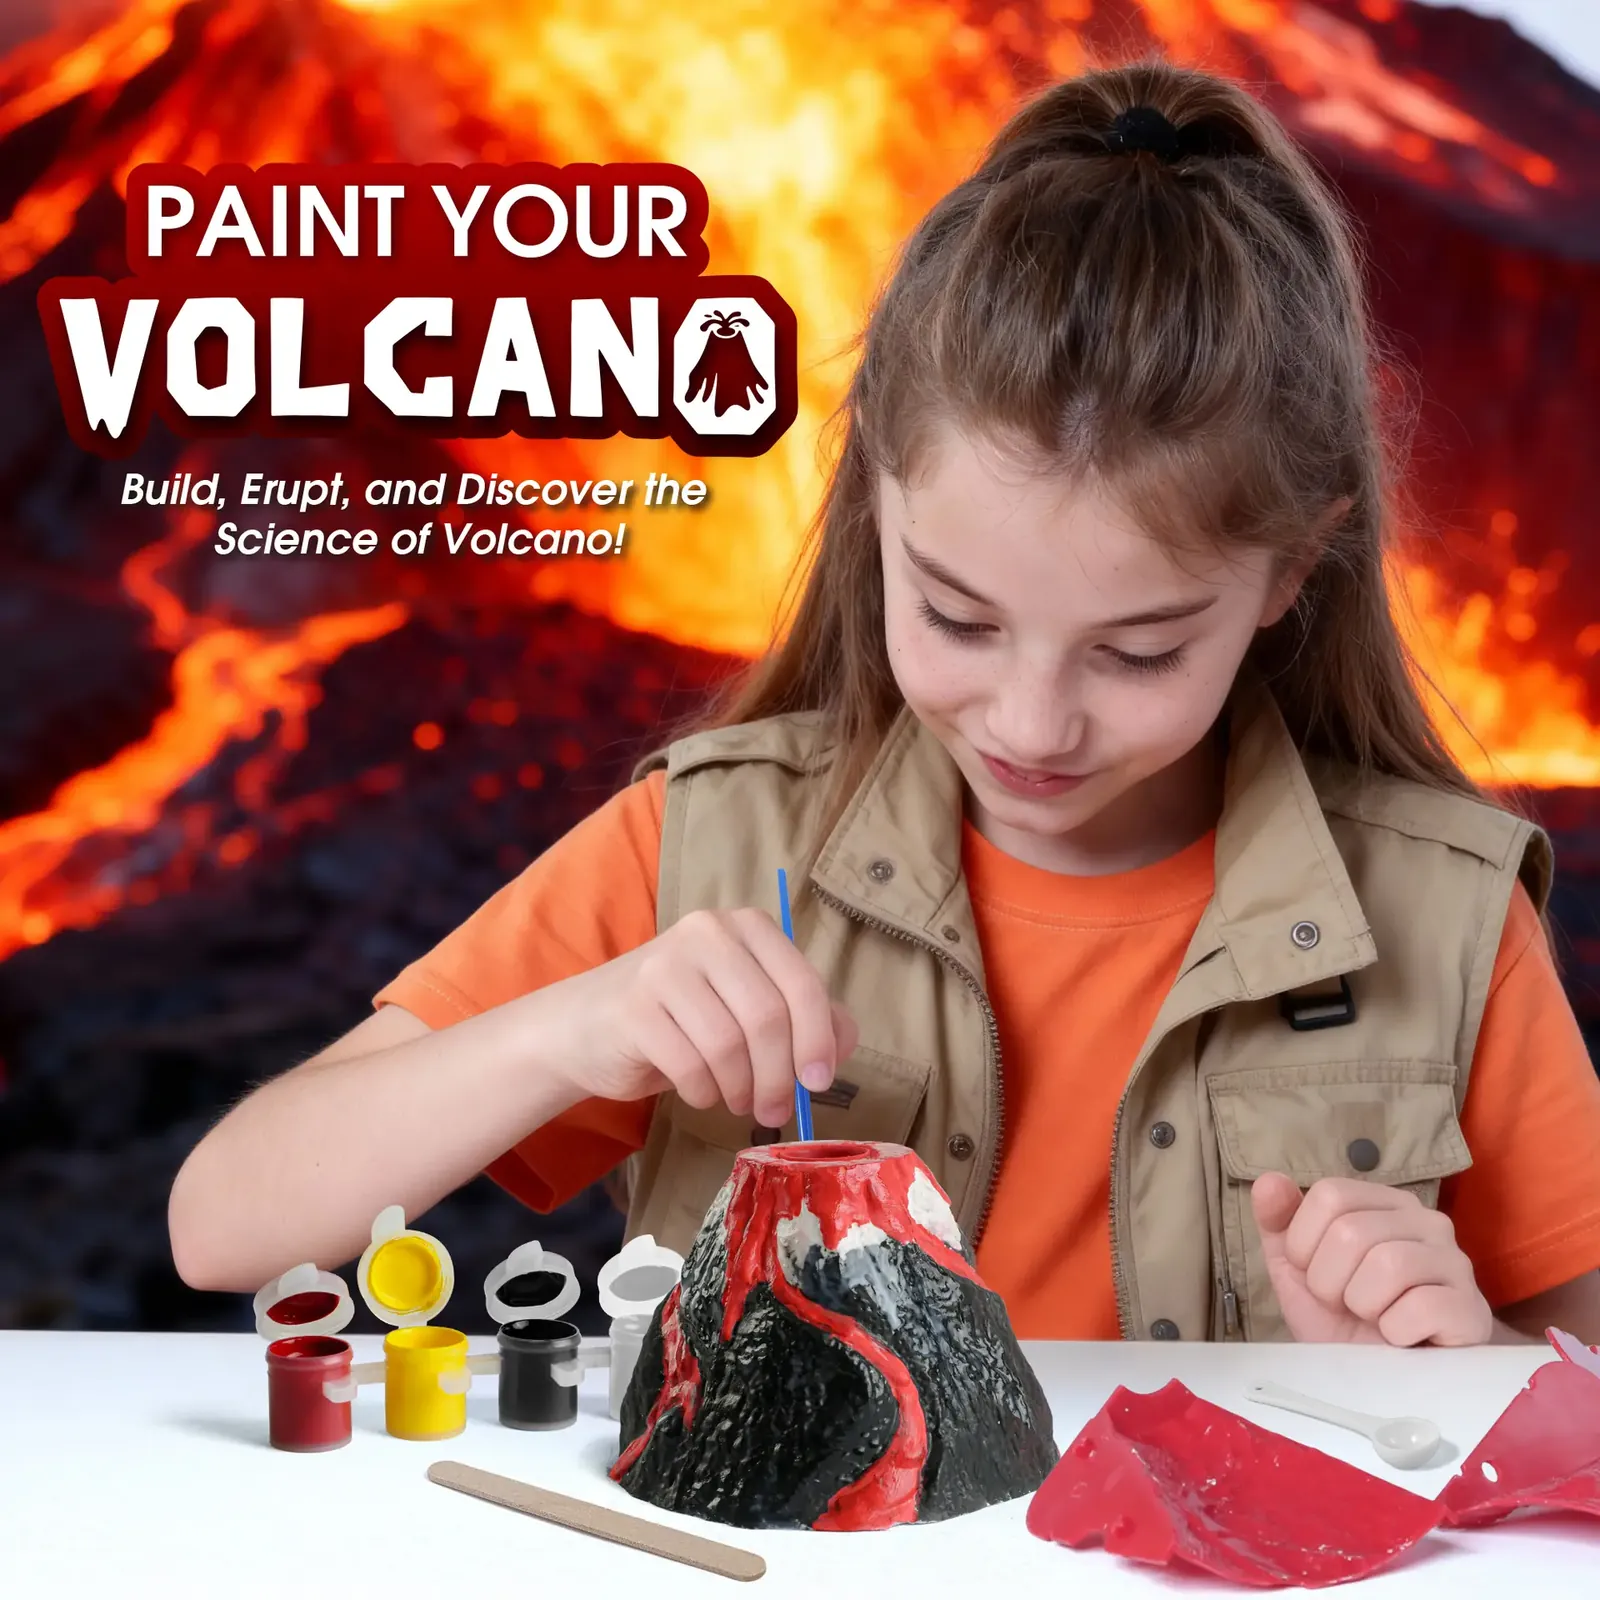
03Paint the slopes
Once the cast is ready for painting, brush on the mountain colors and lava-like lines. Add the glow-in-the-dark paint where directed, then let the painted model dry.
04Check the glow
Expose the glow-painted areas to bright light, then view the model in a dark room. This is a separate observation from the eruption.
05Run the eruption
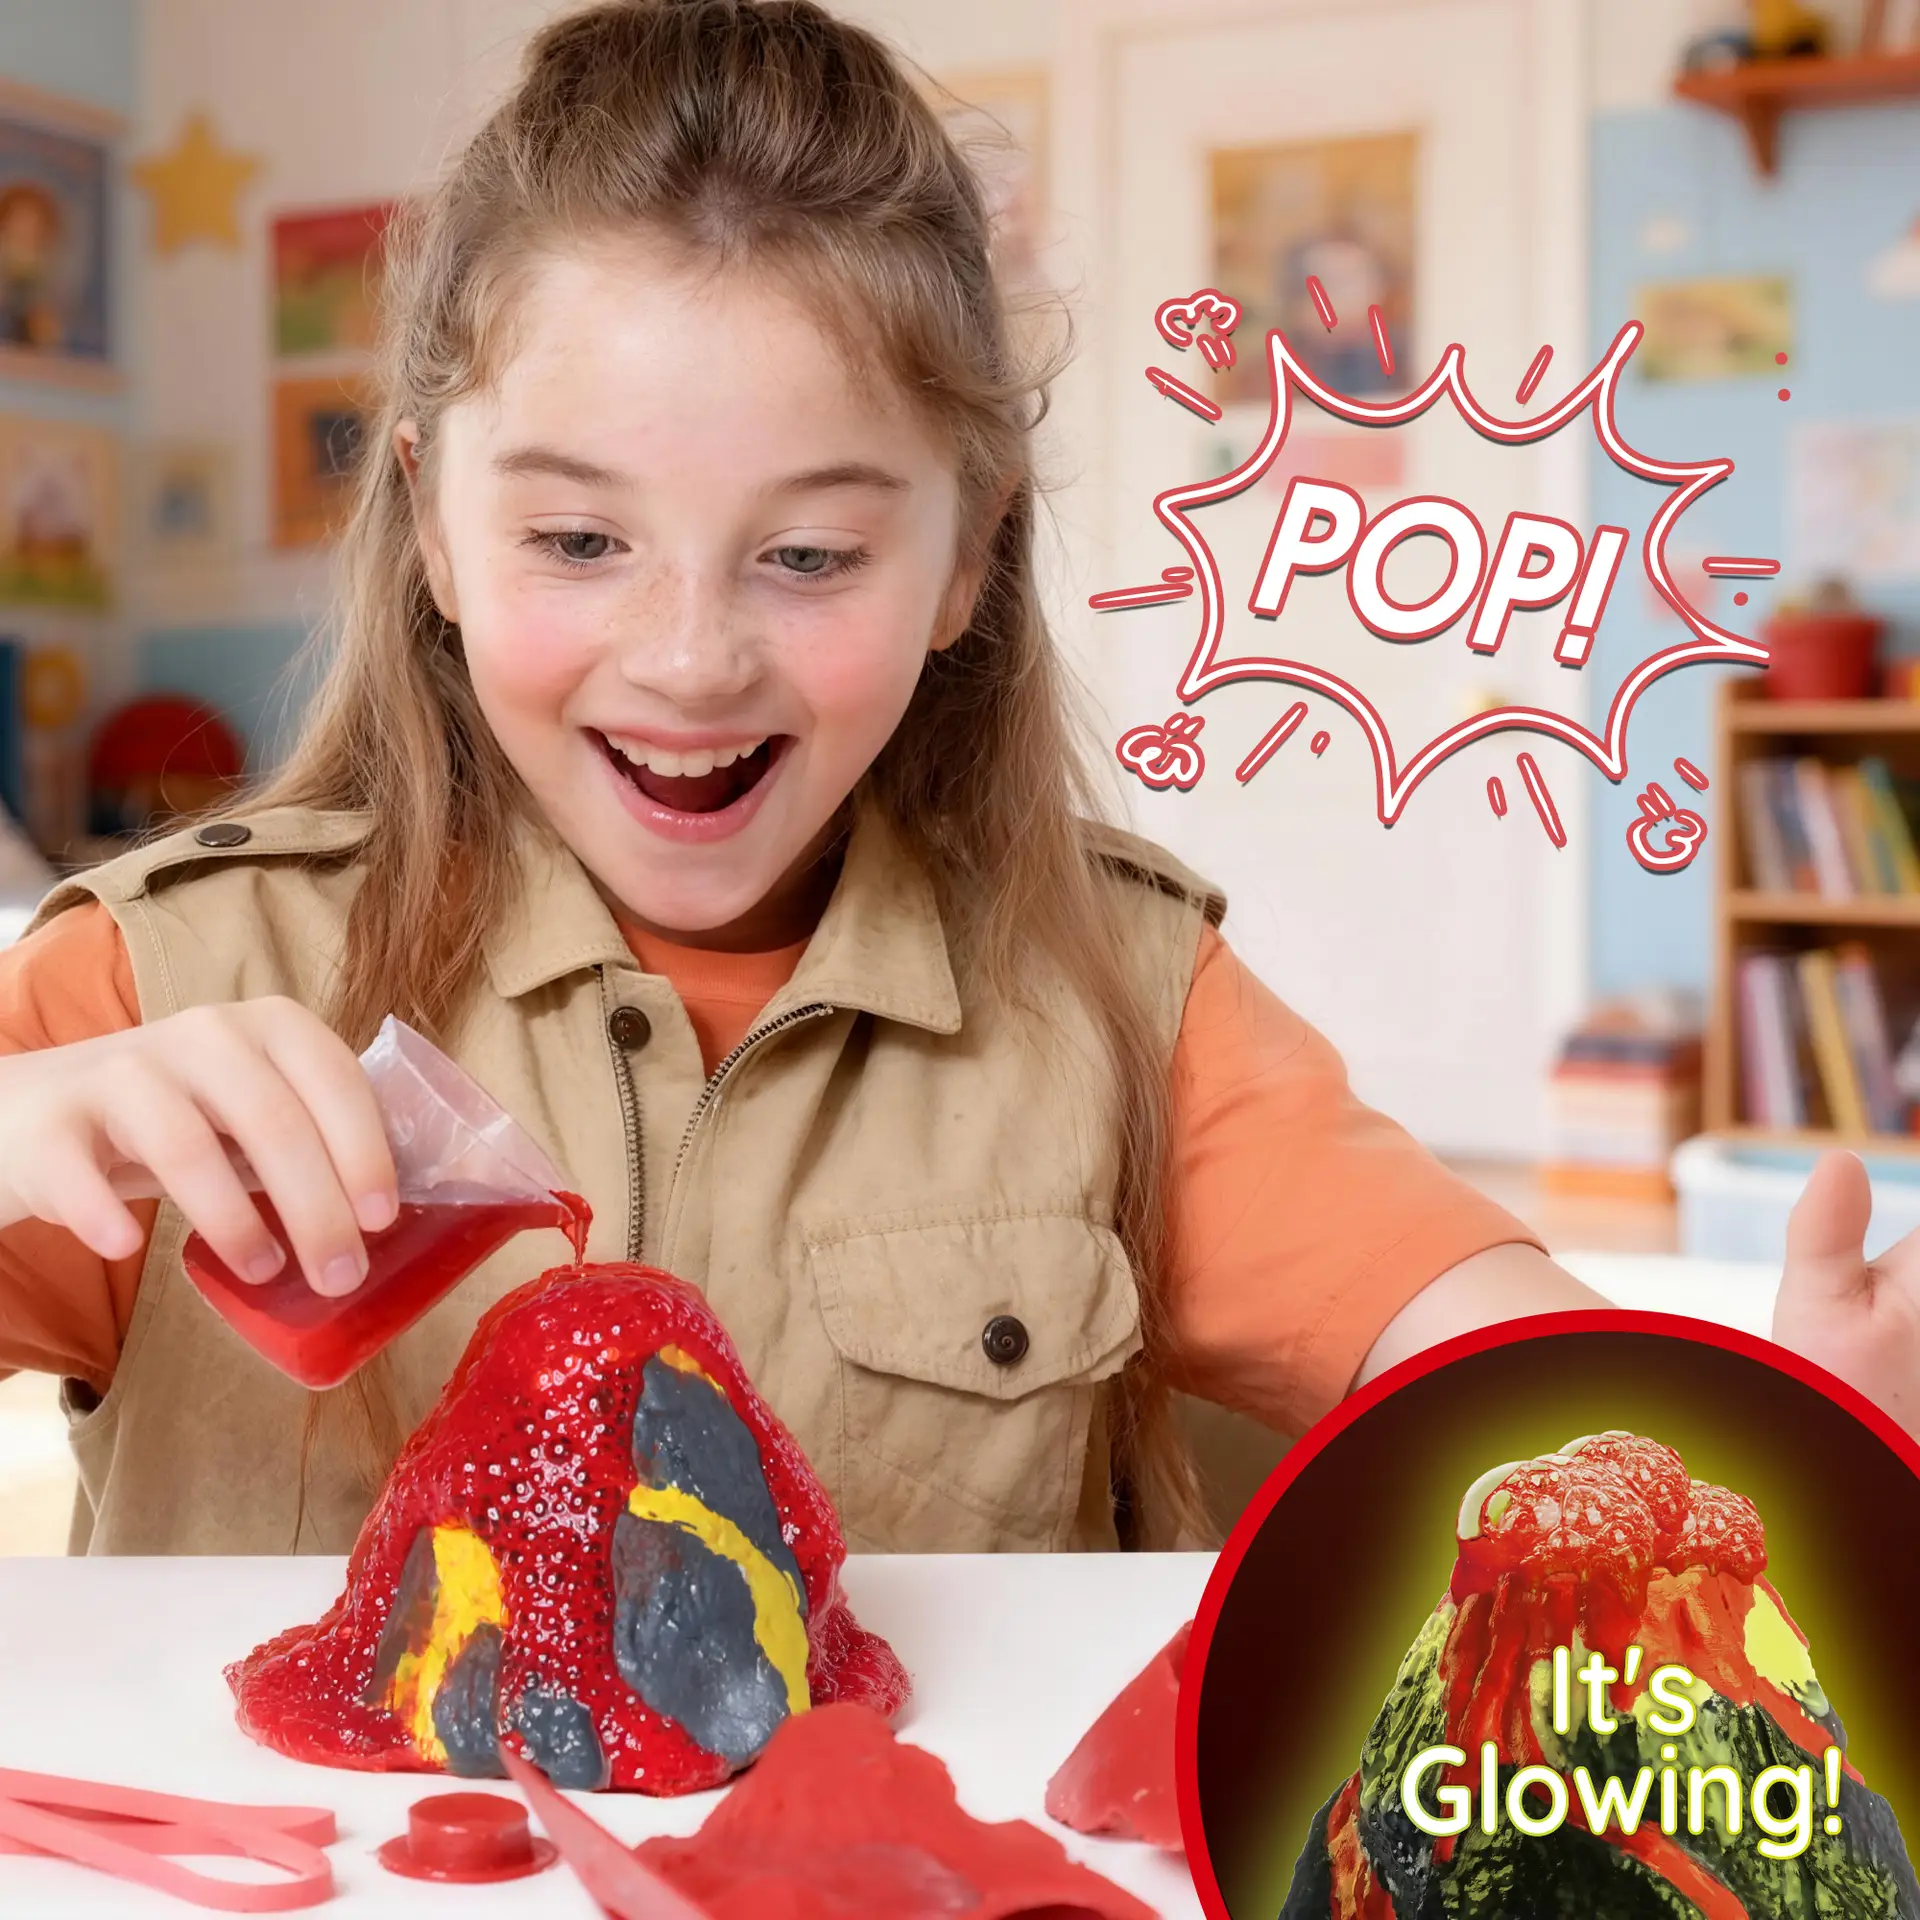
Move the model back to a well-lit work area on a tray. With adult supervision, use the red baking soda, citric acid, and water exactly as directed. Watch the bubbles rise and the foam travel down the sides.
TWO OBSERVATIONS, TWO SETUPS
Light for the glow. Water for the reaction.
Glow check: look at the painted volcano under normal lighting, expose it to bright light, then move it to a dark room. Ask which painted areas remain visible. The glow belongs to the coating on the model.
Eruption check: use the instructed ingredients and quantities in a well-lit area. Watch the crater for the first bubbles, then follow the foam down the slopes. The effect comes from the reaction, not from the glow paint.
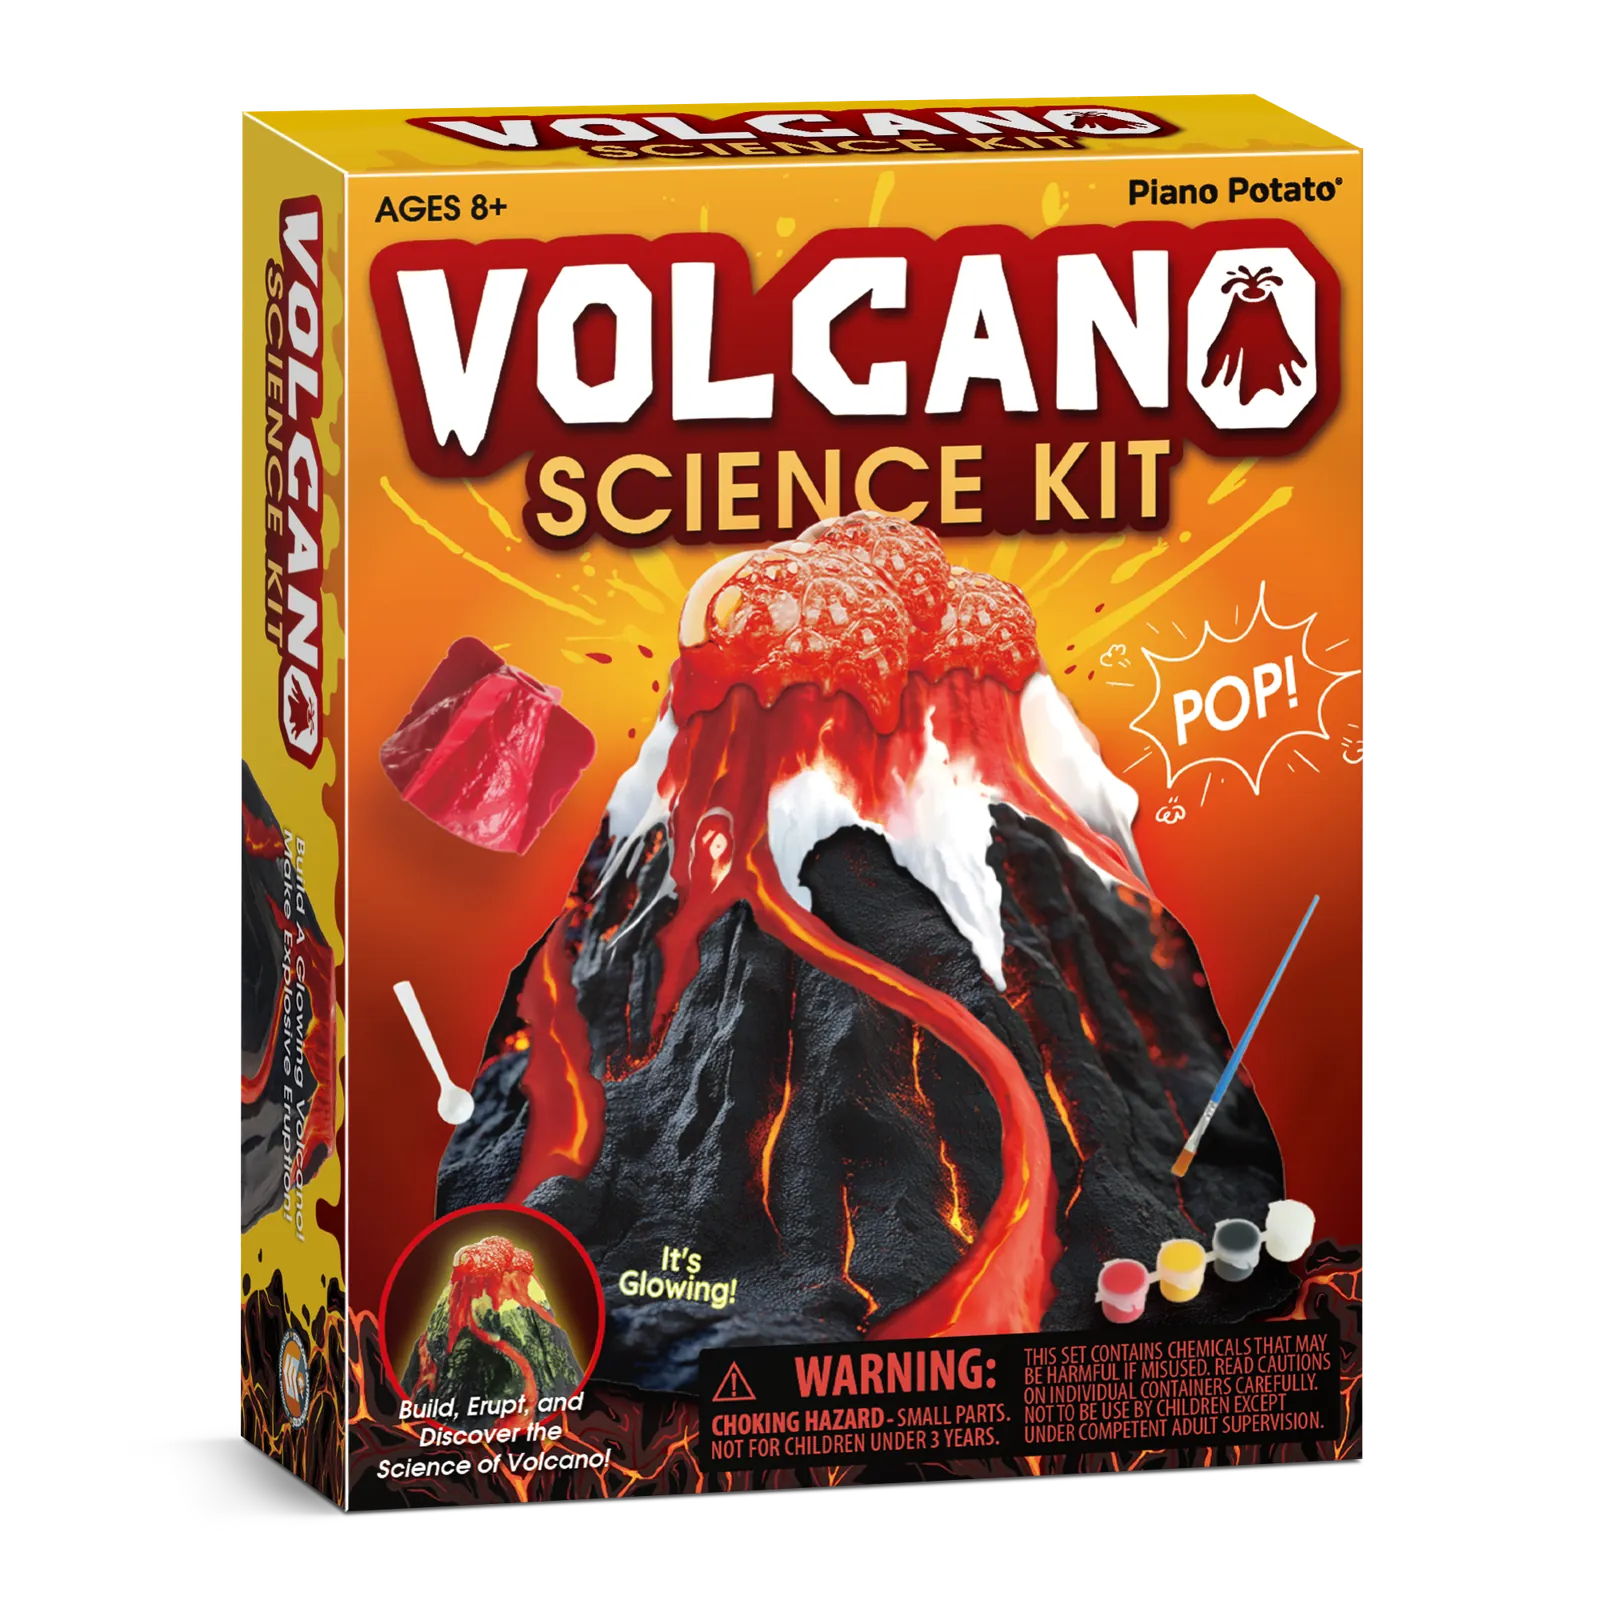
The photos illustrate both effects. Treat them as separate parts of the activity rather than expecting the foamy mixture itself to glow.
GIVE THE OBSERVER A JOB
Trace the foam from crater to tray.
Before the eruption, ask a child to point to the route they think the foam will take. Keep the quantities in the guide unchanged and observe the result from beside the model.
For a family demonstration, one person can read the guide while another records observations. In a class or club, cast the model beforehand and use a sketch of the slopes to compare predicted and observed paths.
Keep the science clear: this tabletop reaction produces gas bubbles and flowing foam. A real volcano involves magma and volcanic gases; the model does not reproduce hot lava or conditions underground.
READ THE WARNINGS BEFORE MIXING
Age, supervision, and storage.
The box states that the set contains chemicals that may be harmful if misused and requires competent adult supervision. Read the cautions on the individual containers and the instructions before opening or mixing materials.
A small-parts choking warning also appears on the box; the kit is not for children under 3. Keep unused powders in their labeled containers, store the supplies away from younger children, and follow the guide for cleanup after casting and eruption.
CHOOSE A DIFFERENT KIND OF CHANGE
Color changes, mixtures, or crystals.
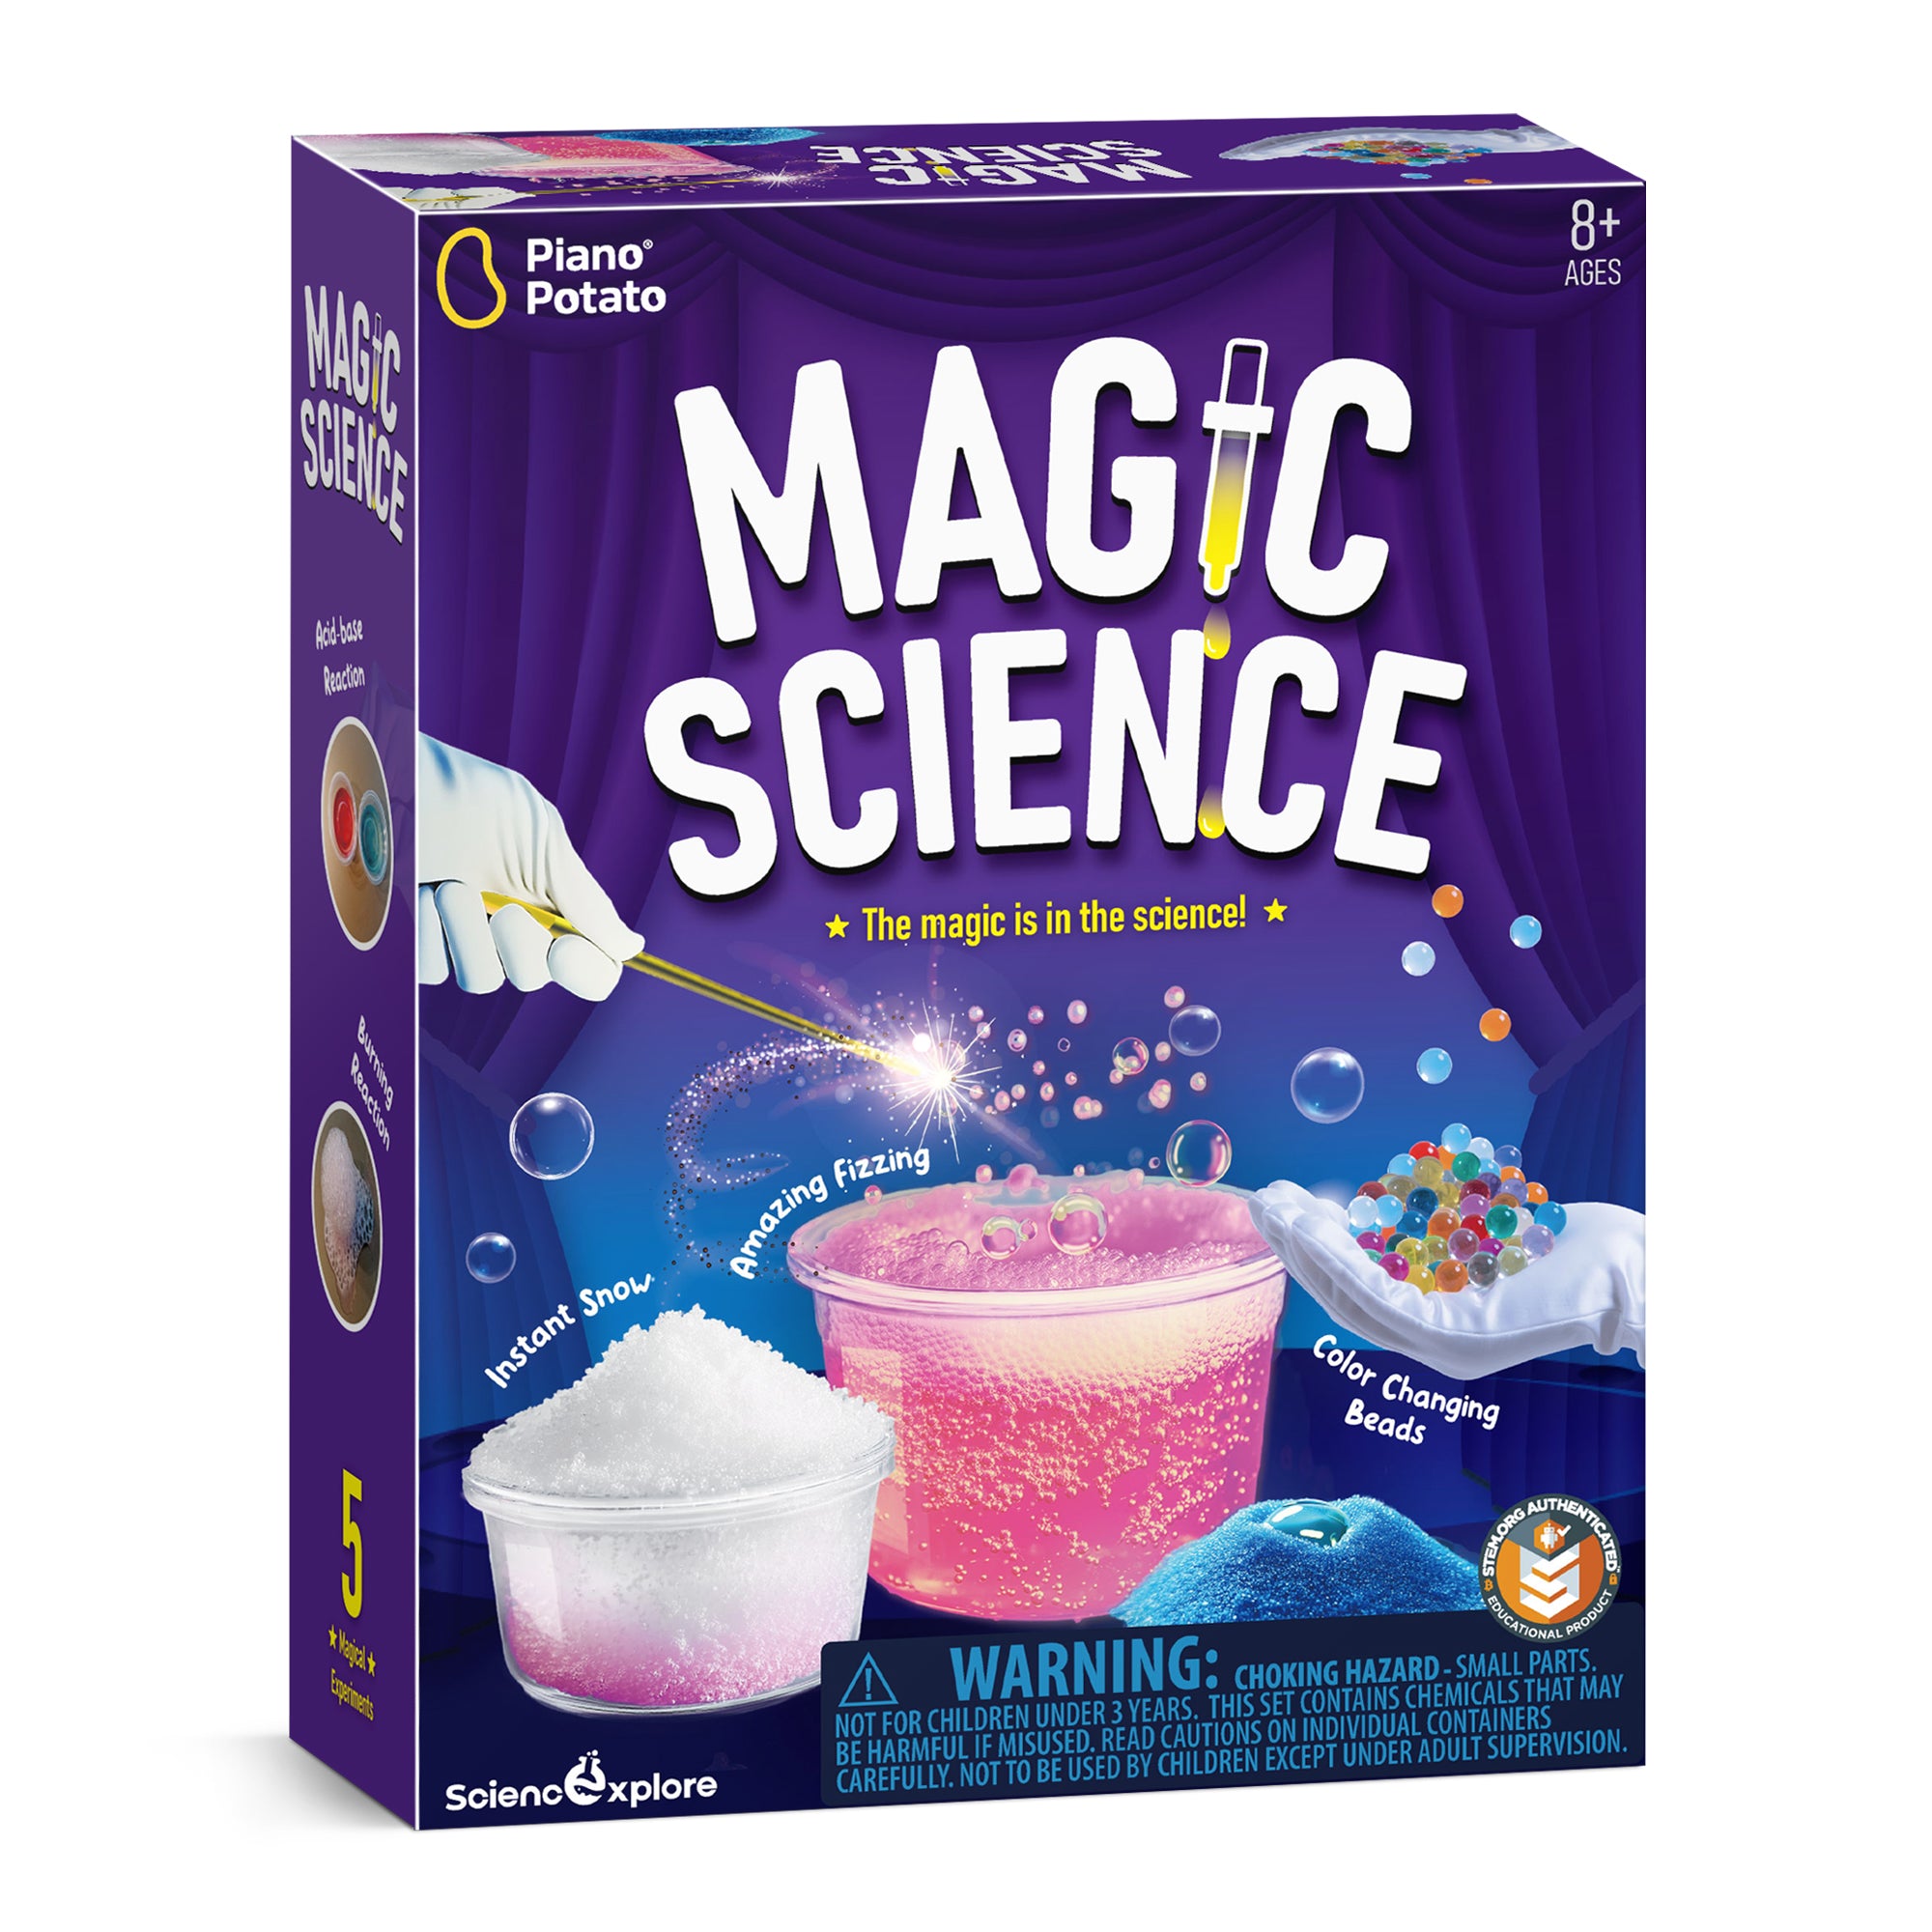
Magic Science Kit
Explore five experiments with fizzing reactions, instant snow, and color changes.
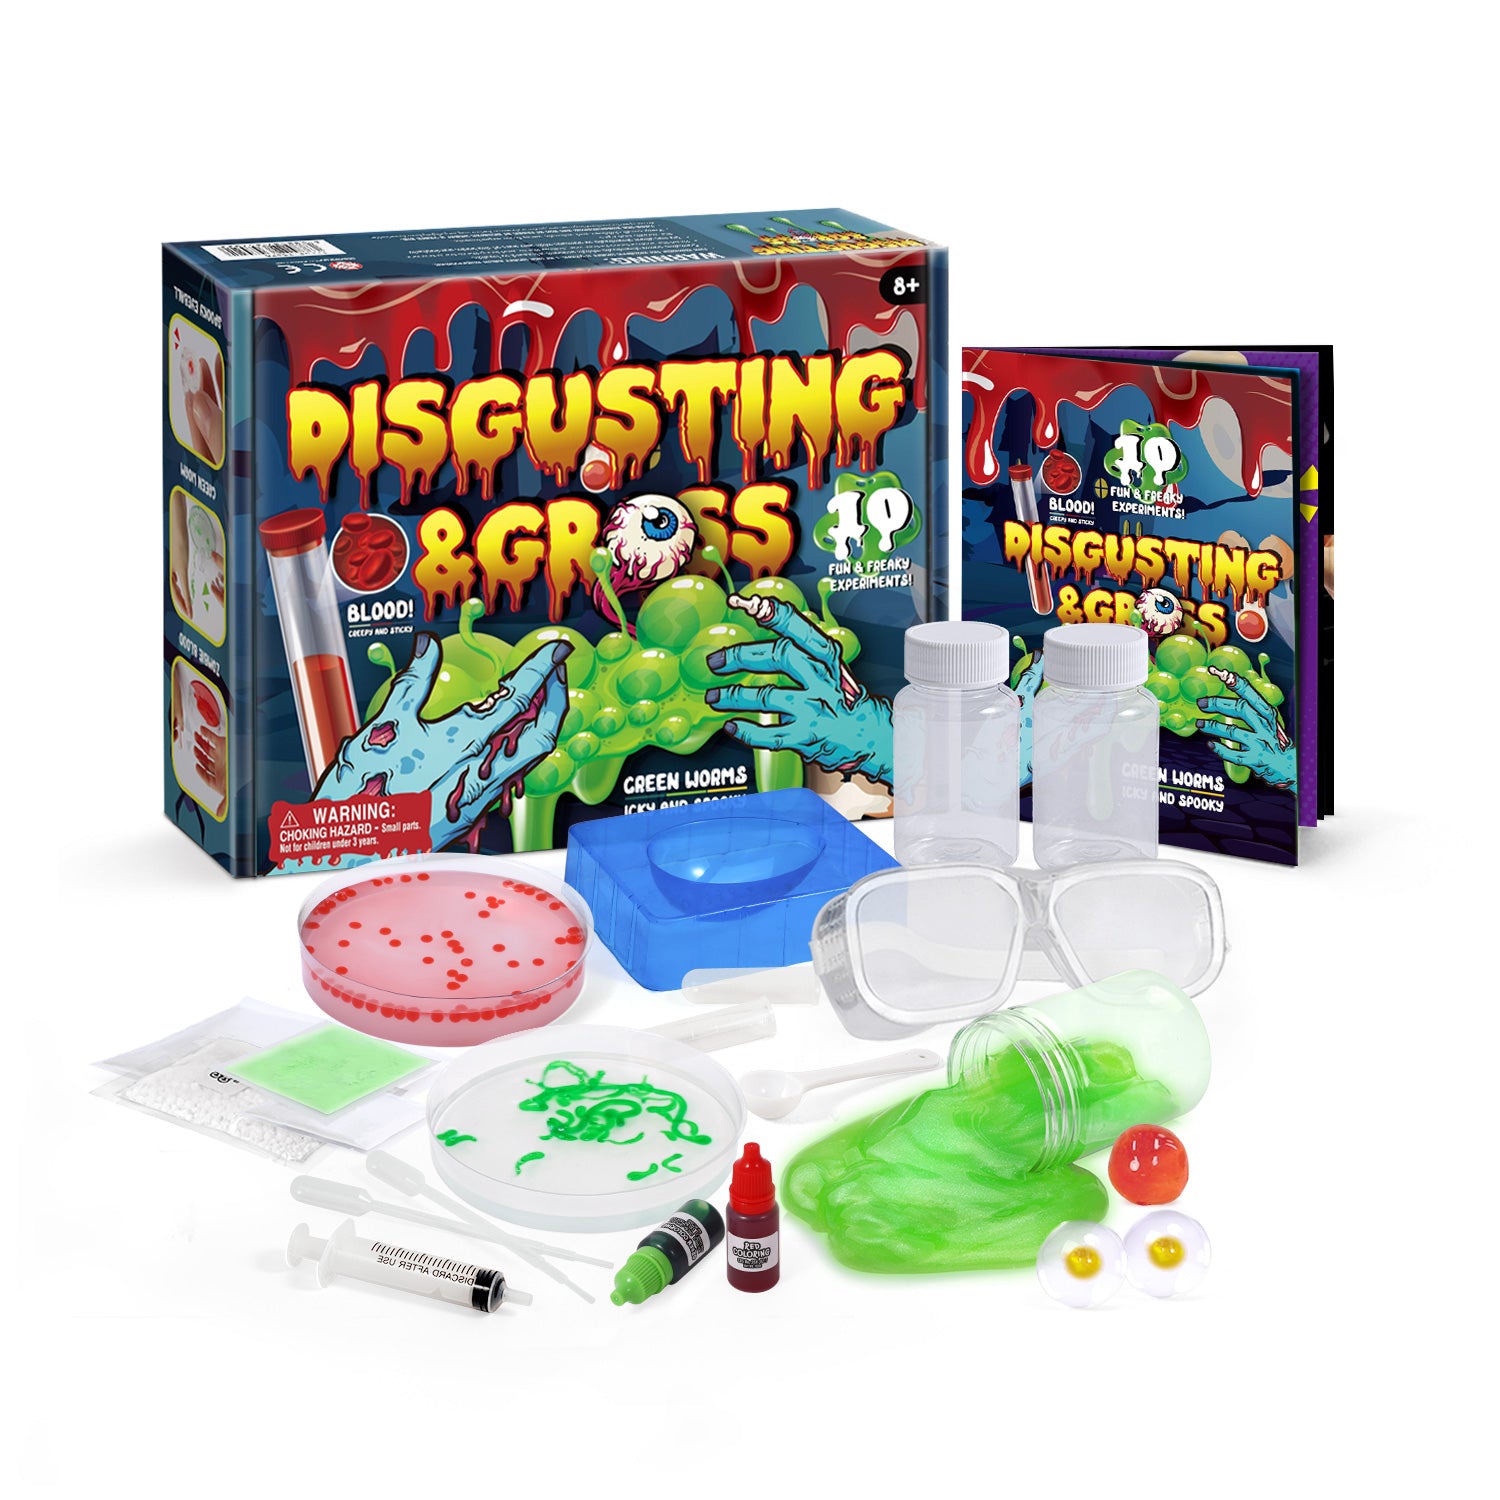
Disgusting & Gross Science Kit
Make science-themed mixtures such as slimy worms, fake blood, and eyeball effects.
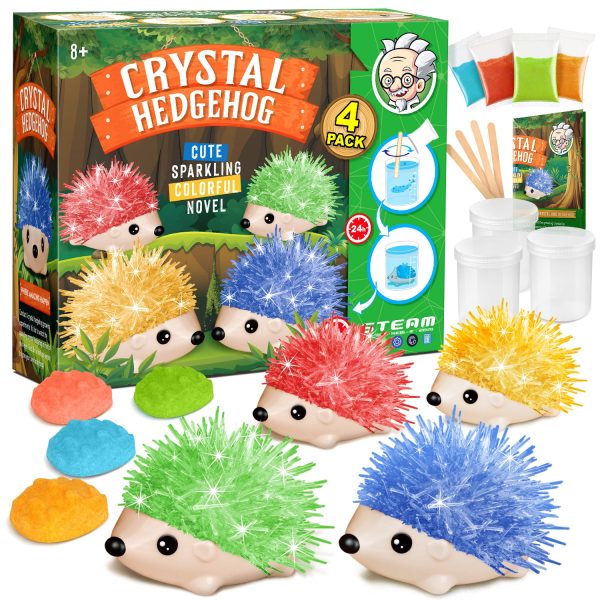
Four-Hedgehog Crystal Growing Kit
Watch crystals develop on four hedgehog models—a slower change to observe after the volcano bubbles.
EXPLAIN WHAT THE MODEL CAN SHOW
CASTING, GLOW, AND ERUPTION QUESTIONS
Know what happens at each stage.
Does the volcano arrive ready to erupt?
No. You assemble the mold, mix and cast the plaster, and let the model set before unmolding and painting it. The eruption is a later stage of the project.
Can we cast, paint, and erupt in one sitting?
Plan around the setting and drying stages rather than a fixed activity length. Follow the guide before unmolding, and let the model and paint dry as directed. For a class or club, prepare the cast ahead of the eruption demonstration.
Does the foam glow in the dark?
The guide identifies glow-in-the-dark paint for the volcano’s surface. Charge those painted areas under bright light and view them in a dark room. The bubbling eruption is a separate effect; glowing foam is not promised.
What makes the foam rise?
The red baking soda and citric acid react when used with water as directed, producing carbon dioxide gas. The bubbles make the mixture rise and overflow. This models bubbling and flow; it does not make molten rock.
What should we have ready at home?
Have water, a suitable mixing container, a tray or protected work surface, and access to bright light ready. Check the included guide for quantities and setup. This kit is for ages 8 and up and requires adult supervision.
Build the mountain. Then watch it change.
Set aside space for casting, a place for the model to dry, and a tray for the eruption.
Related products
- Fun & Science
Bouncy Ball – Make 20 Colourful Power Balls for Kids
Original price was: $12.99.$9.99Current price is: $9.99. - Fun & Science
Piano Potato Nail Polish & Lip Balm Making Kit – Create Your Own Safe, Glittery Cosmetics for Kids & Teens
Original price was: $15.99.$12.99Current price is: $12.99.