
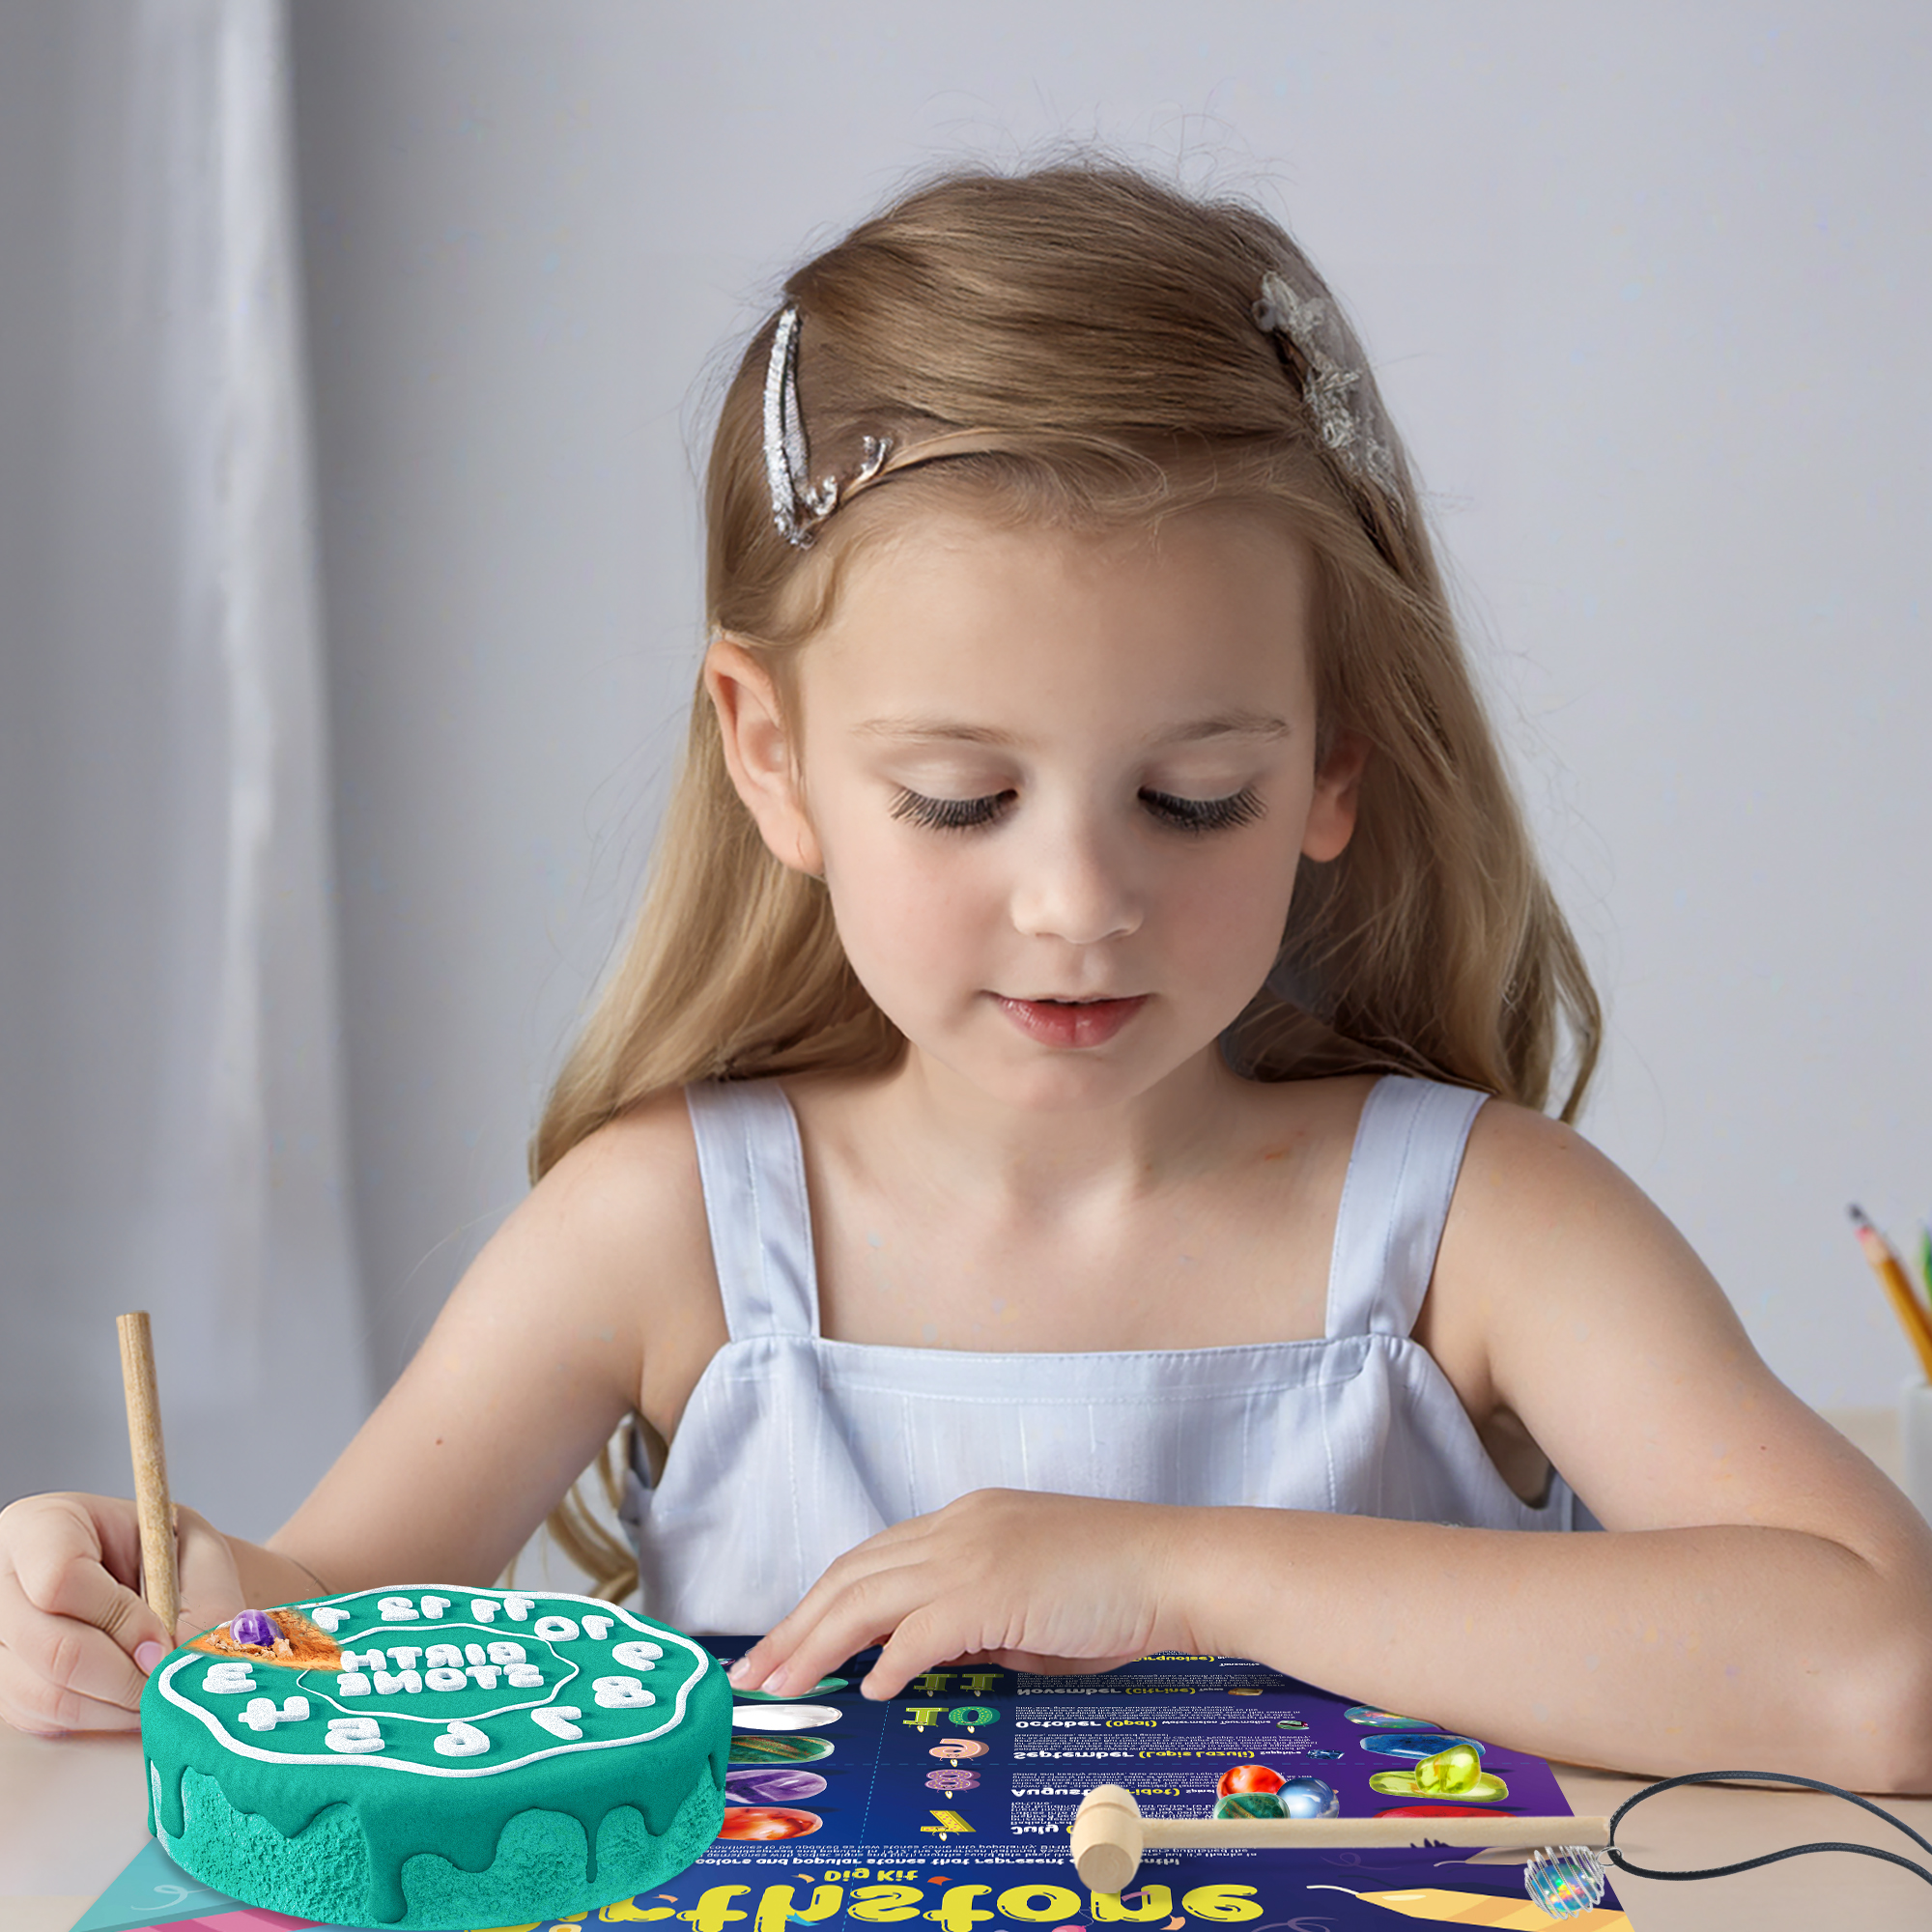
To teach chemistry with a crystal growing kit, let the child watch a solid dissolve, record how crystals appear, measure their growth, and compare one changed condition. The activity is suitable for children ages 6–12, but an adult should handle hot water, chemical packets, spills, and disposal.
A practical home activity usually needs about 20–40 minutes of active preparation, followed by 5–10 minutes of observation each day. Visible crystals may appear within hours, but a useful set of measurements often requires 3–7 days. The exact temperature, material amounts, and growing time must come from the individual kit instructions.
Families and teachers can start by exploring Piano Potato’s crystal growing kits for children. Check the age label and instructions on the individual product before beginning.
Set a Learning Goal
A crystal kit should teach more than how to make a colorful object. By the end of the activity, the child should be able to explain:
- Where the powder went after it dissolved
- Why solid crystals appeared later
- How cooling or evaporation changed the solution
- Where the first crystals formed
- Which condition was changed
- Which measurements support the result
These tasks match common science practices such as asking questions, carrying out investigations, analyzing data, and explaining results with evidence.[1]
For more ideas about using physical materials to make science easier to understand, read How STEM Learning Kits Make Science More Engaging for Children.
Plan the Activity
For the first trial, follow the standard instructions without changing the recipe. Let the child observe the normal process before testing a different condition.
| Stage | Suggested Time | Main Tasks |
|---|---|---|
| Preparation | 10–15 minutes | Read the instructions, inspect the packet, prepare tools, and set safety rules. |
| Mixing | 10–25 minutes | Measure the materials, record the starting temperature, mix the solution, and position the seed. |
| Daily observation | 5–10 minutes | Check the liquid level, crystal width, growth location, and visible clusters. |
| Growing period | Usually 3–7 days | Observe without moving the container. Some kits may need less or more time. |
| Final review | 15–20 minutes | Measure the dry crystal, compare the result with the prediction, and write a conclusion. |
These times are planning estimates, not chemical instructions. Always use the preparation and growing times stated on the product.
On the first day:
- Observe the dry powder.
- Measure the water and powder as directed.
- Record the starting water temperature.
- Prepare the solution.
- Position the seed or growing base.
- Label the container.
- Mark the starting liquid level.
During the growing period:
- Observe at roughly the same time each day.
- Try to keep the daily observation time within the same 30-minute period.
- Do not shake or move the container.
- Measure the same crystal or cluster.
- Take photographs from the same angle.
- Record spills, movement, temperature changes, or other unusual events.
Check the Kit First
Read every instruction before opening the powder packet. Crystal kits can contain different salts, including alum, magnesium sulfate, sodium acetate, monoammonium phosphate, or other compounds. They may require different temperatures, ratios, growing times, and disposal methods.
Check the package for:
- Recommended age
- Chemical or ingredient information
- Required water temperature
- Exact water and powder amounts
- Expected growing time
- Adult-supervision instructions
- First-aid information
- Disposal directions
Do not combine chemicals from different kits. Do not use a recipe from another crystal experiment simply because the powders look alike.
Do not use a packet that is leaking, wet, unsealed, badly damaged, or missing its instructions. The U.S. Consumer Product Safety Commission recommends following the age guidance and safety information printed on toy packaging.[2]
This guide covers children ages 6–12, but the label on the individual product decides whether a specific kit is suitable for a younger child or should be used only by an older child.
Prepare the Work Area
Choose a stable table where the growing container can remain untouched for several days. Keep it away from food, pets, younger children, direct sunlight, open windows, heating vents, and the edge of the table.
Direct sunlight can warm one side of the container. A window or heating vent can also change the temperature and evaporation rate. These changes make it harder to compare two samples fairly.
Prepare:
- The complete crystal growing kit
- Safety glasses
- A clear heat-resistant container
- A measuring cup and spoon
- A stirring stick
- A thermometer, when required
- Labels or masking tape
- A notebook and pencil
- A ruler marked in millimeters
- Paper towels
- A tray or washable table cover
Use tools reserved for experiments. Do not return a cup, spoon, or stirring tool to food use after it has touched the kit chemicals.
A straight-sided container is easier to observe than a curved one. Curved walls can make a crystal look larger or smaller than it is. When comparing two samples, use matching containers because container width affects water depth, cooling, and evaporation.
Follow Safety Rules
An adult should supervise the activity from preparation through cleanup. The American Chemical Society recommends reading all directions first, wearing the protective equipment stated in the activity, keeping food and drinks away, disposing of materials correctly, and washing hands afterward.[3]
Children should not:
- Taste the powder, solution, or finished crystal
- Touch their eyes while working
- Smell the powder closely
- Blow on the powder
- Eat or drink near the experiment
- Handle boiling water
- Mix leftover chemicals
- Move a hot container
- Pour away the solution without checking the instructions
If the solution touches the skin, rinse the area with water and follow the product directions. If it enters the eyes, begin rinsing and follow the first-aid information on the packaging. If any material is swallowed, keep the package so the substance can be identified and contact the appropriate local medical or poison-information service.
Do not place a hot glass container directly in a refrigerator, freezer, or cold-water bath. A sudden temperature change can crack some containers. Do not heat an unknown solution in a microwave because it may heat unevenly or boil suddenly.
Stop the activity if the container cracks, the child develops irritation, the solution produces an unexpected strong odor, or chemicals from different kits are accidentally mixed.
Teach the Main Words
Explain these terms before mixing:
- Solute: The material being dissolved.
- Solvent: The liquid that dissolves the solute. In most kits, this is water.
- Solution: The mixture formed after the solute spreads through the solvent.
- Saturated solution: A solution holding about as much dissolved material as it can at the current temperature.
Point to the powder and say, “This is the solute.” Point to the water and say, “This is the solvent.”
After stirring, explain that the powder has not disappeared. Its particles have spread through the water and are too small to see. A clear solution can still contain a large amount of dissolved material.
ACS provides an elementary lesson in which children dissolve salt, evaporate the water, and observe the salt crystals forming again.[4]
Explain Physical Change
In most simple crystal growing kits, dissolving and crystallization are mainly physical changes. The material enters the solution and later returns as a solid. The activity is not intended to create a completely new substance.
ACS explains that a physical change, such as dissolving, does not create a new substance, while a chemical reaction does.[5]
Do not tell children that a chemical reaction occurred only because:
- The powder became invisible
- The liquid changed color
- A solid appeared
- The solution became cloudy
- The temperature changed
Dissolving can make a solution warmer or cooler without producing a new substance. Crystallization can also release heat in some systems.[6]
A simple explanation is: “The material spread through the water and later joined together again as a solid crystal.”
Watch the Powder Dissolve
Add the powder according to the instructions. If gradual addition is allowed, ask the child to observe each portion.
The first portion may dissolve quickly. Later portions may take longer because the solution already contains more dissolved material.
Record at least five details:
- Water temperature
- Water volume
- Powder amount
- Stirring time
- Solution color and clarity
- Material remaining at the bottom
Powder at the bottom does not automatically prove that the solution is saturated. It may remain because the water is not warm enough, the powder formed a lump, the mixture was not stirred for long enough, or the kit contains an insoluble growing base.
A better observation is: “After stirring for the required time at a steady temperature, a small amount of solid remained.”
Separate Dissolving Speed From Solubility
Dissolving speed tells us how fast a material enters the solution. It can be affected by temperature, stirring, clumping, and powder particle size.
Solubility tells us the maximum amount of a material that can dissolve in a given amount of water at a stated temperature. The Royal Society of Chemistry explains solubility in terms of the maximum mass that dissolves at a given temperature and describes cooling and evaporation as ways to form crystals from a solution.[7]
Stirring can make a powder dissolve faster, but it does not necessarily increase the final amount that remains dissolved.
To show the difference, use two matching cups only when the kit allows it:
- Use the same water volume.
- Use the same water temperature.
- Add the same powder amount.
- Stir one cup.
- Leave the other cup still.
The stirred sample may become clear sooner. This shows a change in dissolving speed, not proof of greater solubility.
Explain Temperature
Many crystal-growing salts dissolve more easily in warm water than in cool water. Warm water may also hold a greater amount of dissolved material.
As the solution cools, less material may be able to remain dissolved. The extra material can leave the solution and join a growing crystal.
This pattern is common, but it is not identical for every chemical. Always use the temperature stated in the kit instructions.
Temperature can affect:
- How quickly the powder dissolves
- How much material remains dissolved
- When crystals begin forming
- How many crystals form
- How quickly each crystal grows
When comparing temperatures, record the measured value instead of writing only “hot,” “warm,” or “cold.” Hotter water does not automatically produce a larger crystal.
Explain Supersaturation
A warm solution may hold a large amount of dissolved material. After cooling, it can temporarily contain more material than would normally remain dissolved at the lower temperature. This is called a supersaturated solution.
A supersaturated solution may remain clear for some time. Scientists call this temporary condition metastable. The solution is ready to crystallize, but visible growth may not begin until a suitable starting point appears.[8]
Explain it this way:
“The cooled water is holding more dissolved material than it can keep easily. The extra material is ready to join a crystal, but it may need a starting place.”
- Warm water dissolves the material.
- The solution cools.
- Less material can remain dissolved.
- The solution may stay clear for a while.
- A small starting crystal forms.
- More particles join it.
- Growth slows as less dissolved material remains available.
In an evaporation-based kit, the concentration rises mainly because water leaves the container rather than because the solution cools.
Find the First Crystal
The first stable crystal formation is called nucleation.
Nucleation may begin:
- On the supplied seed
- On a rough growing base
- On a string or fiber
- On the container wall
- At the bottom
- Around dust or a small solid particle
- Near dried solution at the waterline
- Within the liquid
These surfaces do not provide most of the crystal material. The dissolved chemical provides the material. The surface only makes it easier for the first small ordered structure to form.
Record three pieces of information as soon as growth appears:
- The first hour or day of visible growth
- The exact growth location
- Whether one crystal or several clusters appeared
Use the Seed Correctly
A seed crystal or growing base gives dissolved material a place to begin forming an ordered solid.
Use the part supplied with the kit. Some kits use a true crystal seed, while others use a rock, model, string, or rough base.
- Keep it below the liquid surface.
- Keep it away from the container wall.
- Do not let it rest on the bottom unless instructed.
- Make sure the support is stable.
- Prevent loose string from swinging through the liquid.
A true seed crystal can dissolve if it is added while the solution is too warm or too dilute. A cracked seed may release small pieces, and each piece can become a separate growing point.
For a simple observation, explore the Crystals & Supplies collection, including the green crystal growing kit. For a comparison using two growing cups, see the two-crystal glowing kit.
Explain Crystal Shape
Particles inside a crystal follow a repeating three-dimensional arrangement. This internal pattern affects the crystal’s faces, edges, angles, and growth directions.
Children may see crystals that look:
- Cubic
- Needle-like
- Plate-like
- Branched
- Pointed
- Clustered
- Flat-faced
The same chemical does not always produce an identical outer shape. Temperature, concentration, available space, growth speed, impurities, dye, and contact with the container can all affect the final appearance.
Food coloring may remain on the surface or become trapped between growing areas. If two samples are compared, use the same type and amount of dye in both.
Run a Fair Test
The first use of a kit should be a basic observation. A later trial can become an investigation by changing one condition and comparing the results.
A basic comparison needs:
- Two matching containers
- The same chemical and solution amounts
- One changed condition
- The same observation period
- At least four recorded results
Useful results include:
- Time until first visible growth
- Largest crystal width
- Visible cluster count
- Liquid-level change
A weak question is:
“Which crystal is better?”
A stronger question is:
“Does slower cooling change the number and width of visible crystal clusters after four days?”
Keep water volume, powder amount, container type, seed position, location, and observation time as similar as possible. If several conditions change together, the child cannot tell which condition caused the result.
Compare Cooling Speed
Prepare two equal samples only when the kit contains enough material and the instructions allow the solution to be divided.
Let one sample cool under normal room conditions. Use a different permitted cooling condition for the second sample. Do not use a freezer or ice bath unless the kit specifically allows it.
Record four temperature readings:
| Time | Sample A | Sample B |
|---|---|---|
| Start | ||
| 15 minutes | ||
| 30 minutes | ||
| 60 minutes |
Rapid cooling often creates more starting points, so the available material is divided among many smaller crystals. Slower cooling often produces fewer, larger crystals. The result can still vary with the compound, concentration, seed, and container.[9]
Compare Evaporation
Use two matching containers with equal solution amounts. Keep one sample covered in the standard way. Use a different permitted cover arrangement for the other.
Mark the starting liquid level on the outside of both containers. Record:
- Daily liquid level in millimeters
- Time until the first visible crystal
- Number of visible clusters
- Largest crystal width
- Location of the growth
As water evaporates, less solvent remains. The dissolved material becomes more concentrated, which may lead to crystal formation.
Changing the cover can also change dust, airflow, and surface temperature. A careful conclusion is:
“In this trial, the more open container lost water faster and showed visible crystals earlier.”
Compare Growing Surfaces
This activity tests which approved surface supports the most visible crystal growth.
- The supplied growing rock
- Cotton string
- A pipe cleaner
- A wooden stick
- Smooth plastic
- Roughened plastic
Different materials vary in roughness, surface area, absorbency, fiber count, and chemical composition. The test cannot prove that roughness alone caused the result.
To compare roughness more fairly, use two pieces of the same material. Leave one smooth and lightly roughen the other, provided this is safe and allowed.
Repeat the Test
When enough material is available, prepare two samples for each condition. Two repeated samples are useful for a home or classroom comparison, but they are not statistical proof.
If matching samples produce similar results, confidence in the pattern increases. If their results are very different, check for differences in water volume, temperature, dust, seed position, container movement, and measurement.
Record every sample, including crystals that are small, broken, uneven, or growing on the wall. Do not report only the largest crystal.
Track Growth
Observe the container once each day at roughly the same time. A household ruler marked in millimeters is accurate enough for this activity. Do not remove the crystal for daily measurement.
| Day | Liquid Level | Crystal Width | Visible Clusters | Growth Location | Notes |
|---|---|---|---|---|---|
| 0 | Starting level | 0 mm | 0 | None | Solution prepared |
| 1 | |||||
| 2 | |||||
| 3 | |||||
| 4 | |||||
| 5 |
Record unusual events such as a moved container, spilled solution, fallen cover, broken seed, or sudden room-temperature change.
Use Sample Data Correctly
The following figures are fictional. They show how to record data and are not expected results for every kit.
| Day | Crystal Width | Visible Clusters | Liquid-Level Change |
|---|---|---|---|
| 0 | 0 mm | 0 | 0 mm |
| 1 | About 2 mm | 3 | 1 mm |
| 3 | About 7 mm | 6 | 3 mm |
| 5 | About 12 mm | 8 | 5 mm |
These numbers show a pattern: the visible width increased, more clusters appeared, and the liquid level fell. They do not prove that evaporation alone caused the growth because cooling, seed position, and other conditions may also have contributed.
Measure the Same Way
Use the same measurement rule each day:
- Measure the same crystal or cluster.
- Measure the longest visible width.
- Record to the nearest 1 millimeter.
- Keep the ruler in the same position.
- Take photographs from the same angle.
- Measure at roughly the same time each day.
Average width growth can be estimated with:
Change in width ÷ number of days
In the fictional example, the width increased from 0 to about 12 millimeters over five days:
12 mm ÷ 5 days = about 2.4 mm per day
This is an average for the entire period. It does not mean that the crystal grew exactly 2.4 millimeters every day.
Curved containers, overlapping crystals, camera angle, and the distance between the ruler and crystal can affect the result. Write “about 8 millimeters” rather than “exactly 8.000 millimeters.”
Separate Observation From Explanation
An observation describes what was seen or measured.
Observation: “Small crystals appeared on the growing base on day two. The largest cluster was about 8 millimeters wide on day four.”
An explanation describes why the result may have happened.
Explanation: “The rough base may have provided starting points. As the solution cooled and lost some water, dissolved particles joined the growing crystal.”
Use words such as “may,” “suggests,” “supports,” and “in this trial.” Avoid claims that the evidence cannot support.
Write a Data-Based Conclusion
A useful conclusion should contain at least two measurements. It should include:
- The question tested
- The condition changed
- The main measurements
- The chemical explanation
- One limitation
- One improvement
The following numbers are fictional:
“We tested whether cooling speed affected crystal width. The slowly cooled sample produced 3 large clusters, while the faster-cooled sample produced more than 20 small clusters. The largest slow-cooled cluster was about 15 millimeters wide, compared with about 5 millimeters in the faster-cooled sample. The results support the idea that faster cooling created more starting points. One container was closer to a window, so the temperatures may not have been controlled well. The test should be repeated with both containers in the same protected area.”
Do not change the recipe to make a result match these example measurements.
Adapt the Activity for Ages 6 to 8
Children ages 6–8 should focus on one sample, visible changes, and simple measurements.
| Task | Suitable Amount |
|---|---|
| Samples | 1 sample for the first activity |
| Observation frequency | Once per day |
| Observation time | About 5 minutes |
| Items to record | 2–3 items, such as color, liquid level, and crystal width |
| Final result | A drawing and a short spoken explanation |
The adult should handle chemical packets, hot water, exact measurements, pouring, spills, and disposal.
The child can predict what will happen, watch the powder dissolve, mark the liquid level, draw daily changes, compare sizes, and count visible clusters.
Adapt the Activity for Ages 9 to 12
Children ages 9–12 can compare two samples and work with more detailed records.
| Task | Suitable Amount |
|---|---|
| Samples | 2 matching samples |
| Changed conditions | 1 condition only |
| Observation frequency | Once per day |
| Items to record | 4–6 measurements or observations |
| Repeated samples | 2 per condition when enough material is available |
| Final result | A data table and a short written conclusion |
Under adult supervision, children can measure water, record temperature, compare samples, identify the changed condition, measure crystal width, and explain one possible source of error.
Fix Common Problems
| Problem | Possible Cause | What to Check |
|---|---|---|
| No crystals after 24 hours | The kit may need more time, or the solution may be too dilute. | If the instructions state 3–7 days, complete that period before changing anything. |
| The seed disappeared | The solution may have been too warm or able to dissolve more material. | Check when the seed was added and whether the stated ratio was used. |
| Many tiny crystals | Fast cooling, dust, loose seed pieces, or undissolved powder may have created many starting points. | Check cooling, cleanliness, movement, and seed damage. |
| Crystals at the bottom | Undissolved powder or broken seed pieces may have collected there. | Compare the bottom material with the original powder. |
| Crystals on the wall | Scratches, dust, dried droplets, or seed contact may have provided starting points. | Use a clean container and keep the seed near the center. |
| Growth stopped | Less dissolved material may be available, or the solution may be close to equilibrium. | Record the liquid level and complete the stated growing period. |
No visible growth after 24 hours does not always mean the activity failed. Do not add extra powder, reheat the solution, or change the recipe before completing the growing period stated by the manufacturer.
Handle the Finished Crystal
Follow the instructions before removing the crystal. Some crystals are brittle, soft, or water-soluble. Wet fingers can damage the surface.
Let excess solution drain and place the crystal on a non-food surface. Do not rinse it unless the instructions require rinsing.
Record:
- Final width and height in millimeters
- Final dry mass, if a suitable scale is available
- Color and shape
- Number of major branches
- Visible cracks
- Where the crystal grew
Keep the finished crystal dry, labeled, and away from food, pets, younger children, direct sunlight, and high humidity.
Children who want to compare grown crystals with natural specimens can continue with a gemstone and crystal dig kit or explore Piano Potato’s crystal-themed science kits.
Choose a Suitable Kit
A useful crystal growing kit for ages 6–12 should provide:
- A clear age recommendation
- Step-by-step instructions
- Exact measurements
- Safety warnings
- A stable container
- A supplied seed or growing base
- Expected growing time
- Disposal directions
- A simple explanation of the science
A single-sample kit works well for a first observation. A kit with two or more samples is better for comparing one changed condition.
For a wider explanation of the tools commonly included in children’s science sets, read What Items Does a Children’s Entry-Level Science Experiment Kit Include. Children interested in other hands-on experiments can explore the Fun & Science collection.
Check What the Child Learned
Ask these questions after the crystal has grown:
- Where did the powder go after it dissolved?
- What is the difference between a solute and a solvent?
- What does saturation mean?
- How can cooling cause crystals to form?
- How can evaporation cause crystals to form?
- Where did the first crystal appear?
- Which condition changed?
- Which conditions stayed the same?
- Which two measurements support the conclusion?
- What may have affected the result?
- What should be improved next time?
Conclusion
A useful crystal lesson for ages 6–12 does not need complicated equipment. Allow about 20–40 minutes for preparation, then spend 5–10 minutes recording the same sample each day for the period stated by the kit, often 3–7 days. Measure crystal width to the nearest millimeter, record the liquid level, count visible clusters, and note the first day of growth. For a comparison, use two matching containers and change only one condition. A good conclusion should contain at least two measurements and one possible source of error. These details turn a colorful crystal into a clear chemistry investigation.