
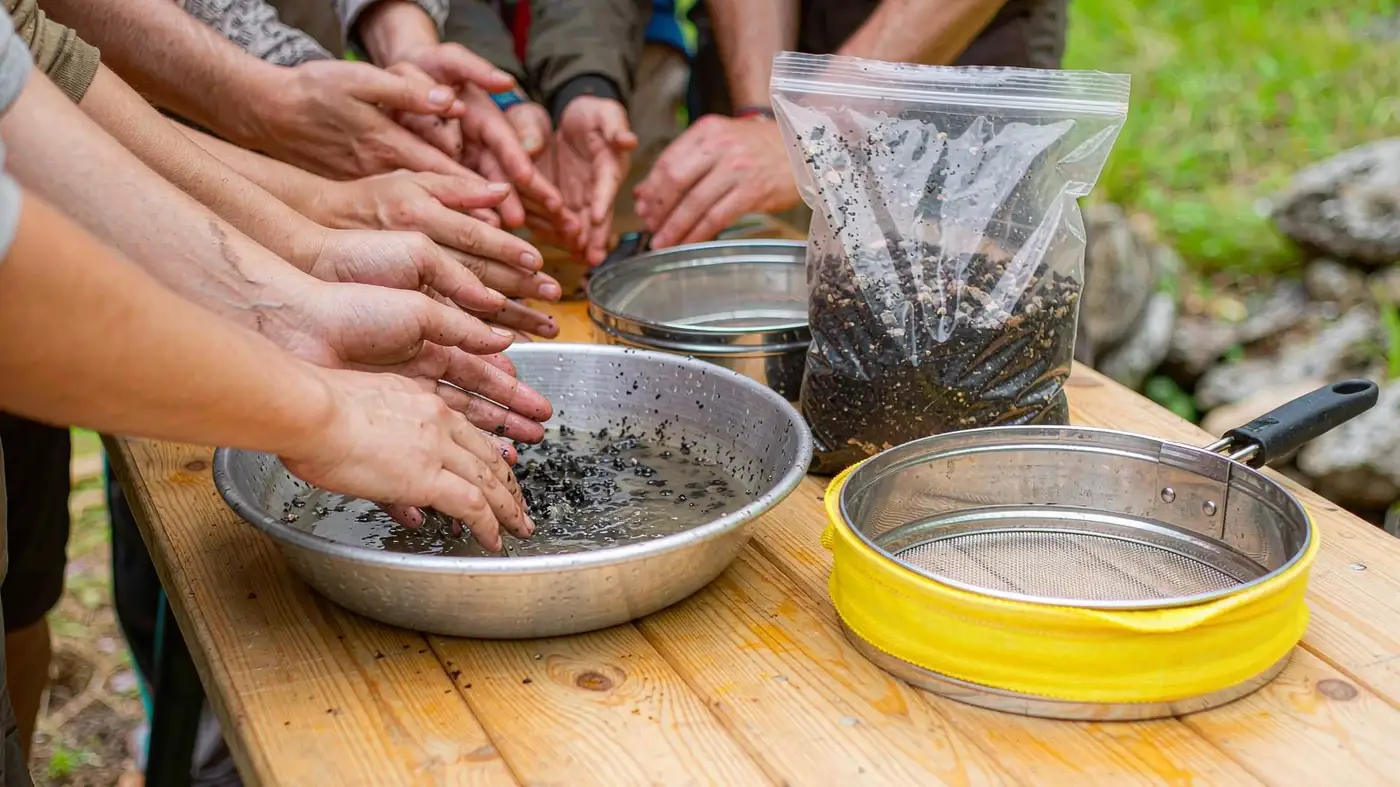
To pan for gold with a kids’ kit, put the pan inside a larger tub of water, add a small scoop of the supplied mixture, and shake the pan level to settle the heavier grains. Tilt it slightly and wash the top layer of sand over the rim with gentle water movement. Repeat until a thin layer remains, collect the finds, and check the washed-out sediment again before disposal. Follow the kit’s instructions first: a set containing imitation pieces may need different handling from one containing real gold.
Why Shaking and Washing Work
| Figure | Value | What it means here |
|---|---|---|
| Specific gravity of pure gold | 19.3 | Gold weighs 19.3 times as much as the same volume of water [1] |
| Specific gravity of waste rock | About 2.5 | A general value for waste rock in the USGS comparison, not a measured value for every kit’s sand [1] |
| Mass ratio, equal volumes | About 7.7 (19.3 ÷ 2.5, calculated) | Moving water can carry light rock away and leave heavy gold behind. This value comes from the two USGS figures above. It does not describe imitation pieces in a toy kit |
A gold pan has sloping sides and a flat bottom, and learning to separate gold from sand and gravel takes practice [2]. The figures above explain the density advantage of real gold. They do not predict how every piece in a toy mixture will move or guarantee that each wash keeps every find.
What a Kids’ Kit Includes
Read the box and contents list before opening the bags. Set out the pan, any mixture labeled for panning, the supplied collection tools, a container for finds, and the instructions or identification guide. Tweezers, vials, and sand are not included in every set. If you bought only a pan, check which practice material the manufacturer recommends rather than assuming the box contains pay dirt.
The shiny pieces need sorting as well. They may be real gold, other minerals, or gold-colored imitation pieces, and the phrase “gold panning kit” does not identify which type is in the box. When the kit provides an identification guide, compare each find against it. Mineral identification considers hardness, luster, streak, cleavage, and specific gravity, and color alone can mislead [3]. Look at the pieces, sort them, and match them to the guide. Do not add scratch or chemical tests.
If your child would rather chip stones from a solid block than play with water, start with a different activity instead: a comparison of gem mining and gold panning kits sets block digging against pan washing, and the dig and explore excavation kits category lists tabletop alternatives.
Setting Up a Contained First Session
Work outdoors, in a sink you can protect, or on a table that tolerates splashes. Put the pan inside a wide tub or basin. Material washed from the pan stays in the tub, so it can be checked again. Place towels around the tub, keep a second container for finds, and keep food and drinks away from the work area.
Follow the kit’s directions for water depth. Use enough water to submerge the small batch while keeping the tub manageable. An adult can demonstrate one complete settle-and-wash cycle with a small scoop, then let the child try the same amount. A complete demonstration does not require a full pan.
Keep small finds and tools away from children who mouth objects. In the United States, products for children under three that present a small-parts choking hazard are banned under the small-parts rule. Certain products for older children carry choking-hazard warnings. A warning does not make a kit for older children suitable for a younger child [4]. An adult stays with the water play, because drowning happens in seconds and is often silent, and CDC guidance calls for close and constant supervision whenever children are in or near water [5]. Everyone washes hands with soap and water after the activity [6].
How to Pan, Step by Step
Fill and settle the pan
Add a small scoop of the panning mixture and lower the pan into the tub until the material is covered. Gently loosen wet clumps with the supplied tool, or by hand only if the instructions allow it. Hold the pan level just under the surface and shake it gently side to side or in small circles to encourage heavier grains to settle. Pause before tilting.
Wash the lighter sand away
Tilt the pan slightly forward and gently rock it so water carries a little of the top layer over the rim into the tub. Return it to level and shake gently to settle the remaining grains before washing again. Remove a little material at a time rather than tipping out the whole load. Stop washing when a thin layer remains for inspection.
For a first practice scoop, watch the rim rather than searching immediately for a shiny piece. If a large part of the load slides out together, level the pan and use a smaller tilt on the next wash. If the water is too cloudy to see the contents, pause or refresh the water according to the instructions, keeping the sediment for another check. These are practice checkpoints, not a promise that every kit will separate in the same way.
Read what is left and collect the finds
Spread the remaining material into a thin layer with a little clean water. Inspect the bottom and any molded ridges, but also check the rest of the pan and tub for imitation pieces. Use the supplied collection tool to transfer finds into a suitable container. Compare them with the kit guide. Ask the child to describe color, shape, and shine before suggesting a name. If the guide does not support an identification, label the piece with its observed features instead of calling it gold.
Re-pan the discarded sediment
If a piece washes over the rim, check the sediment saved in the tub. Re-pan that material in small batches with a gentler wash. As a practice plan, try two or three passes in total for each original scoop, including the first wash. This is not a recovery standard or a guarantee that nothing remains. Compare what each pass retains, and inspect the saved sediment before following the kit’s disposal instructions.
Common Mistakes and Easy Fixes
| What happens | Likely cause | What to try |
|---|---|---|
| Everything washes out at once | Too much material in the pan, or the pan was tipped too far | Use a smaller scoop, tilt less, and re-pan the saved tub sediment |
| Water is too cloudy to inspect the pan | Fine material is suspended; clumps may also need loosening | Pause, loosen wet clumps as directed, and refresh water if the instructions permit; retain the sediment |
| Sand stays despite repeated washing | The pan may be overloaded, or water is not carrying the top layer across the rim | Move some material back to the tub; settle the remainder and adjust the tilt slightly for a controlled wash |
| Child dumps the load or stops participating | The batch or movement may be difficult to manage, or the child may need a break | Offer a break, then demonstrate with a small scoop and let the child try one movement at a time |
Safety and Cleanup
Follow the package’s age label and supervision directions. CPSC age-grading guidance relates product characteristics to children’s skills, play behaviors, and interests; there is no single suitable age for every panning kit [7]. Keep younger siblings and anyone who mouths objects away from the setup. Wipe splashes promptly, keep sediment out of sink drains, and dispose of it as directed. Empty the water tub when the activity ends. Clean and dry the pan and tools before storing them.
Use only the material designated for panning. If a combination set also contains crystal-growing powders or other chemicals, keep those packets out of this water activity and follow their separate instructions. Do not taste the mixture or finds, blow on dry material, or add scratch or chemical identification tests. This panning method is not an assessment of a particular kit’s chemical composition or safety compliance.
Store and Compare the Finds
End the session at the table, not the tub. Store the labeled finds with the guide, the same collecting habit used in earth and space science kits built around geology specimens. Close by asking what stayed in the pan and what washed away.
The Bottom Line
The useful first-session goal is a controlled wash, not a perfectly clean pan or a guaranteed gold find. Use small scoops, settle before washing, and keep the discarded sediment until it has been checked. Let the contents list and instructions set expectations for what the child can collect.
Outfitting a classroom, store, or party with hands-on science kits? Tell us the age group and headcount.