
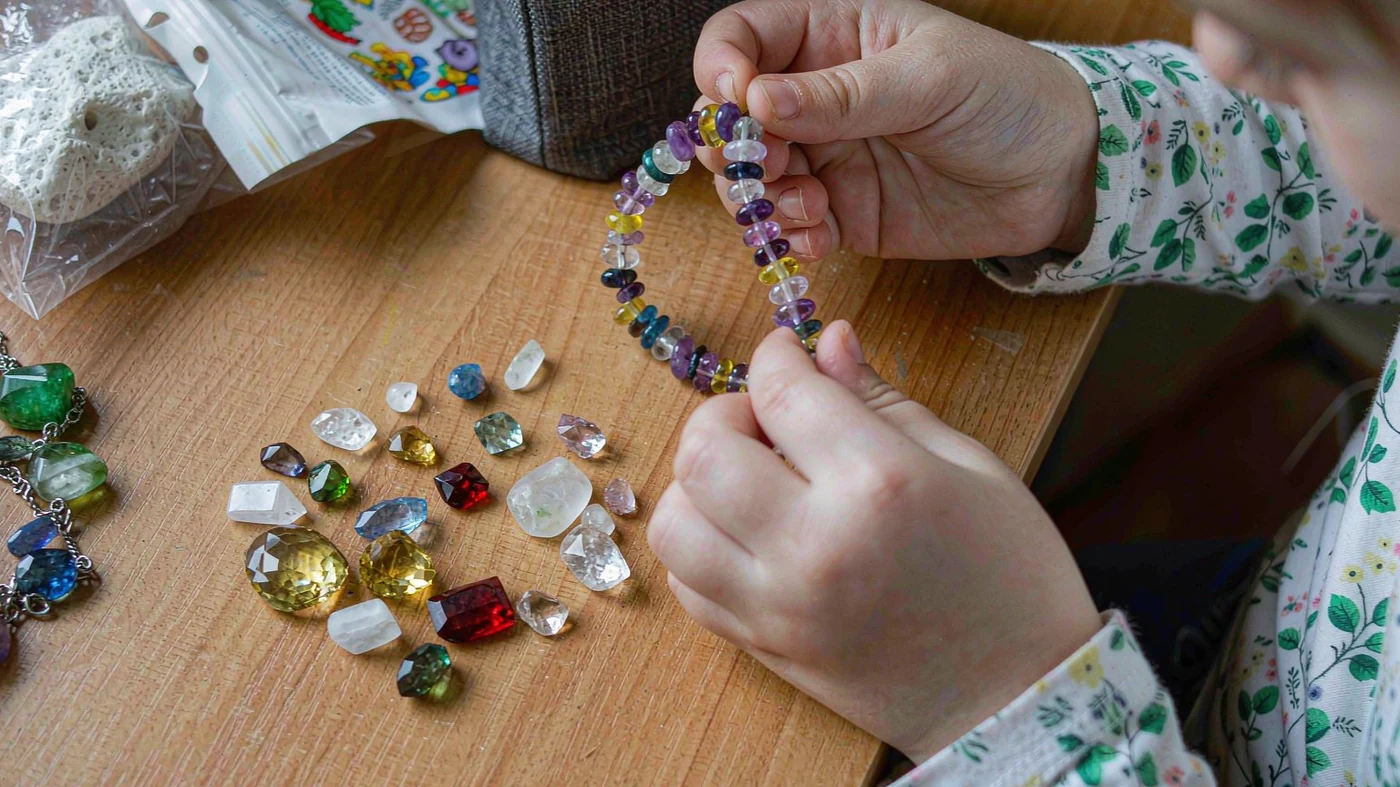
Kids can turn gems from a dig kit into a mini museum tray, a jar collection, a shadow-box display, a gem greeting card, a mosaic picture, a framed scene, or a show-and-tell poster. For a project without glue, choose a labeled display. For a decorated keepsake, use a few small, flatter stones on sturdy card or a rigid backing, with an adult handling the adhesive. Keep rounded or uneven stones loose in a container instead.
Start with the stones actually recovered, not a project that needs matching beads or a guaranteed number of gems. The ideas below use whole stones without drilling, grinding, or crushing. Follow the age guidance on the exact kit and keep loose gems away from children under 3.
Choose a Project That Fits the Stones
Once the stones are cleaned as the kit instructions allow and fully dry, lay them on a tray. Try the arrangement without glue first. A stone that will not sit steadily on a card can go into the display collection; there is no need to force every find into the same craft.
| What you have | What kids can make | What to add |
|---|---|---|
| Mixed shapes or favorite specimens to keep loose | A mini museum tray or jar collection | A divided container or clear jar, paper labels, and a pencil |
| A few small stones with a stable, flatter side | A gem greeting card | Heavy card stock and a suitable adhesive used by an adult |
| Several stones that fit a simple outline | A mosaic picture or framed scene | A rigid backing, pencil, suitable adhesive, and an optional deep frame |
| A collection the child wants to explain | A shadow-box display or show-and-tell poster | A deep display box or poster board, labels, and optional photos |
The container, labels, backing, and glue are extra craft supplies unless the exact kit lists them. For example, Piano Potato’s I Dig Gems set lists 12 separate digging kits, each with a block, plastic chisel, brush, and guide. Its chart names 12 finds. Use the actual contents and package instructions to plan the crafts rather than treating that chart as a promise of identical stones.
Make a Mini Museum Tray
A divided tray or clean egg carton gives each stone its own compartment. Put a paper label beside the stone, not directly on it, so the collection can be rearranged. Write the guide’s name, the main color, and one visible detail. For example, a label might read “Sodalite — blue — pale streaks” if that matches the supplied chart and the piece in front of the child.
Leave uncertain names marked as uncertain. Color alone does not establish a mineral’s identity; mineral identification uses several properties, including luster and hardness. For this craft, compare visible features with the guide rather than performing scratch tests on the keepsakes. [1]
Add the dig date to the tray lid. A photo of the completed arrangement gives the child a reference when returning stones to their compartments after sharing the collection.
Make a Jar Collection or Shadow-Box Display
A clear jar suits stones that do not lie flat. Place clean, dry finds inside and keep a name list beside the jar or secured inside its lid. An adult should manage the container and its opening. Use an unbreakable clear container if glass breakage is a concern, and store the collection out of reach of younger children.
For a shadow box, lay the box flat and arrange the stones in separate compartments or on a tray that fits inside. Check that the lid closes without touching the stones. An unglued arrangement needs to stay flat; tipping it upright will let loose stones move. A vertical display needs secure compartments or an adult-made mounting arrangement suitable for the stones and backing.
Labels can sit on a card next to the box. This keeps the stones available for later sorting instead of permanently attaching every find.
Make a Gem Greeting Card
Fold heavy card stock and place a few small, flatter stones on the front without glue. They can become leaves, a flower center, a sun, or part of an insect. Draw the rest of the design around them. If the card bends under their weight or will not stand, use fewer stones or move the design onto a rigid backing.
An adult should choose an adhesive labeled for the materials and the child’s activity, then apply it according to its directions. The amount, ventilation, handling precautions, and full curing time depend on that product. A dry-looking surface is not a reason to ignore the stated curing time.
Check the age guidance and warnings on added art supplies separately from the dig kit. In the United States, the Labeling of Hazardous Art Materials Act requires chronic-hazard assessment and labeling for art materials; a “Conforms to ASTM D-4236” statement is not permission to ignore product warnings. [2]
Keep the card flat while the adhesive cures, then have an adult check the attachments before handling or gifting it. If a stone comes loose, put it back in the collection until the adult can assess the failed bond. Do not give small-stone crafts to babies or toddlers.
Make a Mosaic Picture or Framed Scene
Draw one large outline on stiff cardboard or another suitable rigid backing: a fish, mountain, planet, or the first letter of the child’s name. Arrange the stones inside it before gluing. Leave gaps as part of the design or fill them with paper shapes rather than crushed stone.
Work in small sections with adult-applied adhesive. The child can plan the colors and positions while the adult manages the glue. Let the piece cure flat for the full time on the adhesive label. A deep frame can protect the finished scene, but its cover must not press against the stones.
A caption such as “Gem dig finds, compared with the kit chart” records what the picture contains without claiming a laboratory identification. If a child wants to paint as well, keep any separate mold-and-paint pieces labeled apart from the dug specimens.
Make a Show-and-Tell Poster and Sorting Games
A poster can use drawings or a photo of the collection rather than loose stones attached to paper. Add the kit name, a few observations, and one question the child still has. “This piece has pale bands” describes something visible; “this stone came from Brazil” needs a source that identifies that specimen’s origin, not simply where that mineral sometimes occurs.
For a sorting game, group the stones by main color, then regroup them by spots, bands, or mostly solid surfaces. Ask the child to explain where a mixed-color stone belongs. The useful result is the explanation, not a claim that every stone has one correct color group.
For a guessing game, an adult can place one smooth, intact stone in a cloth bag. The player describes its shape or surface before comparing it with the labeled collection. Keep pieces with sharp edges or flaking surfaces out of the game, and use these activities only with children who meet the kit’s age guidance under adult supervision.
A Practical Plan for a Shared Craft Table
As a planning example, a 12-kit box can be divided among three children at four kits each. That calculation allocates kits, not a guaranteed number of distinct gem types. Prepare a named tray for each child and enough paper labels for the stones actually recovered, with a few spares.
After cleaning and drying as directed, each child can set aside a favorite for the collection and try another stone on a card without glue. If it rolls or makes the card sag, return it to the tray and use a drawing in its place. This gives a clear decision point before adhesive is opened.
Finish the loose display first and leave any glued piece flat in a separate drying area. There is no need to complete digging, identification, gluing, and curing in one sitting. The arrangement and kit-allocation examples are suggested workflows, not reported classroom trials or measured completion times.
Keep Jewelry Out of the No-Drill Plan
Undrilled dig-kit stones are not ready-to-thread beads. For these projects, make a display or decorated card instead of a necklace or bracelet. Do not drill a stone, improvise a neck cord, or assume a glued fitting makes a stone suitable for wearing.
CPSC’s drawstring guidance describes a catch-and-snag strangulation hazard for hood and neck drawstrings on children’s upper outerwear in sizes 2T through 12. That rule concerns outerwear, not craft jewelry; it is not a jewelry approval or an age threshold for a homemade necklace. [3]
Age Guidance, Cleanup, and Storage
The I Dig Gems model discussed here is labeled 6+ with adult supervision recommended. Check your own box even if an adult will perform the glue steps. Small parts pose a separate risk to younger siblings: U.S. rules ban products intended for children under 3 when small parts present choking, aspiration, or ingestion hazards. The small-parts cylinder is a regulatory test, not a home craft safety check. [4]
A manufacturer’s reasonable stated age is one factor in determining a product’s intended age group under 16 CFR 1501.2. Adult help does not justify disregarding the kit label, and completing the dig does not make its leftover pieces suitable for a younger child. [5]
Follow the guide’s dust-control instructions and do not blow debris off the stones. Do not drill, grind, crush, heat, or chemically test them as part of these crafts. The listed contents of this 12-kit model include no crystal-growing salts or separate chemical packets; that does not establish the block’s full composition or mean every dig kit has the same contents.
Collect block debris instead of washing it down a drain, follow the kit’s disposal directions, and wash hands after digging and crafting. Keep unknown powders and leftover block material out of play sand. Store dry, loose stones with their labels in a closed container, and keep both the collection and glued crafts away from children under 3 and pets.
Planning a classroom dig or need help with your kit guide?
References
- [1] U.S. National Park Service: Minerals. Mineral-identification properties. Accessed November 11, 2026.
- [2] U.S. Consumer Product Safety Commission: Art Materials. LHAMA, chronic-hazard assessment and labeling, and ASTM D-4236 conformance statements. Accessed November 11, 2026.
- [3] U.S. Consumer Product Safety Commission: Drawstrings in Children’s Upper Outerwear. Scope and catch-and-snag hazards. Accessed November 11, 2026.
- [4] U.S. Consumer Product Safety Commission: Small Parts Ban and Choking Hazard Labeling. Under-3 scope and small-parts testing. Accessed November 11, 2026.
- [5] Electronic Code of Federal Regulations: 16 CFR 1501.2. Scope and intended-age considerations. Accessed November 11, 2026.