
MAP crystal kits produce clusters over several days; larger alum single crystals usually need a longer project measured in weeks. Fast Epsom salt activities can show small crystals within hours. The easiest kits use pre-measured powder and a supplied seed or base. Projects that require selecting, tying, and moving a seed crystal involve more work.
Crystal Types, Time, and Difficulty
| Material | Typical Result | Time to Plan | Difficulty |
|---|---|---|---|
| Monoammonium phosphate (MAP) | Pointed or column-shaped clusters, often dyed | Several days; use the kit’s stated growing period. | Lower with pre-measured powder and a supplied seed. Water measurement and cooling steps matter. |
| Potassium alum | Clear crystals, often with eight triangular faces | Small crystals may appear within a day; allow weeks for a larger single crystal. | Higher for single crystals. The project may require seed selection, suspension, and maintenance. |
| Epsom salt | Fine, needle-like crystals | Hours for some cooling methods; other methods take longer. | Short observation projects are relatively simple, but the crystals are fragile. |
| Table salt | Cubes, joined crystals, or a surface crust | Thin deposits can appear quickly; larger crystals may need days to weeks. | Small deposits are easier than separate, well-shaped cubes. |
| Borax | A crystal coating on pipe cleaners or other supports | Some craft recipes are left overnight; follow the chosen procedure. | Shaping the support is straightforward. Hot-water handling and material access need adult control. |
These timings describe different methods and sizes, not guaranteed results. Penn State’s activity checks Epsom salt crystals after three hours of cooling and allows days or weeks for growing a larger crystal from a seed.[1]
“Visible in 24 hours” does not mean ready for display. In one American Chemical Society activity, salt leaves tiny crystals on paper after about 20–30 minutes. Those deposits are much smaller than a freestanding cluster.[2]
What Makes a Kit Easier?
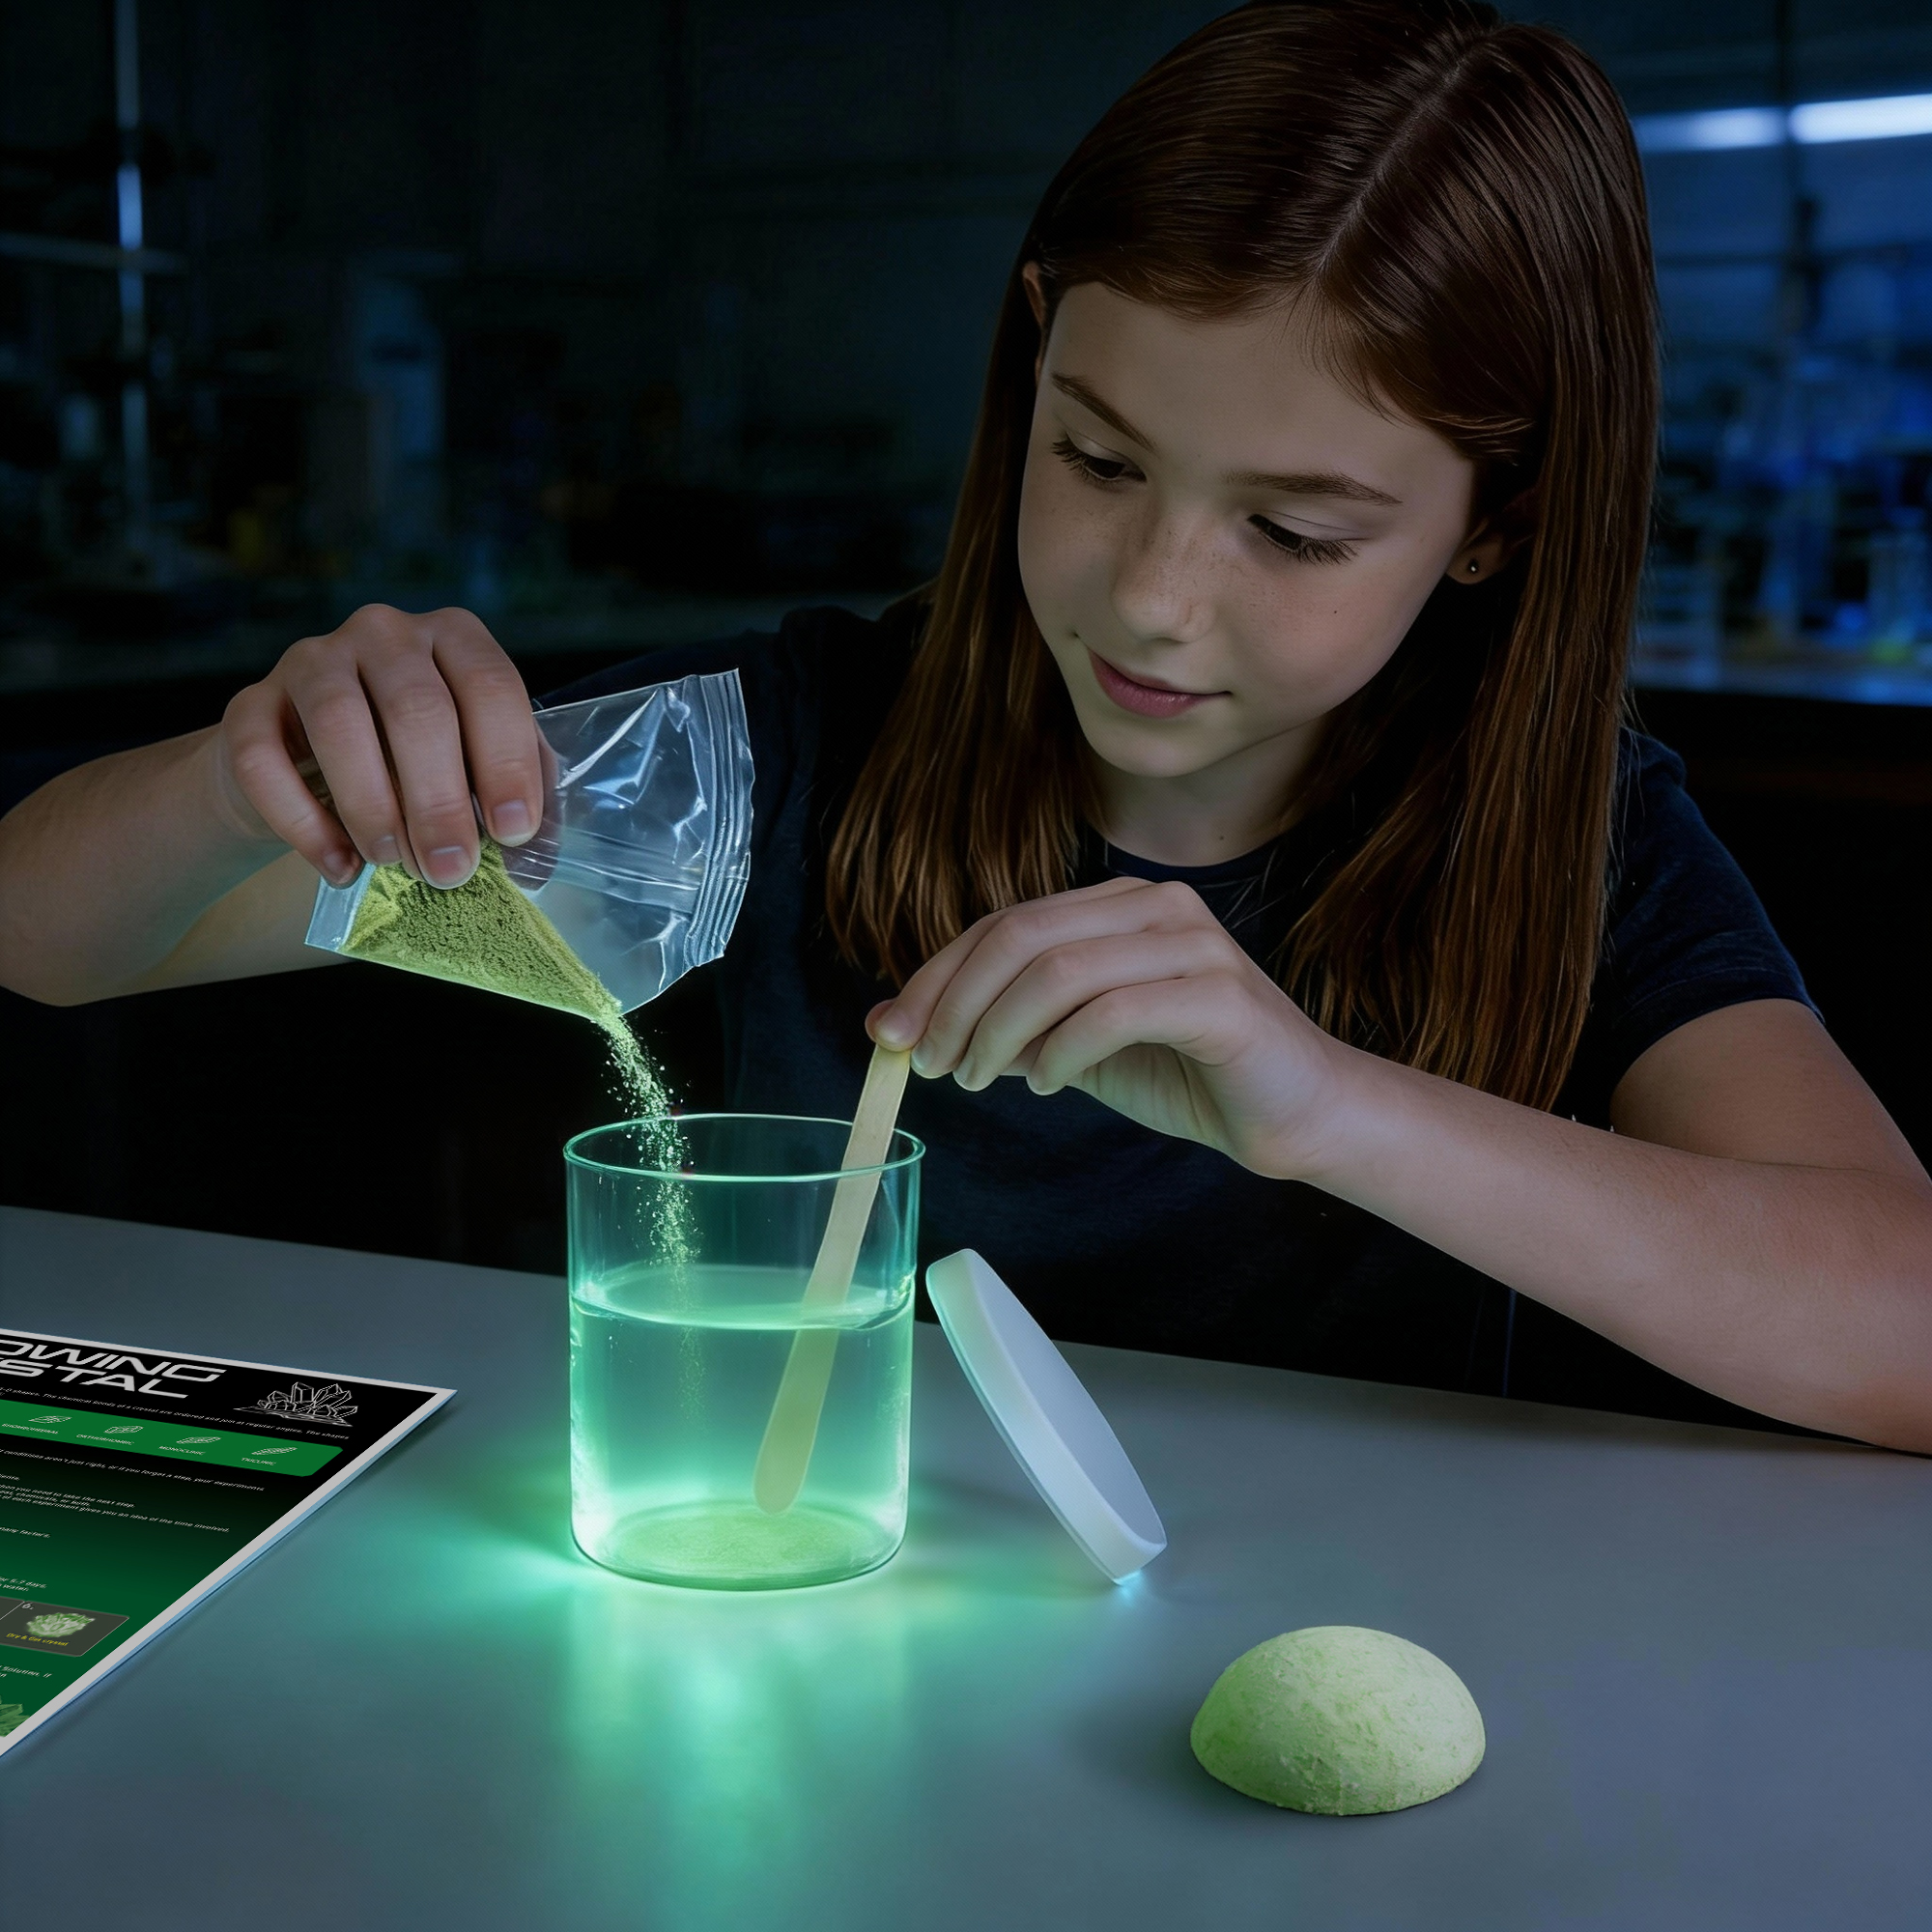
A pre-measured packet removes the weighing step. A supplied seed or base removes the need to select and suspend a crystal. Check the actual tasks when comparing chemistry-set difficulty; a short recipe can still require adult handling of hot water.
The Blue DIY Crystal Science Experiment Set, for example, lists powder, a seed crystal, a plastic container, and a stirring stick, with a stated growing period of 7–10 days. Confirm the water temperature, protective equipment, and adult-only steps in the supplied instructions.
- Ingredients: Check the chemical name. Different colors in a crystal kit range may use the same growing compound.
- Age rating: Follow the label; adult supervision does not automatically make an older-child kit suitable for a younger child.
- Experiment count: “Grows six crystals” may describe one batch. Count the powder packets, seeds, bases, and cups.
- Group use: Three children working separately need three complete setups. A three-experiment kit may include only one reusable cup.
- Extra equipment: Check for measuring tools, suitable eye protection, and any required heat-safe container.
For a budget comparison, a hypothetical $30 kit with three complete experiments costs $10 per experiment before extra equipment.
Scheduling the Project
As a planning allowance, set aside 30–60 minutes for a first setup, plus any separate cooling period. For a kit with a 7–10-day growing schedule, starting about two weeks before a school display may leave time for drying. Check the drying instructions; this allowance does not include a full second attempt.
Leave the cup on a surface that will not need clearing each evening. Avoid direct sun, heaters, air vents, and table edges. Keep it out of reach of younger children and pets. Take one photo a day from the same position and note the crystal shape and liquid level.
Fixing Growth Problems
Check measurements before changing anything. Adding 110 mL instead of 100 mL increases the water amount by 10%. Growth may still occur, but the mixture no longer matches the recipe. Do not compensate with an unmeasured spoonful of powder.
| Problem | Check First |
|---|---|
| No visible crystals | Has the expected starting time passed? Review the water amount, mixing order, and seed instructions. |
| The seed shrinks or disappears | The solution may be too warm or too dilute. Review the cooling step and ingredient amounts. |
| Small crystals cover the bottom | Growth has started in several places. This may be acceptable for clusters; single-crystal projects need their own maintenance procedure. |
| A crust forms on the cup wall | Check airflow and the specified lid arrangement. Do not scrape the crust into the solution. |
| Crystals look cloudy or uneven | Extra ingredients, rapid growth, impurities, or crystals growing together may affect the result. |
| Crystals break during removal | Support the base and use the specified tools. Avoid gripping tips or pulling joined crystals apart. |
Reheat a mixture only if the instructions allow it, using the specified method and a suitable container. Do not put the growing cup in a microwave simply because the first attempt failed.
Safe Handling and Storage
An adult should handle hot water and hot containers. Wear the protective equipment specified for the activity, keep food and drinks off the work surface, and wash hands afterward. These precautions follow American Chemical Society guidance for children’s chemistry activities.[3]
Do not taste the materials, store solutions in drink bottles, mix powders from different kits, or add household cleaners. Follow the disposal instructions. If they are missing, ask the manufacturer using the product name and ingredient list.
If material is swallowed, do not induce vomiting. Keep the packaging and promptly contact a poison center or medical service. In the US, call 1-800-222-1222; elsewhere, use the local poison service. Call emergency services immediately for breathing trouble, seizures, collapse, or an inability to wake the person.[4]
Remove and dry the crystals at the stage specified by the kit rather than waiting for all the liquid to evaporate. Store them in a display case labeled with the material, date, and “Do not eat.” Many kit-grown crystals dissolve in water, so avoid rinsing them or making everyday jewelry exposed to sweat and water.