
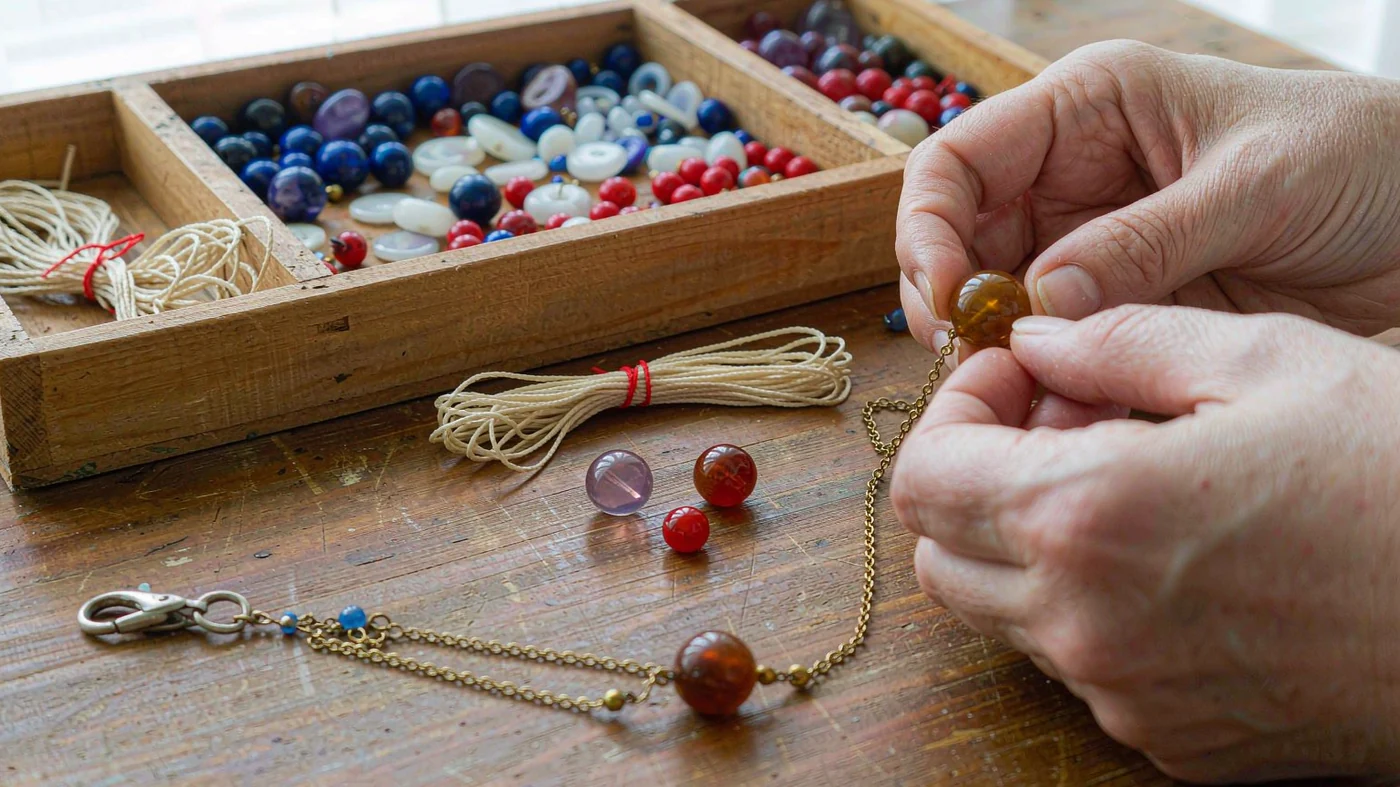
Turn a gem dig into a necklace-making activity by using the recovered stones for a second craft stage: clean them as the kit allows, choose a smooth stone that fits a no-drill pendant holder, lay out the design, and thread it onto a cord with an age-appropriate breakaway clasp. Let your child choose and thread while an adult fits the holder, fastens the clasp, and checks the finished piece. If no stone fits securely, make a labeled collection instead of forcing a necklace.
For a simple first design, try one center stone with no side beads. Add one or two optional side pieces only if their age markings and sizes suit the child. This is a suggested layout, not a safety threshold. Keep loose stones and findings away from children under 3 and anyone who still mouths objects.
Check Age Labels Before Starting
Follow the age range and warnings on both the excavation kit and the necklace components. Adult supervision does not override an older-age marking. If suitable cord, holder, or clasp instructions are missing, keep the finds as a display collection until you can obtain appropriate materials.
U.S. small-parts rules cover certain products intended for children under 3. A small part fits entirely into the specified test cylinder without compression and in any orientation [1]. Turning 3 does not make every small object appropriate. Keep younger siblings away from the work area, and store loose pieces in a closed container out of their reach.
Within the labeled age range, your child should also be able to leave pieces out of their mouth, follow instructions, and thread without forcing the cord. An adult handles scissors, holder adjustments, and fastening.
Check What the Dig Actually Contains
Before opening a gem dig kit, read its contents list. Check which stones are identified, whether any are pre-drilled, and whether cord, a holder, or a clasp is included. Excavating a stone does not mean it is ready to string or suitable for jewelry.
Use the kit guide for stone names and care instructions. Do not assume a find is untreated or valuable. GIA explains that gemstone treatments can affect care: some dyes fade with prolonged sunlight or dissolve in solvents, and some coatings are easily scratched [2]. Avoid alcohol, acetone, and other chemical cleaners for this activity; rinse only when the kit instructions allow it.
Choose a No-Drill Way to Hold the Stone
Match the hanging method to the actual find before promising a particular pendant. Keep drilling, sanding, and glue out of this children’s activity. Use components intended for the child’s age and follow their fitting instructions.
| Method | Suitable starting point | Adult check |
|---|---|---|
| Pre-drilled bead | A bead the kit identifies as ready for threading | The hole is smooth, and the cord passes through without force. |
| Spiral bead cage | A smooth stone within the cage manufacturer’s stated size range | The stone stays enclosed when the pendant is handled over a tray. |
| Glue-free wrap holder | A stone whose shape matches the holder’s instructions | The holder closes as intended without exposed sharp ends or a slipping stone. |
A bail that needs a drilled hole or adhesive will not solve the problem of an undrilled stone in this method. If the available holder cannot retain the find, choose another stone or make a display.
Prepare a Separate Necklace Workspace
Finish excavating and clear the digging debris before bringing out cord and findings. Use a tray for loose pieces and a white cloth for comparing the cleaned stones.
- The selected stone or pre-drilled bead, plus any optional side pieces
- Age-appropriate necklace cord and a compatible breakaway clasp with instructions
- A correctly sized no-drill holder, if needed
- A soft brush, towel, tray, and closed storage container
- Clean water only if the kit permits rinsing
- Scissors for adult use
A craft label is not proof of chemical compliance. For U.S. children’s products, accessible components are generally subject to a total lead limit of 100 parts per million (ppm), with specific provisions and exclusions described by CPSC [3]. Avoid unidentified metal findings; ask the supplier for applicable age, use, and compliance information rather than judging by appearance.
Clean, Sort, and Choose the Pendant
- Follow the kit’s cleaning instructions. If dry brushing is permitted, work gently over the tray without blowing dust. If rinsing is permitted, pat the stones dry afterward and let them dry fully before fitting the holder.
- Set aside sharp, cracked, crumbly, or flaking finds. Keep unsuitable pieces out of the necklace design.
- Have your child choose a favorite from the remaining stones. The adult checks its fit in the holder before it becomes the center of the design.
- Lay out the pendant and any optional side pieces on the cloth. Keep unused finds in a separate container.
A Fit-First Design Example
Suppose your child chooses a purple stone, but it slips through the cage opening. Do not squeeze the cage beyond its instructions or add glue. Offer a different suitable stone that fits, or keep the purple find in the collection. This preserves the child’s design choice where possible without making the holder work in a way it was not designed to.
Thread and Check the Necklace
- An adult fits the holder according to its instructions. For a pre-drilled bead, check the hole before threading.
- Let your child pass the cord through the bead hole or holder loop. If it catches, stop and check compatibility rather than pushing harder.
- Preview the design off the child’s neck. Hold the open cord against a shirt laid flat to see whether the pendant faces forward or turns sideways. Reposition it before fastening.
- An adult attaches the clasp and secures the cord ends exactly as the component instructions require. Do not add knots that bypass the release mechanism or substitute ordinary cord on the assumption that it will snap.
- With the necklace off the child, check for slipping stones, rough edges, loose ends, and incorrect fastening. Check clasp operation as its manufacturer directs; this is not a safety certification. Replace unsuitable components or keep the piece for display.
A breakaway clasp does not eliminate entanglement or strangulation risk. Remove the necklace for sleep, bathing, swimming, playground play, and sports. Supervise wear, and do not use the necklace if its materials, fit, or instructions are unsuitable for the child.
Use the Finds for a Small Gem Lesson
Before threading, ask your child to describe the chosen stone’s color, shape, and transparency. Compare those observations with the kit guide rather than identifying a mineral from color alone. USGS lists quartz varieties including colorless rock crystal, purple amethyst, yellow-to-amber citrine, and translucent pink rose quartz [4].
The same source gives quartz a Mohs hardness of 7, compared with calcite at 3 and fluorite at 4. These describe resistance to scratching, not a necklace safety rating [4]. Calcite and fluorite are comparison examples, not a statement about your kit’s contents. Keep scratch experiments separate from the jewelry activity.
Care for the Finished Piece
Before and After Wear
Check the cord, holder, and clasp before each wear. Store the necklace separately in a soft pouch, out of younger children’s reach. Follow the stone and component care instructions; do not soak it or use chemical cleaners. Stop using it if the cord frays, a stone chips, the holder loosens, or the clasp no longer operates as directed.
When the Design Needs to Change
Remove the necklace if your child reports itching or discomfort. Do not repaint an unknown stone to cover damage. If color decoration is part of your children’s craft activity, use a separate age-appropriate craft component and follow its paint and material labels. A damaged pendant belongs out of the wearable design.
Check Necklace Supplies Before Buying
Some products, such as the Birthstone Cake Dig Kit with necklace-making supplies, explicitly list a jewelry follow-up. That wording alone does not establish that a breakaway clasp or your preferred holder is included. Confirm the current contents, age marking, and instructions before planning the activity, and keep the packaging for reference.
Planning a dig-to-necklace activity?
Ask about the kit’s listed contents, age marking, and included necklace components before ordering.