
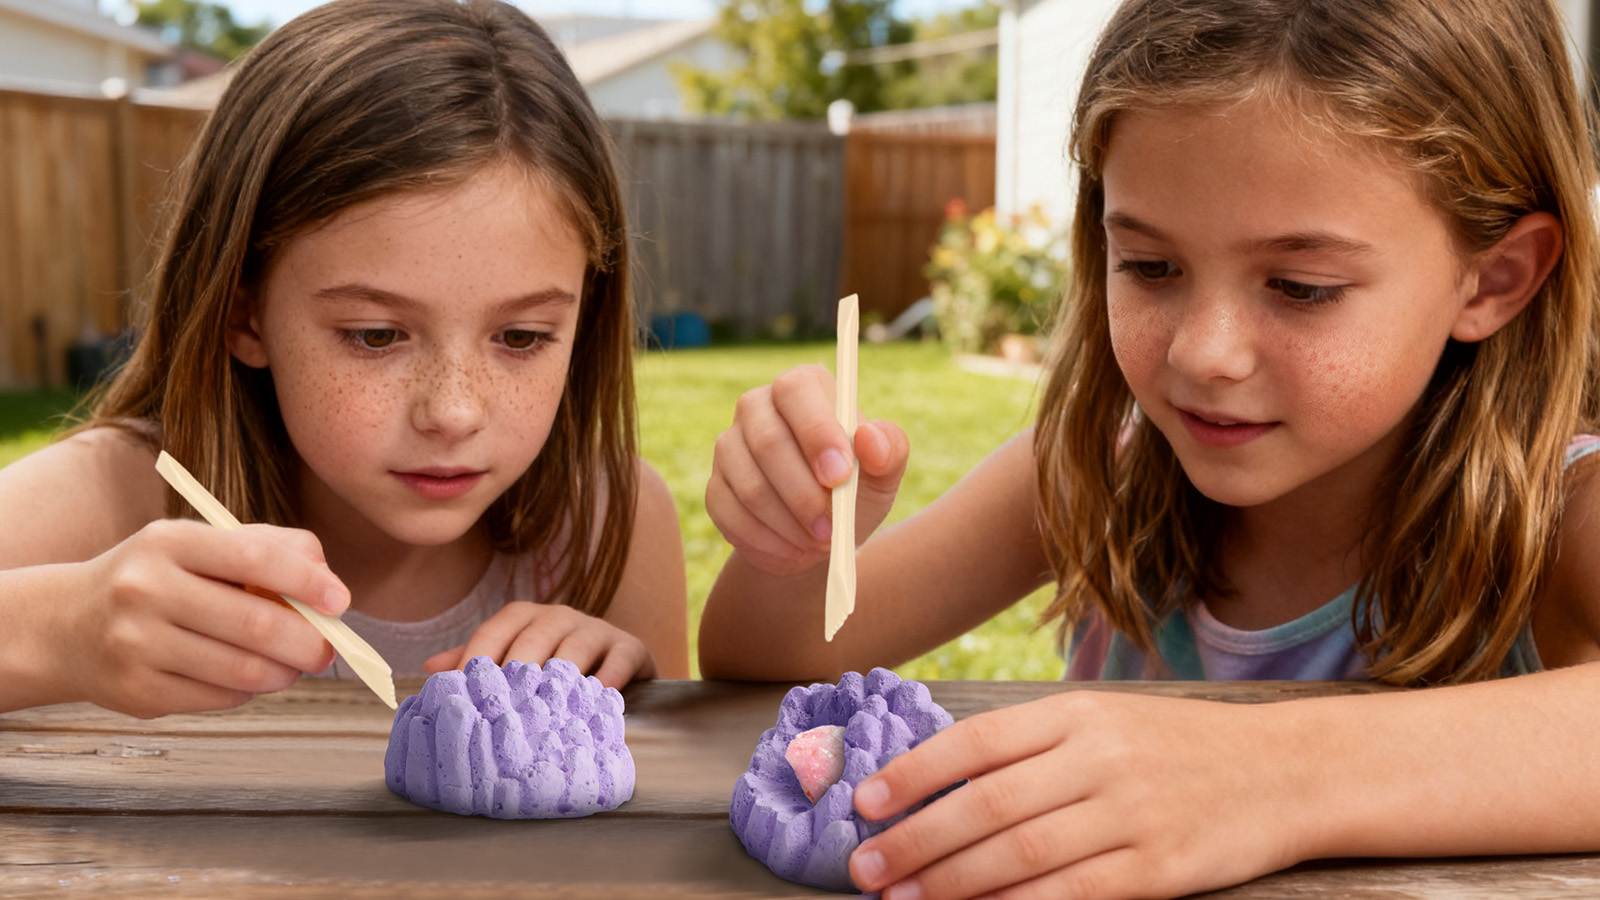
Observation kits provide specimens to examine and sort. Testing kits add tools for comparing properties such as hardness and streak. Dig kits hide specimens in a block that children excavate. For a first collection, choose labeled samples and a clear identification guide. Choose a testing kit for repeat experiments, or a dig kit when the excavation itself is the main attraction.
| Feature | Observation | Testing | Digging |
|---|---|---|---|
| Main task | Compare grains, holes, textures, and luster | Follow a test method and record results | Uncover, clean, and identify buried items |
| Contents to check | Named specimens, magnifier, guide, and divided storage | Suitable specimens, testing tools, and illustrated instructions | Digging block, tools, brush, and specimen list |
| Repeat use | Samples can be compared and regrouped | Tools are reusable; some tests leave permanent marks | Finds can be kept; another dig requires a new block |
| Adult involvement | Help match labels and describe observations | Demonstrate tools and check uncertain results | Supervise tools and manage dust and debris |
| Main limitation | Appearance alone may not identify a specimen | Not every test works on every specimen | Buried items may be models rather than geological specimens |
A combined kit is worth considering only if it supplies the materials and instructions for each advertised activity. A digging brush and magnifier do not make a hardness-testing set. If easy cleanup matters, an observation kit avoids the loose digging material found in excavation kits.
Observation Kits
Look for differences a child can see: mineral grains in granite, sand grains in sandstone, or holes in pumice. Small fragments may not show the feature pictured in the guide. Ask whether the supplied specimens will have the advertised textures.
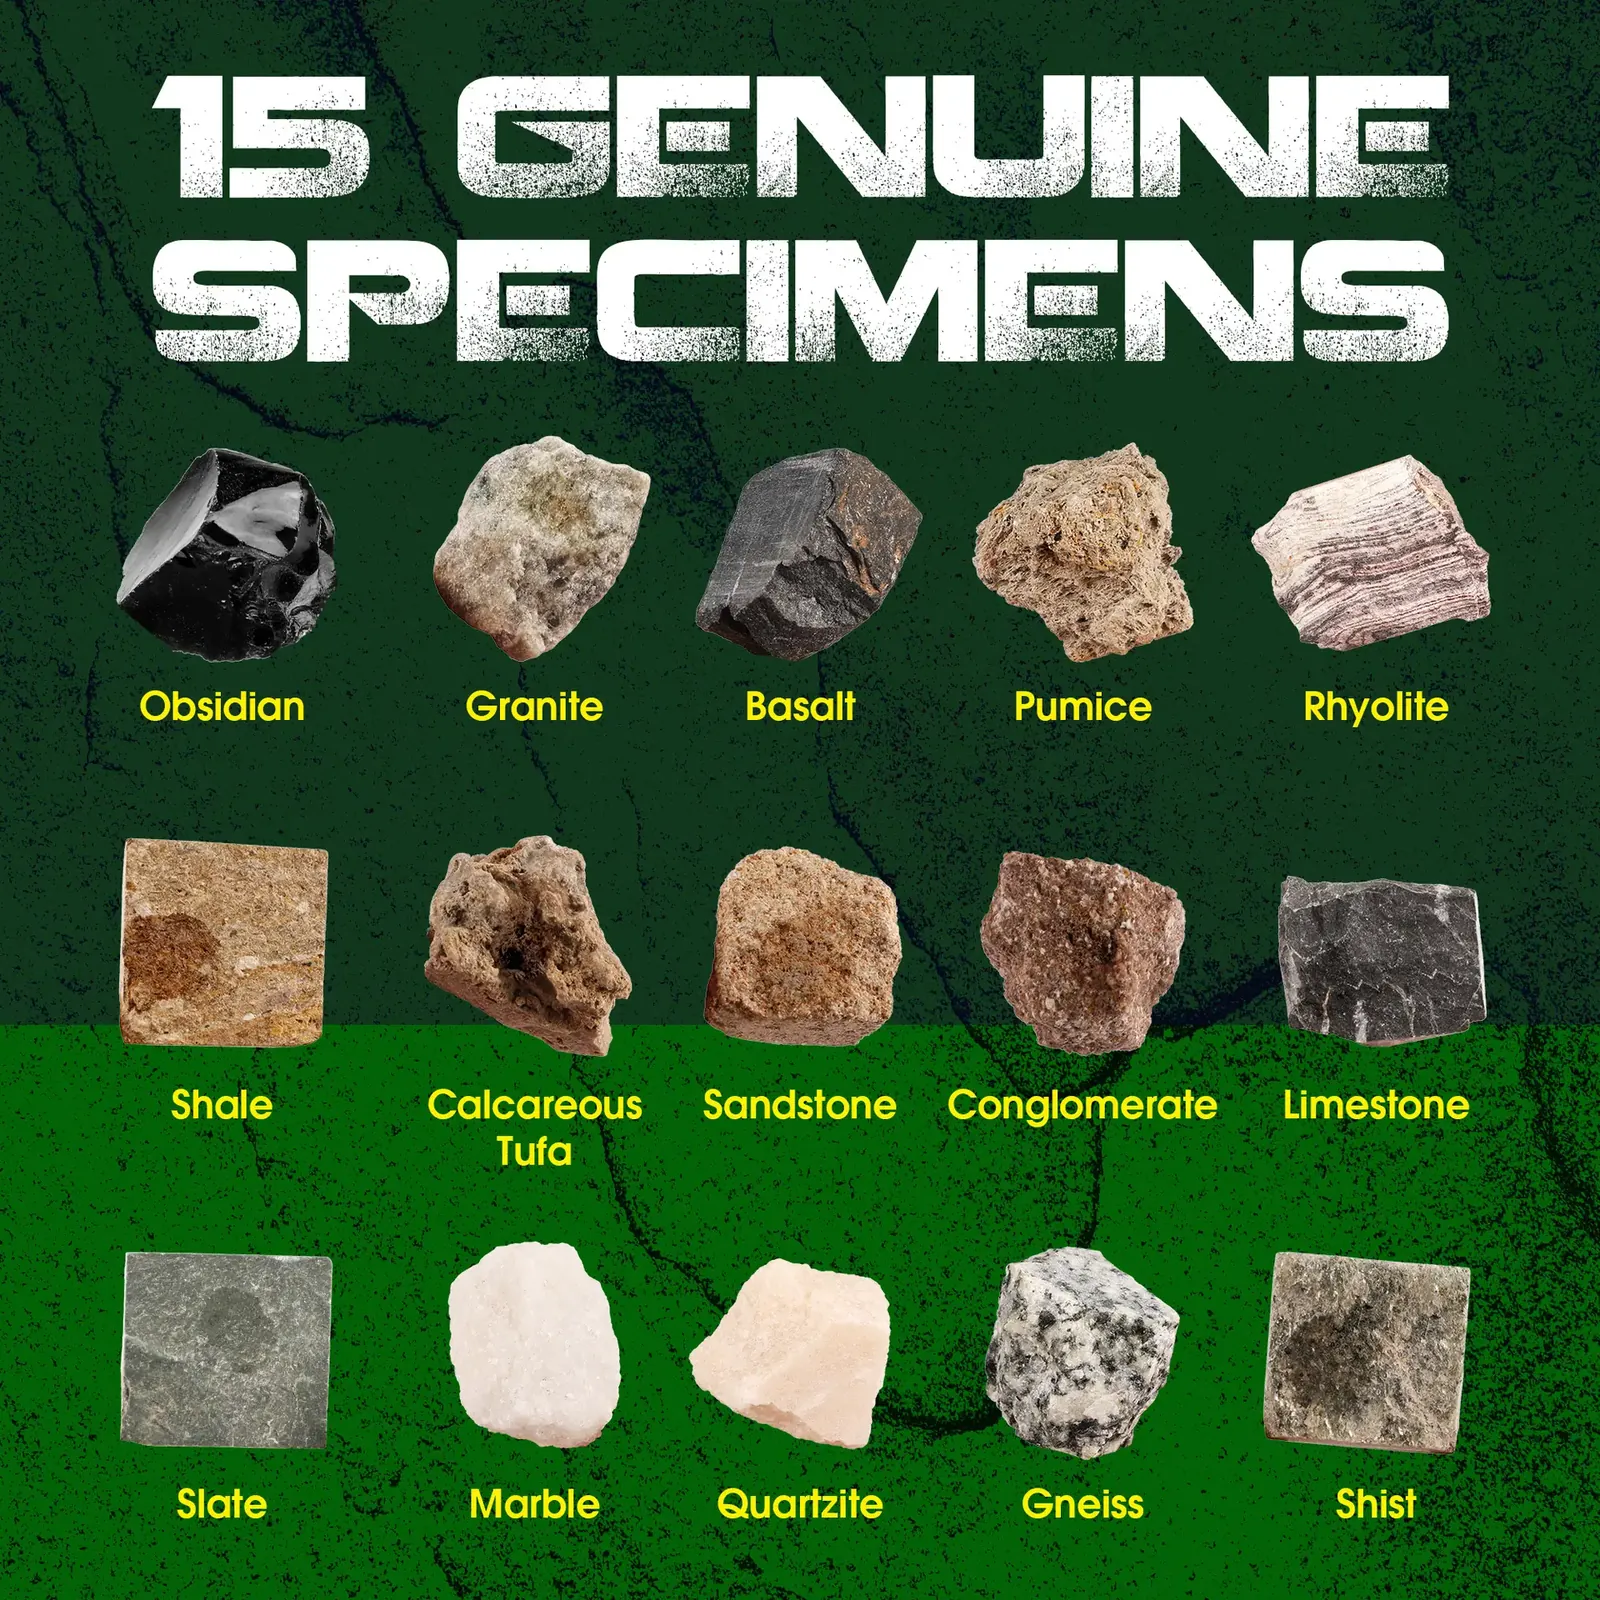
For rock-classification activities, check for igneous, sedimentary, and metamorphic samples.[1] A mineral-only collection of quartz, calcite, and gypsum does not cover those three rock groups.
The 15-specimen rock identification set lists granite, pumice, and obsidian, plus a magnifier and identification guide. Its numbered samples illustrate the observation format: children compare the specimens directly, without excavating them first.
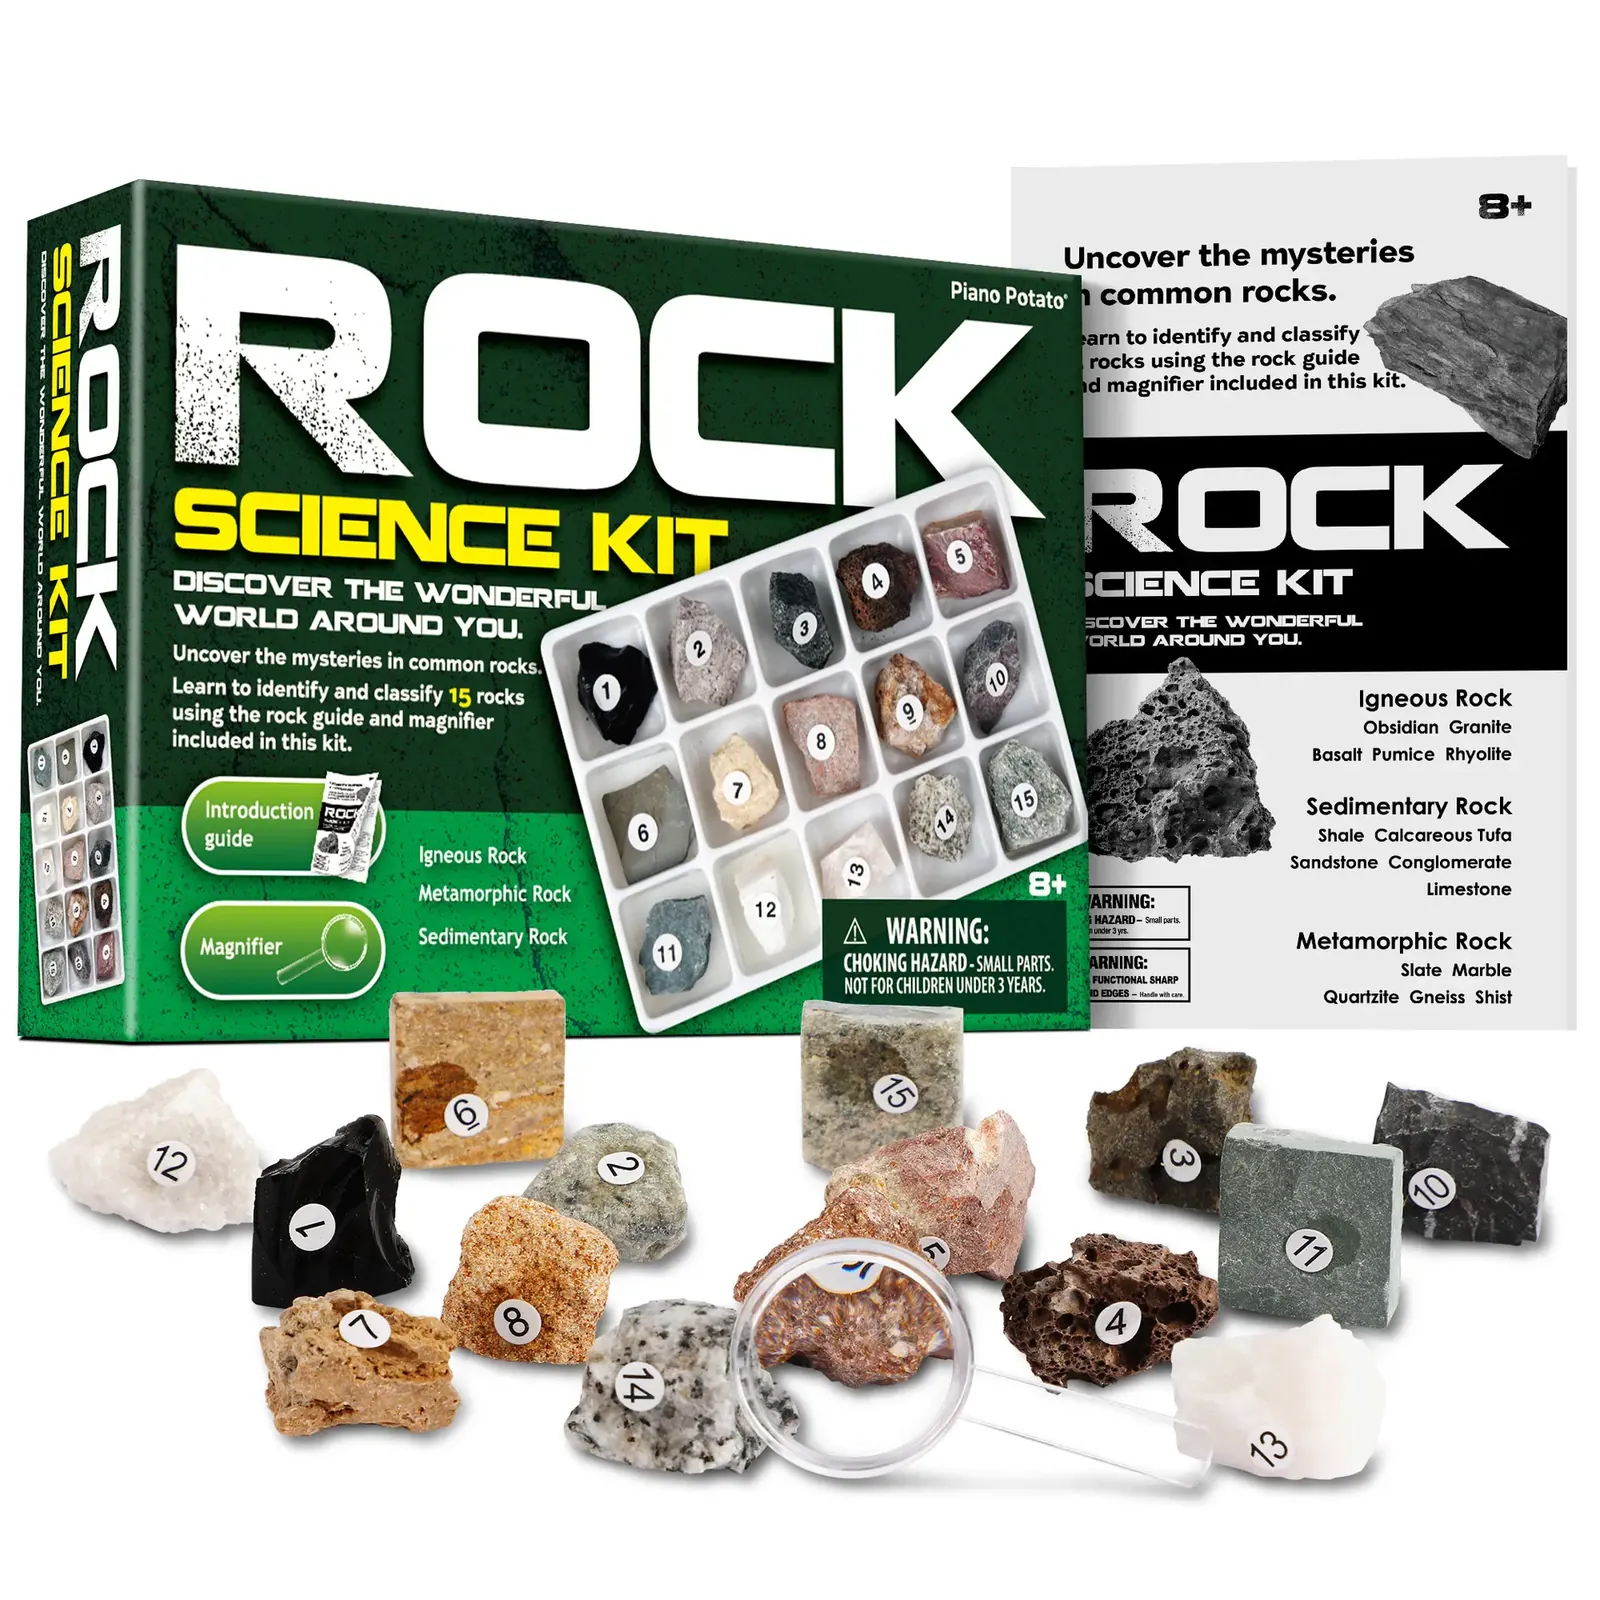
A 5–10× magnifier can help reveal surface details. Check lens clarity and grip as well as magnification. Polished stones suit color and luster comparisons; unpolished samples retain more of the original surface texture.
Testing Kits
The guide should name the tool, identify suitable specimens, show where to test, and explain the result. A hardness chart alone is not an operating guide.
| Test | What to Observe | Common Error |
|---|---|---|
| Hardness | A scratch that remains after loose residue is removed | Mistaking transferred material or powder for a scratch |
| Streak | Mineral powder color on a suitable unglazed porcelain plate | Reading powder from a damaged plate as mineral powder |
| Magnetism | Whether a magnet attracts the specimen | Assuming no obvious attraction means no iron is present |
Streak refers to powder color, which may differ from the specimen’s surface color. The test uses unglazed porcelain rather than a smooth glazed tile.[2]
On the Mohs scale, gypsum has a hardness of 2, calcite 3, and quartz 7.[3] The scale ranks scratch resistance from 1 to 10, but its intervals are not equal. It does not measure resistance to breaking.
Hardness alone cannot confirm a mineral’s identity: different minerals can have similar hardness. Rocks containing several minerals may also give different results at different spots. Use samples approved for testing, and keep display specimens separate if you want their surfaces undamaged.
Dig Kits
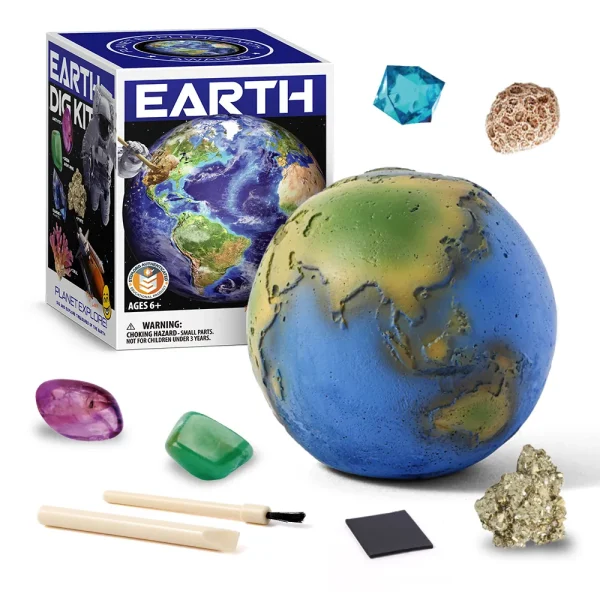
Dig-and-explore kits may contain minerals, fossils, or model parts. The contents list should name the finds and disclose natural materials, treatments, and replicas.
A fossil replica can show shape and detail, but its material properties will not necessarily match the original fossil. Glass or resin pieces cannot be tested using the expected hardness of the minerals they resemble.
Digging time depends on the block material, tools, specimen count, and the child’s pace. Box size does not provide a reliable estimate. Check whether wetting is allowed and whether replacement blocks are available without another set of tools.
Buying Checklist
- Count specimens separately. Ten samples, ten cards, and ten bags can make a “30-piece set.” Check how many different specimens it contains.
- Check individual sizes. Dimensions may describe the box rather than its contents. Ask for specimen measurements or photos with a scale.
- Read a guide sample. Look for identification keys, illustrated test steps, or excavation and cleaning directions—not just a list of names.
- Compare the full cost. Add required tools and protective equipment sold separately. For repeated excavation, include replacement blocks.
- Match the paperwork to the product. Check the manufacturer or importer, model, age guidance, and warnings. A test report should identify the relevant product and sample scope.
Age and Safety
Keep small specimens and loose parts away from children under 3. CPSC also advises matching toys to the child’s age, interests, and abilities.[4] Small specimens are unsuitable for children who still put objects in their mouths.
Do not assign an age range to an entire kit category. Tool materials and specimen sizes vary. If listing text, packaging photos, and instructions show different ages, ask the supplier to confirm the current product requirements.
Work over a tray away from food. Follow the dust-control instructions and do not blow powder off the block. Wear properly fitting protective eyewear for activities that may send chips flying. Stop if tools slip or debris hides the work area; do not substitute a sharper knife or heavier hammer.
Do not taste or grind specimens, or add chemical reagents outside the instructions. Check cleaning directions before soaking or scrubbing finds. Count loose pieces, clean the surface, and wash hands afterward.
A First Activity
Place two specimens under the same light. Compare their grains, holes, or luster before checking their names. With more samples, sort by one visible feature, then change the rule and see which specimens move groups.
For an approved test, record the specimen number, method, result, and unanswered question. If a mark could be either residue or a scratch, record “unclear.” Do not turn an uncertain result into a definite identification.
Comparison basis: This guide compares kit formats using published product contents and the geological and toy-safety sources cited above. Product examples illustrate configurations; they are not hands-on test results or a brand ranking.