




HEIDI WALKER · DOT ART
Mandala Rock Painting Kit
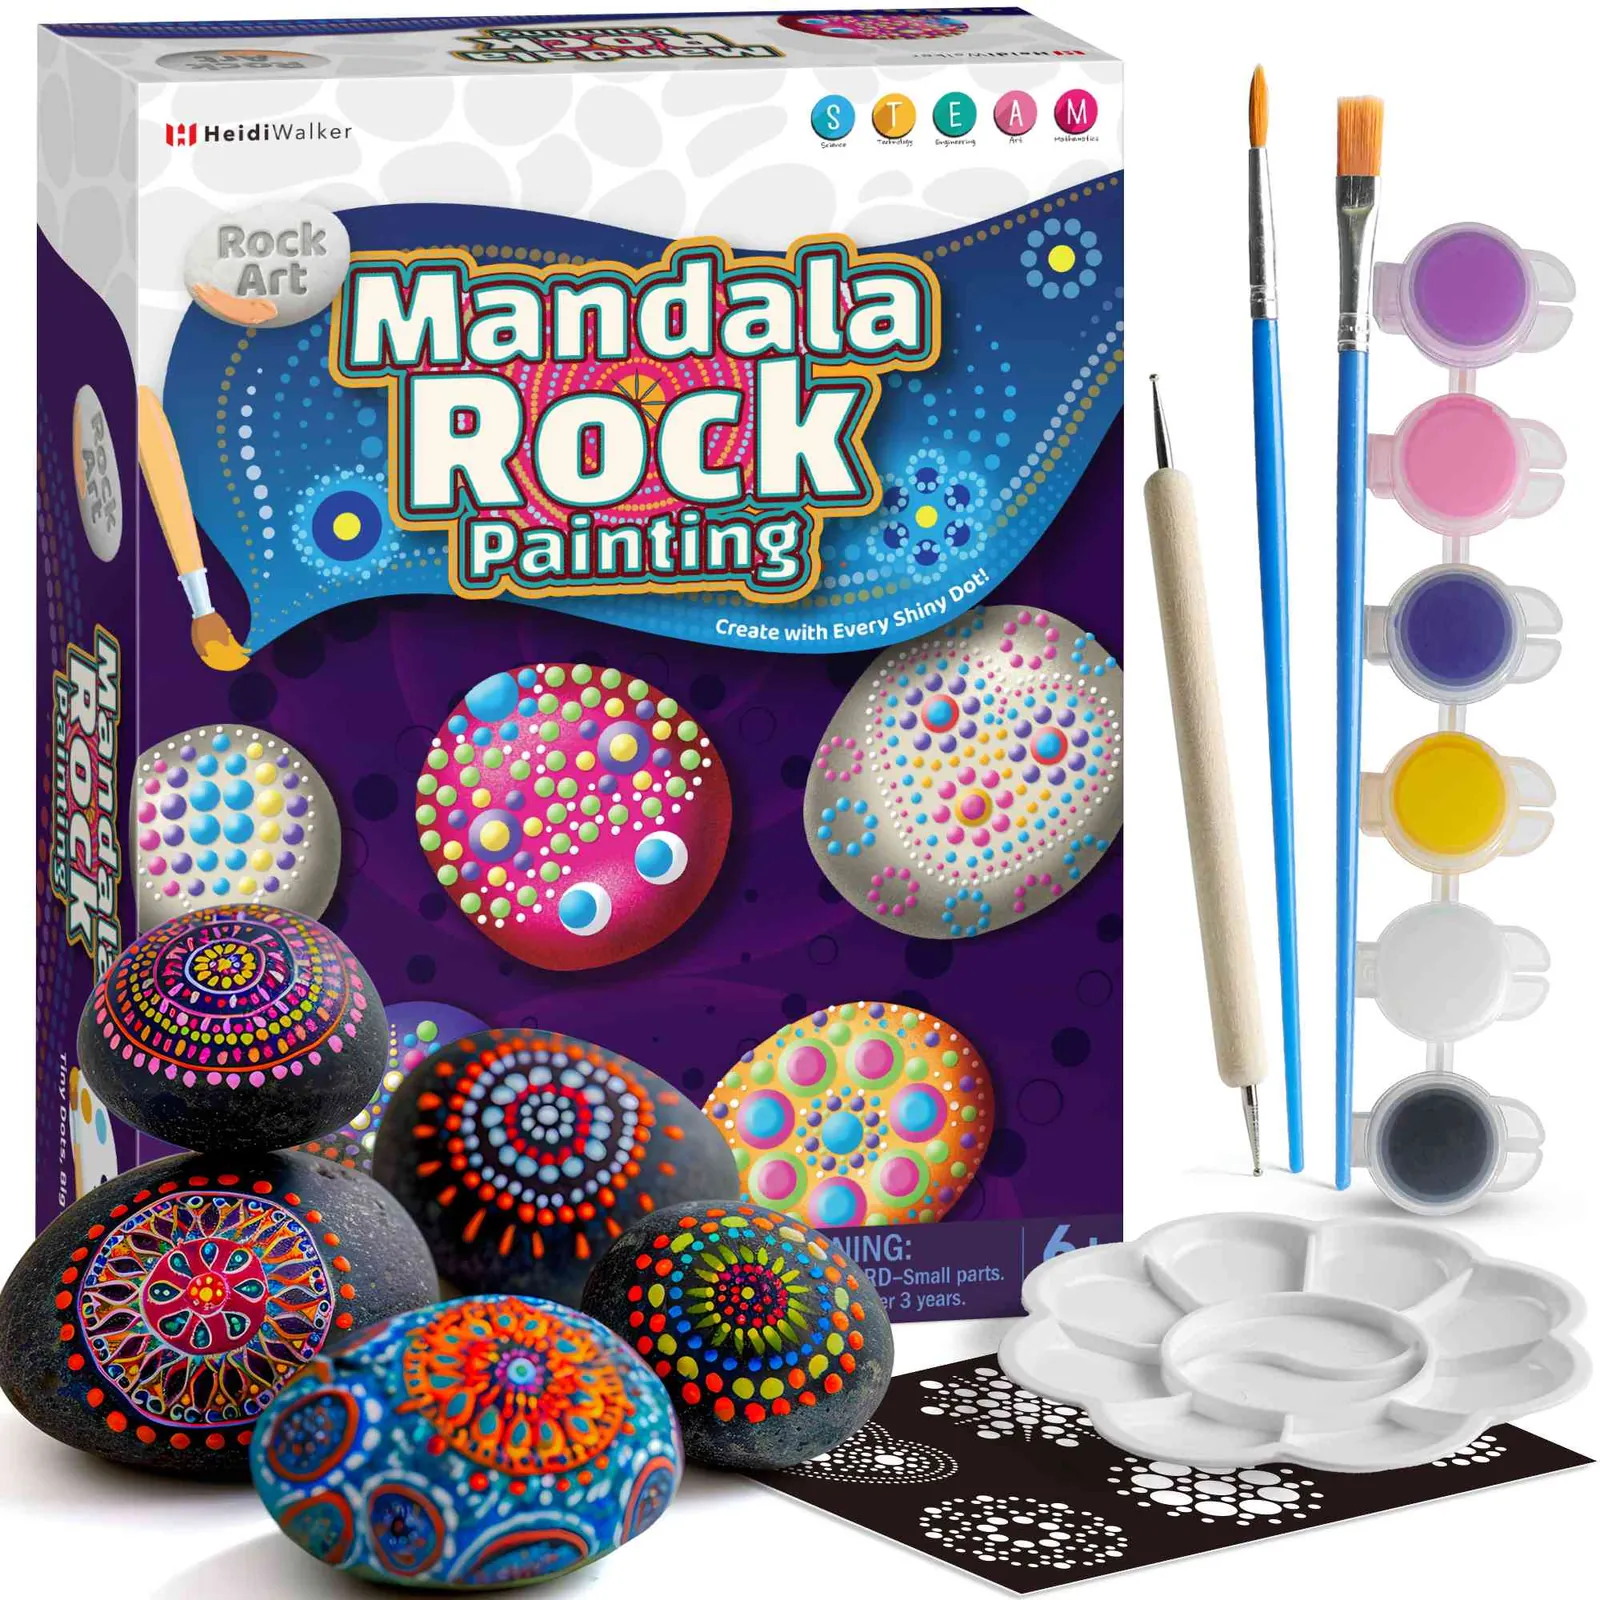
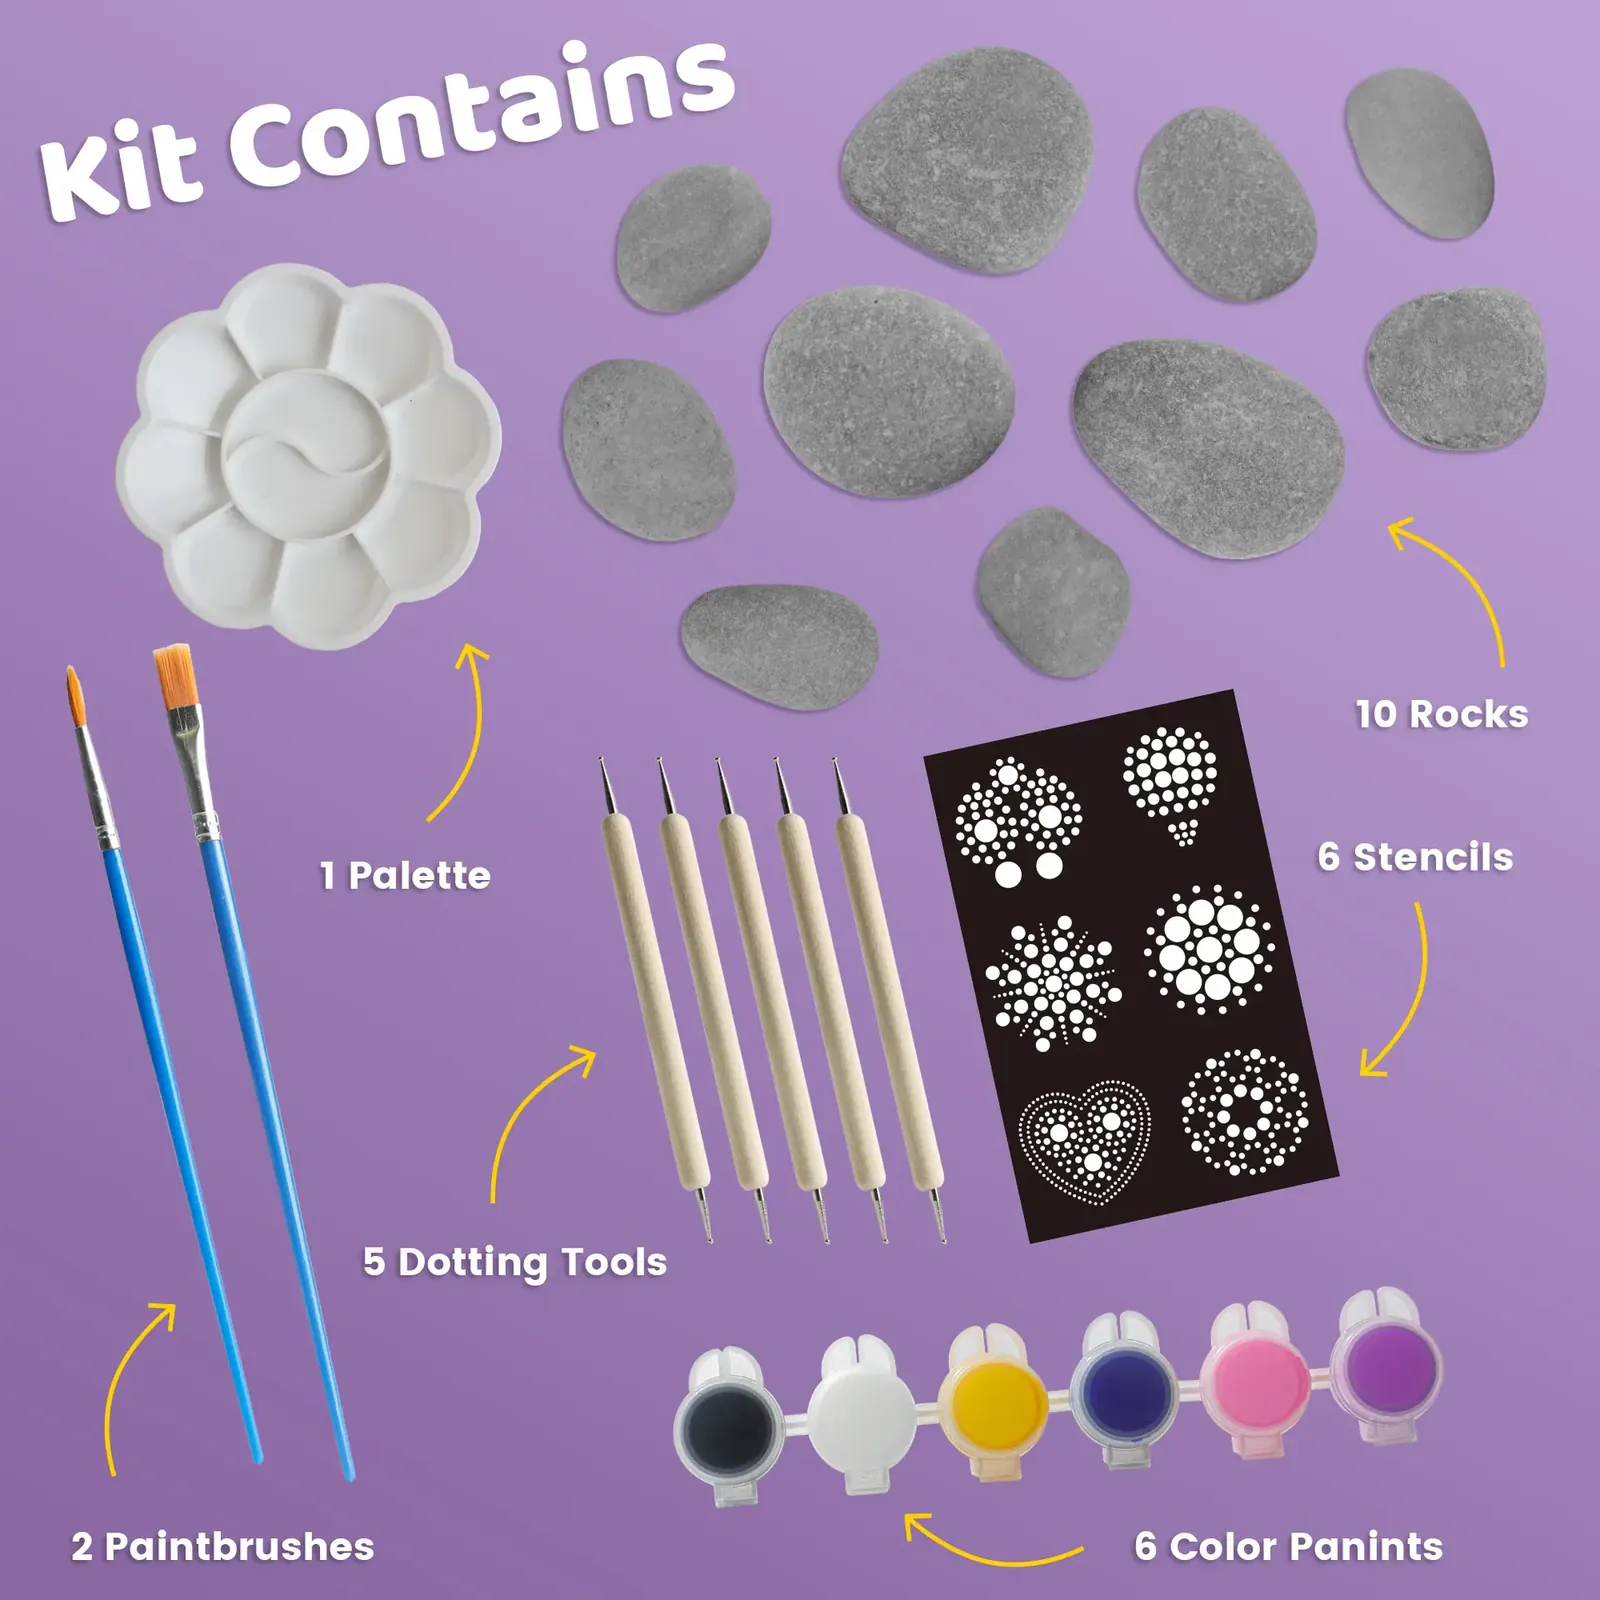
Dip a tool tip into paint, touch the rock, and lift. Repeat that small movement to build rings, borders, and clusters of color. This set pairs five dotting tools with six stencil designs, so children can try guided layouts and freehand dot patterns across ten rocks.
LOOK AT THE SPACE BETWEEN THE DOTS
The gaps are part of the pattern.
Two dots can be the same color and still look very different when their spacing changes. Try a loose ring with visible gaps, then a closer row on another part of the rock. Pause before filling every space: the unpainted areas help each mark stand out.
THE TOOLS HAVE DIFFERENT JOBS
Brush the base. Dot the details.
Keep the brushes beside the palette for broad painted areas and the dotting tools beside your practice paper. This makes it easier to switch between a background coat and individual dots without using one tool for both jobs. The finished rocks in the photos are design examples.
A TOOL TEST BEFORE THE ROCK
Make a dot sample, then a mandala.
On your own spare paper, make a row of test dots with each tool. Keep that sheet next to the rock as a reference when you want a bolder mark or a finer detail. Follow the included instructions and protect the table and clothing before opening the paint.
01Prep the rock
Wash and dry the rocks, cover the table, and put on an apron. Use a brush for a background color if you want one, then let that layer dry.
02Try the tool tips
Put a little paint on the palette. On spare paper, dip a tool tip, touch it down, and lift it straight up. Compare the marks from different tips before working on the rock.
03Dot outward
Start with a center dot or use a stencil to guide the layout. Add a ring of dots around it, repeating a color sequence. Leave space between wet dots as you work.
04Add fine details
Let the main dots dry before adding another color on top. Choose a finer mark from your test sheet and try a small accent on a dry dot or in an open space. Stop when the individual rings are still easy to see.
GUIDED LAYOUT OR FREEHAND RING
Plan the center before the edge.
For a guided design, position the stencil over the rock and check that the pattern fits before painting. You can work on a small part of the design first. The six layouts offer starting points; children can decide which dots to emphasize and which colors to repeat.
For a freehand ring, place a center dot, then a few dots on opposite sides of it. Fill the gaps gradually, turning the rock so you can reach the next position. Look across the center to compare the two sides rather than trying to judge the whole circle in one go.
THREE DOT-PATTERN CHALLENGES
Change the rule. Watch the pattern change.
Follow a sequence. Choose two colors and alternate them around a ring. Stop halfway and ask a child or partner to point out which color should come next. On the next ring, try a sequence of three colors.
Leave a deliberate gap. Make a ring without filling the last few spaces. Count the dots already there and estimate how many more will fit. Compare the estimate with the finished ring; uneven spacing gives you something useful to discuss.
Build a pattern reference. Keep one finished rock with broad dots, one with finer details, and one that follows a stencil. Use them to choose the approach for the next rock. At a family table or art club, each maker can explain the rule behind their pattern.
PLAN THE TABLE, THEN THE STORAGE
Ages, dimensions, and care.
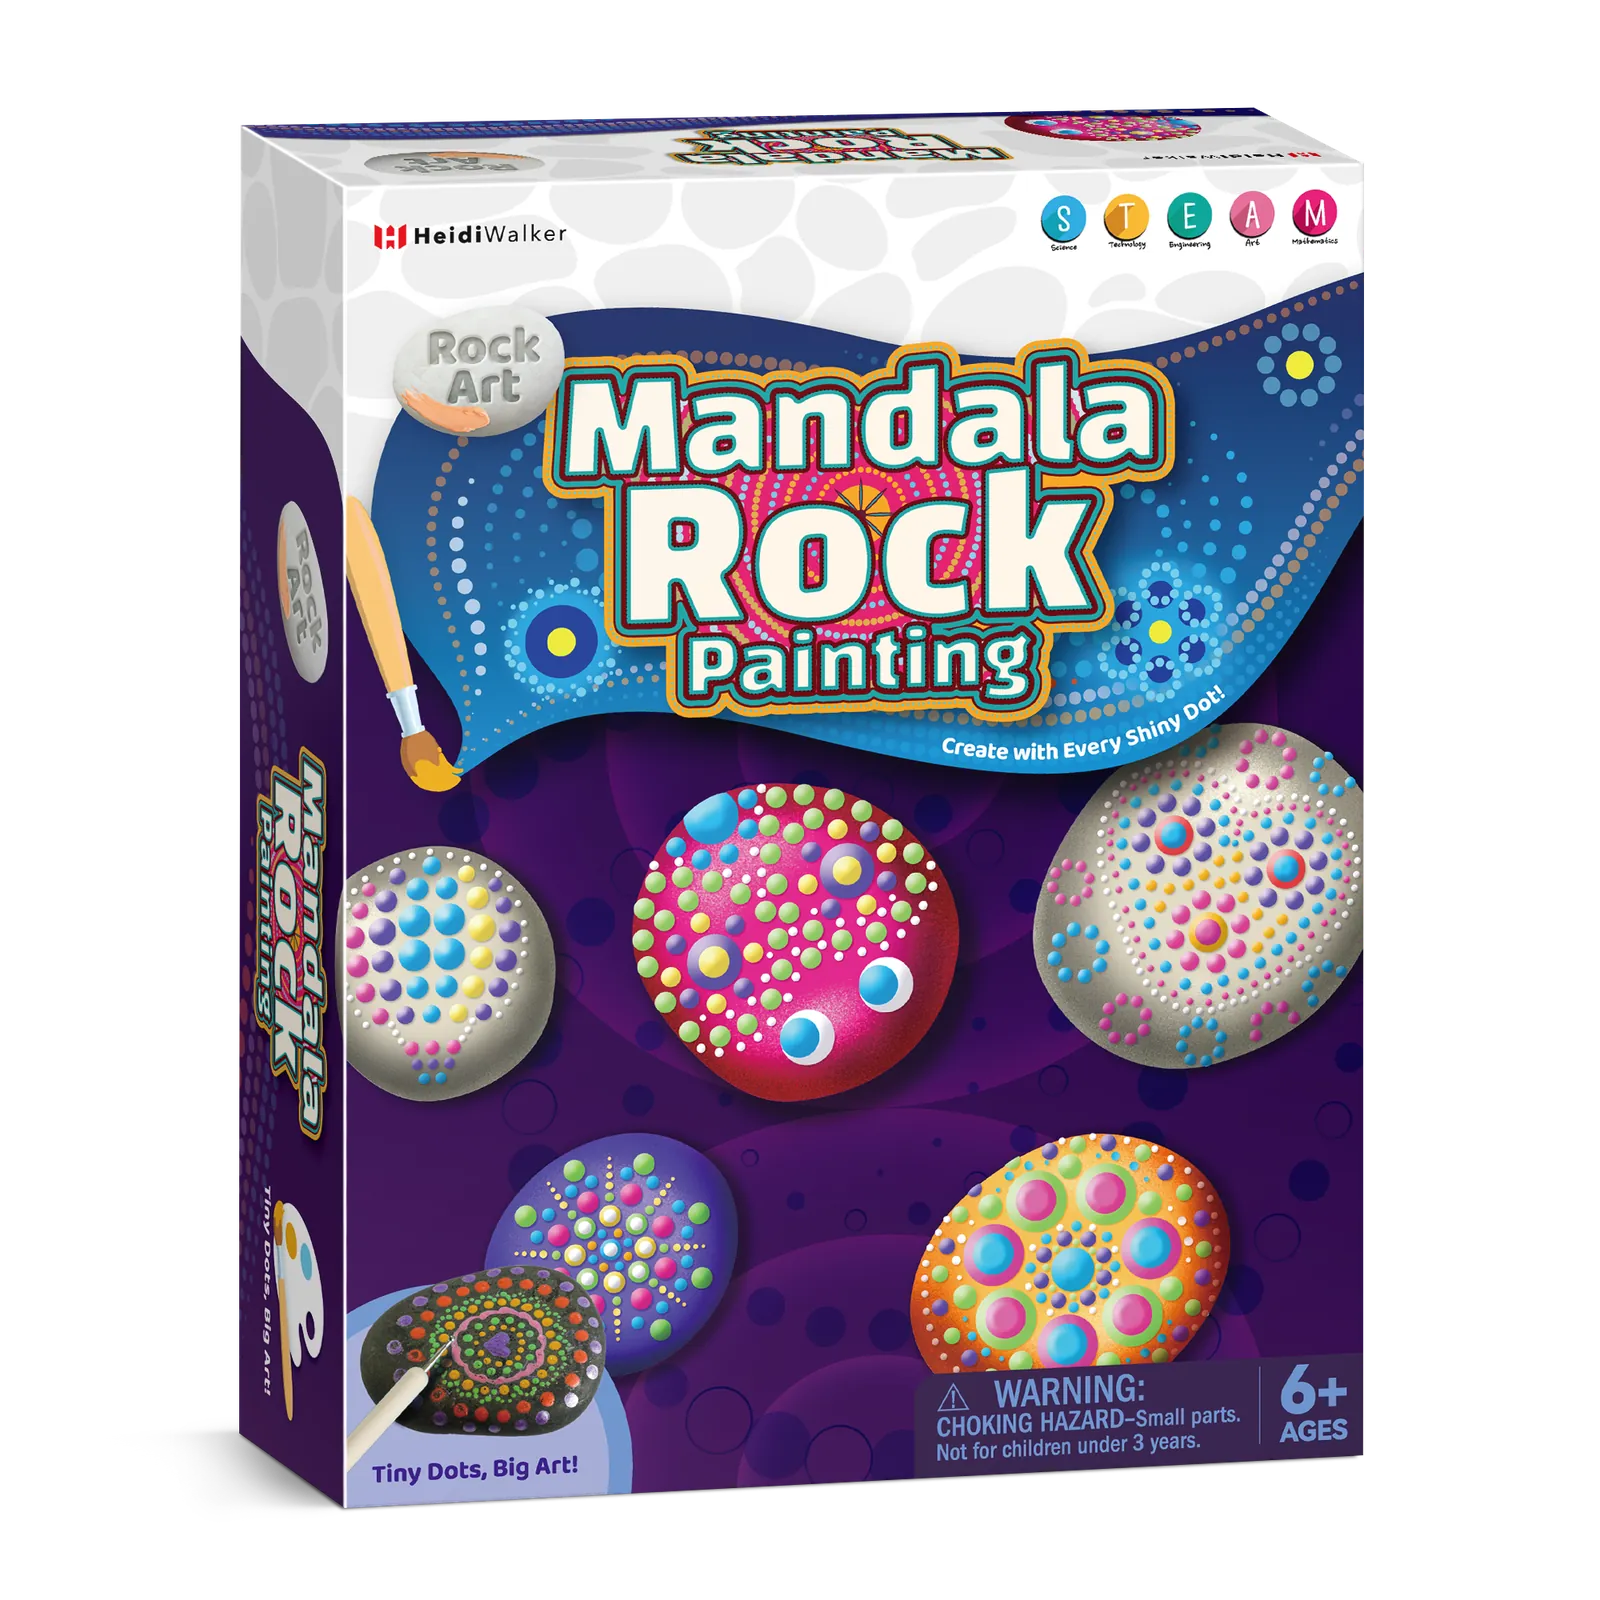
Small parts: the package carries a choking-hazard warning and says the kit is not for children under 3. An adult can help with setup, read the instructions, and keep younger children away from the supplies.
Close the paint pots after use. Clean paint from the brushes, tool tips, and palette, then let them dry before packing them away. Store the tools and stencils together so they are easy to find for the next rock.
THREE OTHER WAYS TO DECORATE A ROCK
Add shine, pour color, or make a face.

Foil Rock Painting Kit
Switch from dots to metallic accents with transfer glue, foil, and ten stencil designs.
Mix & Pour Rock Painting Kit
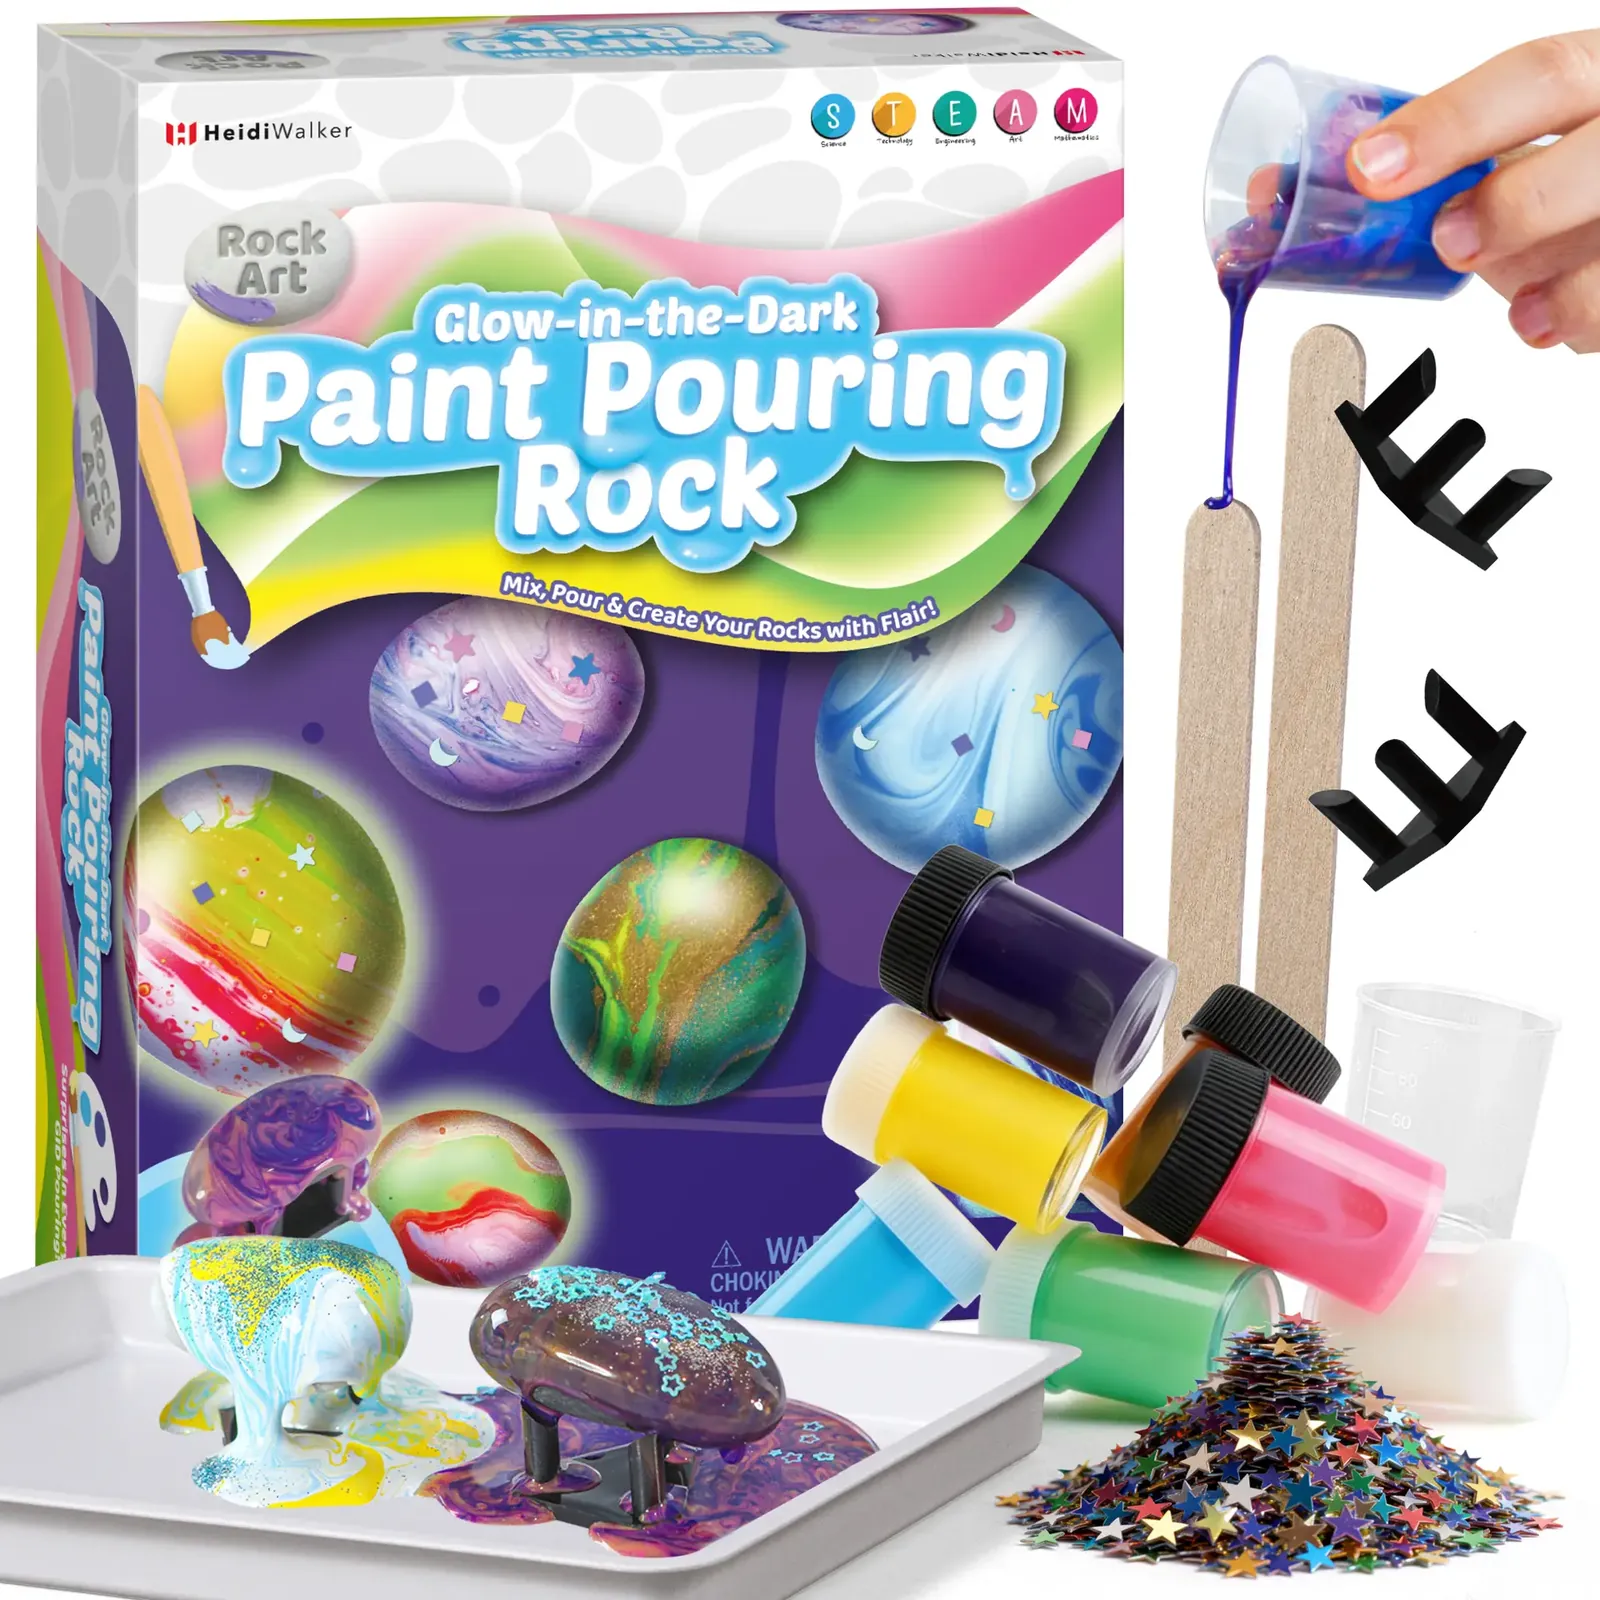
Pour colors over ten rocks, add sequins, and display pieces on the included stands.
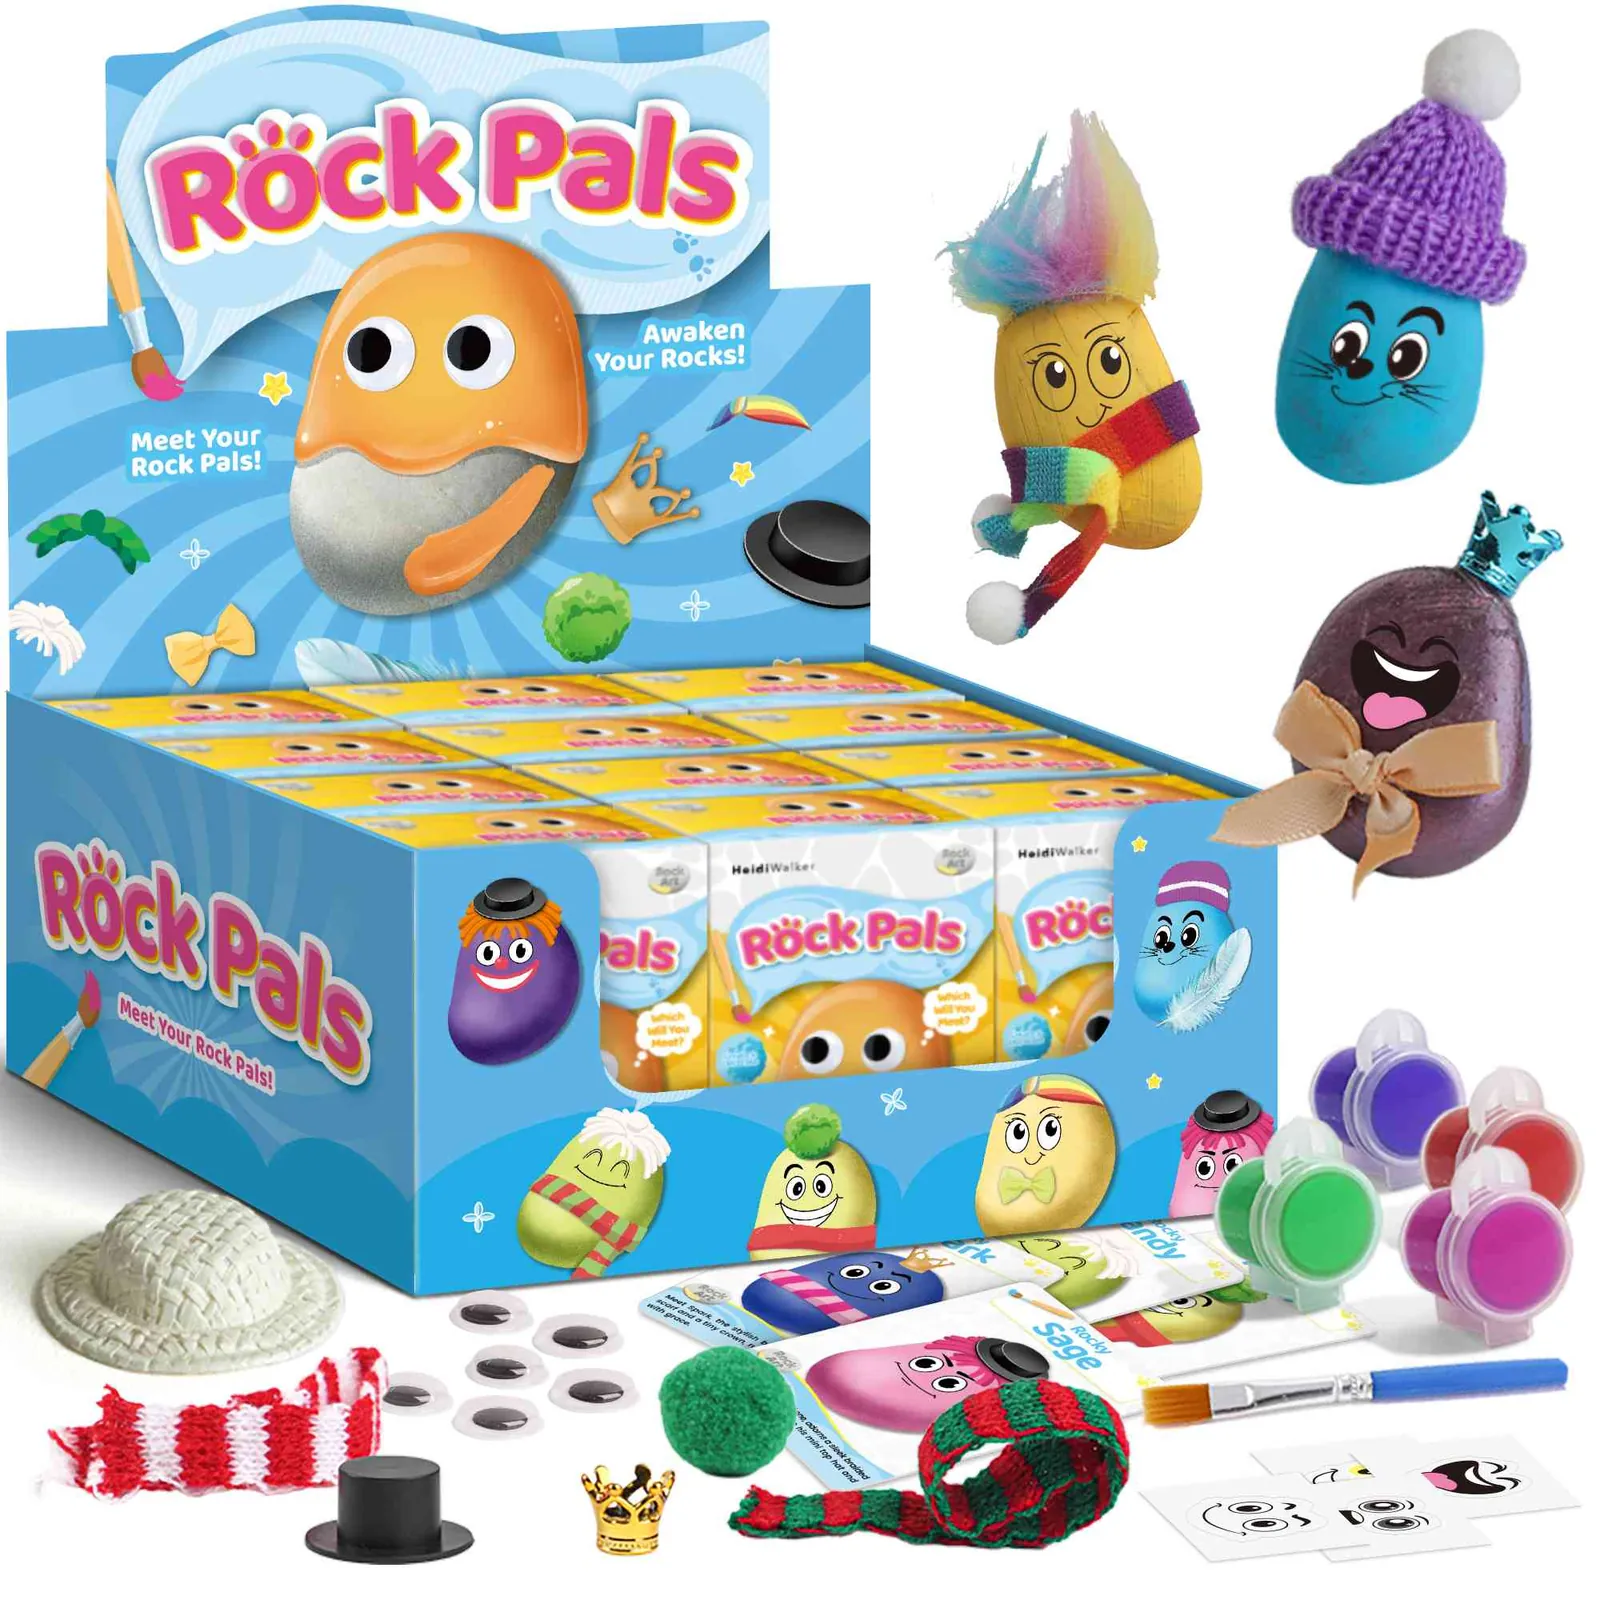
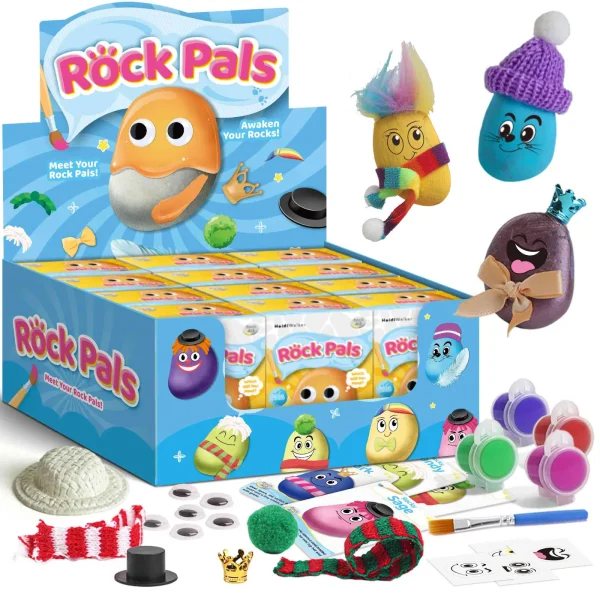
RockPals Surprise Rock Painting Kit
Decorate a single rock character with googly eyes, accessories, and its own ID card.
FIND YOUR NEXT HANDS-ON PROJECT
DOT SIZE, DRAG MARKS, AND FIRST ATTEMPTS
When a dot does not land as planned.
How do we choose a dotting tool?
Try each tool tip on spare paper with the paint you plan to use. Compare the marks, then choose one for the main pattern and another for smaller details. The kit includes five tools; use your test marks as a guide rather than assuming every tip will make the same dot.
Why are some dots becoming short lines?
The tip may be moving sideways before it leaves the surface. Try touching down and lifting straight up, with the rock resting steadily on the table. Practice that movement on paper, then return to the rock.
What if the dots touch or a ring becomes crowded?
Stop adding dots to that row. Leave more space in the next ring or try a smaller mark from your practice sheet. If paint has smeared, let it dry before repainting the area. A crowded ring can be a useful first attempt to compare with the next one.
Does every rock need a painted background?
You can try dots on a clean, dry rock or paint a background first. If you use a base coat, let it dry before dotting. Test your chosen colors on a small area to see whether the marks are easy to distinguish.
Must children copy the complete design on the box?
No. The photos show finished examples. Start with a center and one ring, a simple border, or a small section of a stencil. With ten rocks in the set, children can keep an early attempt and try a different layout on the next rock.
Try one ring before a whole mandala.
Choose a tool from your test sheet, repeat a color sequence, and see how much a few well-placed dots can do.
Related products
- Arts & Crafts
Foil Rock Painting Kit for Kids – 10 Rocks, 10 Stencils, Transfer Foil, Paints & Brushes (Ages 6+)
Original price was: $17.99.$14.99Current price is: $14.99. - Arts & Crafts
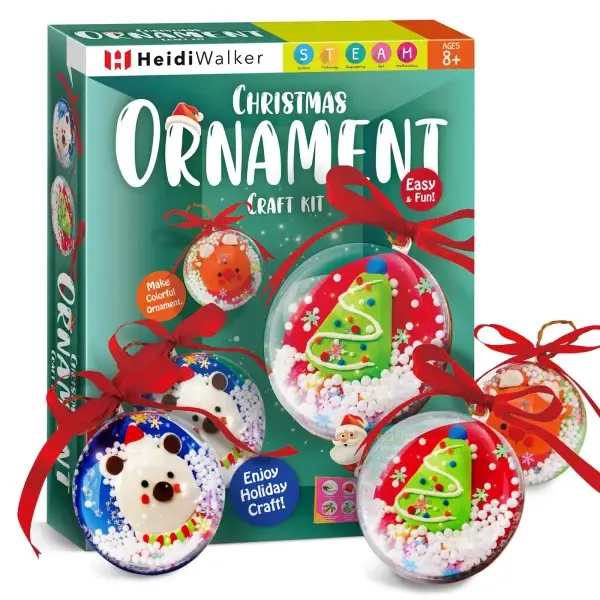
Christmas Ornament Craft Kit for Kids – DIY Snow Globe Making Kit with Wooden Slices & Clay
Original price was: $18.99.$16.99Current price is: $16.99. - Arts & Crafts
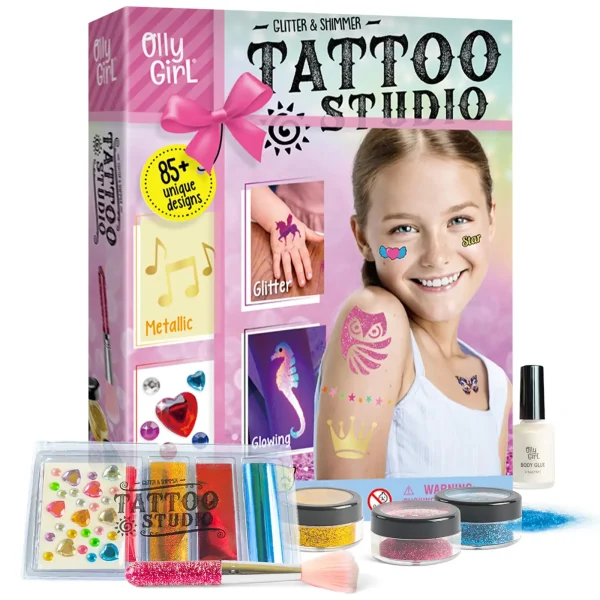
Temporary Shimmery Glitter Tattoo Studio for Kids, Glitter & Shimmer Body Art Fake Tattoos for Girls
Original price was: $19.99.$16.99Current price is: $16.99. - Arts & Crafts
RockPals Surprise Rock Painting Kit – Create & Decorate 1 Rock Pal with Paint, Eyes & Accessories
Original price was: $32.99.$29.99Current price is: $29.99.